
In this blog post, we are going to explain how to install Cachet Status Page System on Ubuntu 20.04 OS.
Cachet is an open-source status page system that allows us to track the downtime of our system outages. Cachet is written in PHP and can be installed very easily on every Linux system. In the next paragraphs, we will install Cachet with LAMP stack and the Composer as an application-level package manager for PHP.
Installing Cachet on Ubuntu 20.04 should take up to 15 minutes. Let’s get started.
Prerequisites
- A server with Ubuntu 20.04 as OS
- User privileges: root or non-root user with sudo privileges
Step 1. Update the System
Every fresh installation of Ubuntu needs the latest system updates, and that is why we are going to update the packages to the latest versions:
sudo apt-get update -y && sudo apt-get upgrade -y
Step 2. Install Apache Web Server
Install the Apache Web server with the following command:
sudo apt install apache2
Once, installed start and enable the service.
sudo systemctl enable apache2 && sudo systemctl start apache2
Check if the service is up and running:
sudo systemctl status apache2
You should receive the following output:
root@vps:~# sudo systemctl status apache2
● apache2.service - The Apache HTTP Server
     Loaded: loaded (/lib/systemd/system/apache2.service; enabled; vendor preset: enabled)
     Active: active (running) since Tue 2022-02-08 21:59:28 UTC; 1h 2min ago
       Docs: https://httpd.apache.org/docs/2.4/
   Main PID: 668 (apache2)
      Tasks: 7 (limit: 4617)
     Memory: 23.9M
     CGroup: /system.slice/apache2.service
Step 3. Install PHP with extensions
Since Cachet, is written in PHP we need to install the PHP version along with its extensions.
sudo apt-get install zip unzip php7.4 php7.4-mysql php7.4-curl php7.4-json php7.4-cgi php7.4-xsl php7.4-sqlite php7.4-mbstring
Step 4. Install MariaDB database server
We need to install a database server in order to create a database for the Cachet system.
apt install mariadb-server
Once, installed enable and start the mariadb service
sudo systemctl enable mariadb
sudo systemctl start mariadb
Check the status of the MariaDB service:
sudo systemctl status mariadb
You shoud receive the following output:
root@vps:~# sudo systemctl status mariadb
● mariadb.service - MariaDB 10.3.32 database server
     Loaded: loaded (/lib/systemd/system/mariadb.service; enabled; vendor preset: enabled)
     Active: active (running) since Tue 2022-02-08 22:53:56 UTC; 6min ago
       Docs: man:mysqld(8)
             https://mariadb.com/kb/en/library/systemd/
   Main PID: 45956 (mysqld)
     Status: "Taking your SQL requests now..."
      Tasks: 30 (limit: 4617)
     Memory: 67.8M
     CGroup: /system.slice/mariadb.service
Step 5. Create a database and database user
CREATE DATABASE cachet;
GRANT ALL PRIVILEGES ON cachet.* TO 'cachet'@'localhost' IDENTIFIED BY 'YourStrongPasswordHere';
FLUSH PRIVILEGES;
exit;
Step 6. Install Composer
We need to install the Composer so later we can install the Cachet PHP dependencies:
curl -sS https://getcomposer.org/installer | php

chmod +x composer.phar

mv composer.phar /usr/local/bin/composer

composer -V
Step 7. Install Cachet
Go into the “html” directory, and clone the latest cachet version from Github.
cd /var/www/html

git clone https://github.com/CachetHQ/Cachet.git .
Once, the code is cloned the next step is to copy the “.env.example” file to “.env“
cp .env.example .env
Next is to open the .env file and enter the correct database user and credentials.
DB_DRIVER=mysql
DB_HOST=localhost
DB_UNIX_SOCKET=null
DB_DATABASE=cachet
DB_USERNAME=cachet
DB_PASSWORD=YourStrongPasswordHere
DB_PORT=3306
Once, these values are set up, we need to install the PHP dependencies using the composer command:
composer install
After installation of the PHP dependencies, we need to generate keys and install the cachet with the commands below:
php artisan key:generate

php artisan cachet:install
Select the “no” options in both cases, and let the installation finish. You should receive the following output:
root@vps:/var/www/html# php artisan cachet:install Do you want to configure Cachet before installing? (yes/no) [no]: &gt; <b>no</b> Installing Cachet... Clearing settings cache... Settings cache cleared! System was installed! ************************************** * Application In Production! * ************************************** Do you really wish to run this command? (yes/no) [no]: &gt; <b>no</b> Command Cancelled! Configuration cache cleared! Configuration cached successfully! Route cache cleared! Routes cached successfully! Copied Directory [/vendor/laravel/framework/src/Illuminate/Foundation/Exceptions/views] To [/resources/views/errors] Copied Directory [/vendor/laravel/framework/src/Illuminate/Notifications/resources/views] To [/resources/views/vendor/notifications] Copied Directory [/vendor/laravel/framework/src/Illuminate/Pagination/resources/views] To [/resources/views/vendor/pagination] Copied Directory [/vendor/laravel/framework/src/Illuminate/Mail/resources/views] To [/resources/views/vendor/mail] Publishing complete. Nothing to migrate. Database seeding completed successfully. Clearing cache... Application cache cleared! Cache cleared! The [public/storage] directory has been linked. Cachet is installed ⚡
After the installation set the right file and folder permissions:
cd /var/www/html/<br><br>chown -R www-data:www-data /var/www/html/

find . -type f -exec chmod 644 {} \;

find . -type d -exec chmod 755 {} \;
Step 8. Create Apache Virtual Host File
Next is to create the Apache Virtual host configuration file for the domain name and some rules to be specified. Go into the Apache directory:
cd /etc/apache2/sites-available

sudo nano cachet.conf<br><br>
Once, you create the cachet.conf file, paste the following lines of code.
<VirtualHost *:80>

ServerName yourdomain.com
DocumentRoot /var/www/html/public

<Directory /var/www/html/public>
          Options FollowSymlinks
          AllowOverride All
          Require all granted
     </Directory>

ErrorLog ${APACHE_LOG_DIR}/yourdomain.com_error.log
CustomLog ${APACHE_LOG_DIR}/yourdomain.com_access.log combined

</VirtualHost>
Enable the site, and restart the apache service
sudo a2ensite cachet.conf
sudo a2enmod rewrite
sudo systemctl restart apache2
Step 9. Finish the Cachet Installation
The last step is to finish the setup of the Cachet status page system. Access your website at:
<b>http://yourdomain.com</b>
You should receive the following screen:
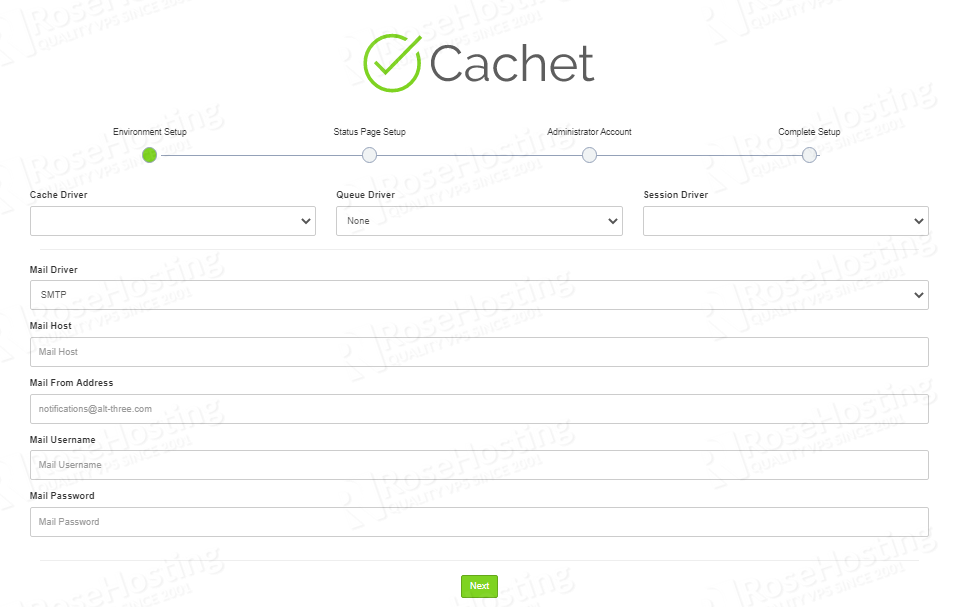
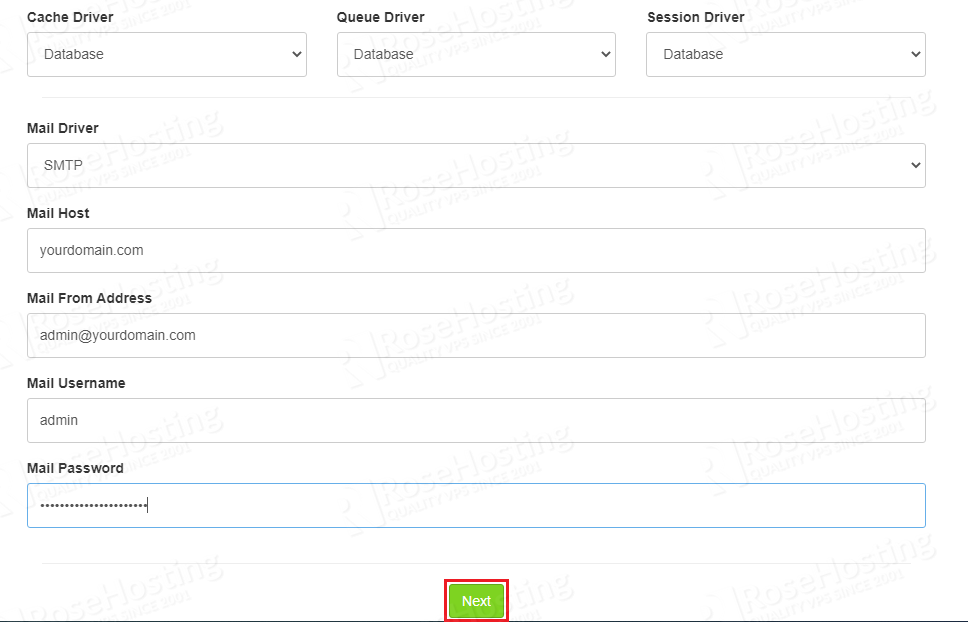
Fill the inputs, as described in the next picture below, and click on the “Next” button:
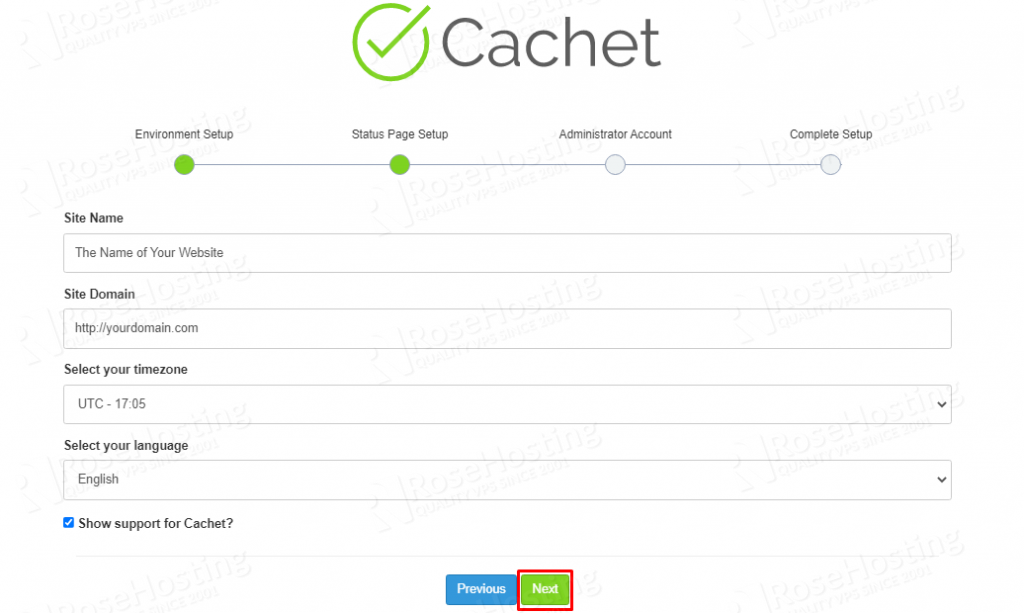
In the next window, you need to enter the name of the website, the domain, timezone, and the language.
Once, these values are entered the next window is the “Administrator” window for the admin credentials.
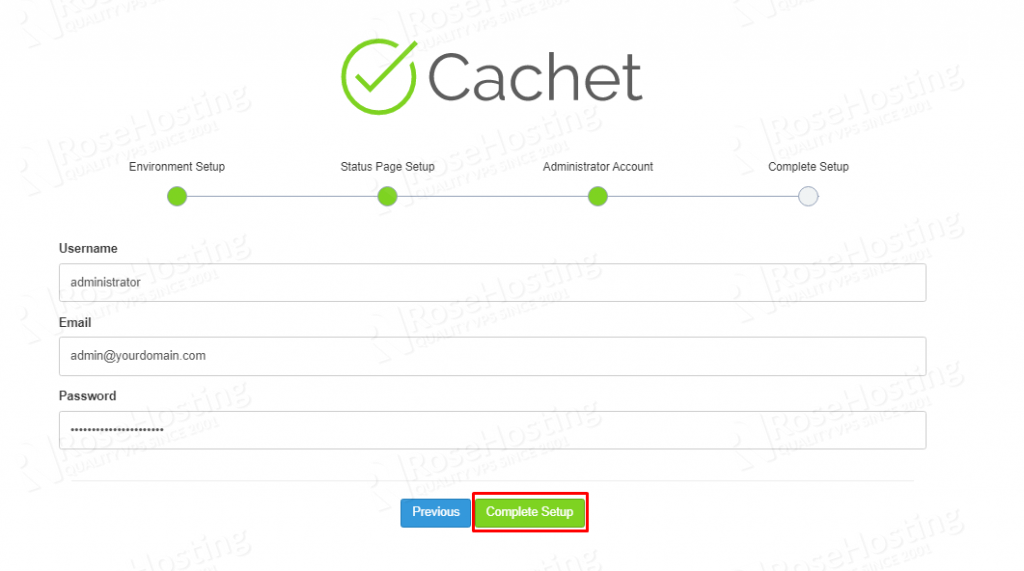
Fill in the administrator credentials and hit on the “Complete Setup” button for the installation to finish.
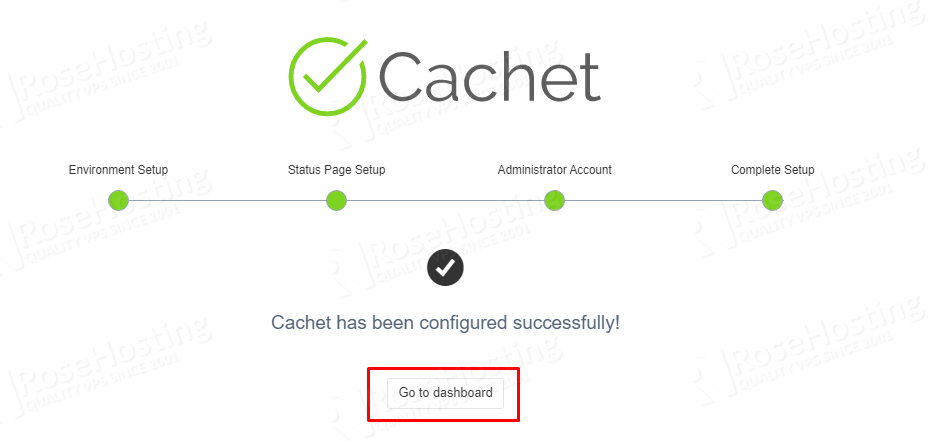
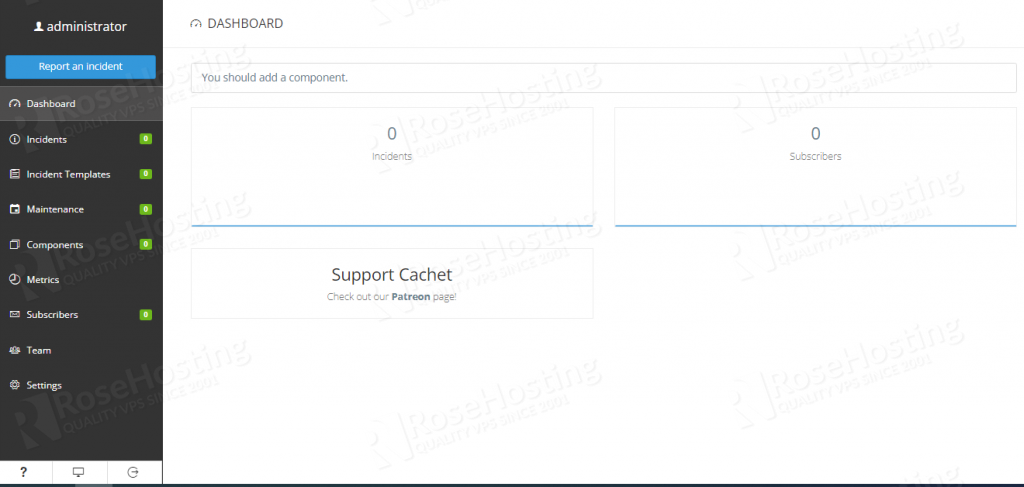
Once, the installation is finished click on the “Go to dashboard” button, and the login screen will appear.

Enter the administrator login credentials you set before and login to the dashboard.
Congratulations! You successfully installed and configured the Cachet Status Page System on Ubuntu 20.04. If you find it difficult to install it you can always contact our technical support and they will do the rest for you.We are available 24.7
If you liked this post on how to install Cachet Status Page System on Ubuntu 20.04, please share it with your friends on the social networks using the buttons on the left or simply leave a reply below. Thanks.
hello !
I have a problem when I point to my ip ca returns me the PHP code.
I can tell myself what is the problem?
thank you
make(‘Illuminate\Contracts\Http\Kernel’);
$request = Illuminate\Http\Request::capture();
$response = $kernel->handle($request);
You should provide more details on the issue you are facing but if you have followed the tutorial correctly you should have no issue.
The guide is not quite correct, there are still a few packages missing as well as PHP support for the web server:
sudo apt-get install php-pear php7.4-mbstring
sudo apt-get install zip unzip
sudo apt-get install libapache2-mod-php
Thank you for pointing that out we have updated the article.
Hello i have an issue when i have the graphical interface and configuringnthe smtp and cache but when i click on next i have nothing
Please check the log files for more information about this.
getting http error 500
Please check the log files for more information about this.