
Jenkins is an open-source automation software for continuous integration and deployment of applications and primarily written in Java. In short, Jenkins is a application server that makes your projects do all the complicated things automatically. You can focus on writing code. A continuous integration tool, it means that it runs automated tests every time you check some code into a version control system. Jenkins can do many, many things. In this article, we will walk you through how to install Jenkins on AlmaLinux 10.
The most common use of Jenkins is to check your project into a version control system, build it, and run automated tests against the built application. However, this is just the tip of the iceberg. Jenkins can do much more. It can run deployment tasks, pull from a version control system, monitor the file system for changes, and more. Jenkins can also help us by automating tasks so that more work is done with less effort.
Prerequisites
- An AlmaLinux VPS
- root SSH access or a regular user with sudo privileges
Conventions
# – given commands should be executed with root privileges either directly as a root user or by use of sudo command
$ – given commands should be executed as a regular user
Step 1: Log in to your server via SSH
To start this, you will need to log in to your AlmaLinux 9 VPS via SSH as the root user:
ssh root@IP_Address -p Port_numberYou will need to replace ‘IP_Address’ and ‘Port_number’ with your server’s respective IP address and SSH port number. Additionally, replace ‘root’ with the username of the system user with sudo privileges.
You can check whether you have the proper AlmaLinux version installed on your server with the following command:
# cat /etc/almalinux-release You will get an output like this:
AlmaLinux release 10.0 (Purple Lion)In this article, we are using ‘root’ to execute the shell commands. If you want to use your regular user with sudo privileges to run the commands, make sure to append ‘sudo’ in front of them.
Step 2. Install Java
Since Jenkins is primarily written in Java, we need to install Java in order for this tool to work. We will be using OpenJDK in this tutorial. OpenJDK is a free and open-source implementation of the Java Platform, Standard Edition (Java SE). You can also use Oracle JDK if you prefer, but the AlmaLinux repository do not currently provide it. Run the following command to install OpenJDK on your server.
# dnf install fontconfig java-21-openjdk java-21-openjdk-develOnce installed, you can check the version by executing this command:
# java --versionThe command will show you an output like this:
openjdk 21.0.8 2025-07-15 LTS
OpenJDK Runtime Environment (Red_Hat-21.0.8.0.9-1) (build 21.0.8+9-LTS)
OpenJDK 64-Bit Server VM (Red_Hat-21.0.8.0.9-1) (build 21.0.8+9-LTS, mixed mode, sharing)
Step 2. Add Repository
Jenkins repositories are specific locations on the internet where you can download Jenkins. We will use this repository to install Jenkins. First, import the public PGP key that the official Jenkins website uses to sign files.
# rpm --import https://pkg.Jenkins.io/redhat-stable/Jenkins.io-2023.keyNow, let’s download the repository file.
# wget https://pkg.Jenkins.io/redhat-stable/Jenkins.repo -O /etc/yum.repos.d/Jenkins.repoNext, run the following command to verify that this new source list was added correctly. You should see a line containing Jenkins in the output.
# dnf repolistYou will see this:
repo id                                                          repo name
appstream                                                        AlmaLinux 10 - AppStream
baseos                                                           AlmaLinux 10 - BaseOS
epel                                                             Extra Packages for Enterprise Linux 10 - x86_64
extras                                                           AlmaLinux 10 - Extras
jenkins                                                          Jenkins-stable
Step 3. Install Jenkins
Now that we have added the Jenkins repo in the previous step, we can install Jenkins using the command below.
# dnf install jenkinsThat’s it! Jenkins should be installed now. Next, let’s run this command below.
# systemctl status jenkinsYou will see this output:
○ jenkins.service - Jenkins Continuous Integration Server
     Loaded: loaded (/usr/lib/systemd/system/jenkins.service; disabled; preset: disabled)
     Active: inactive (dead)
As you can see, Jenkins is not automatically running upon installation. The service will also not run automatically if the server reboots. Let’s run this command below to start Jenkins now and enable it upon reboot.
# systemctl enable --now jenkinsStep 4. Configure Jenkins
At this point, you should be able to access Jenkins at http://YOUR_SERVER_IP_ADDRESS:8080. If you open Jenkins using your favourite browser, you will see this:
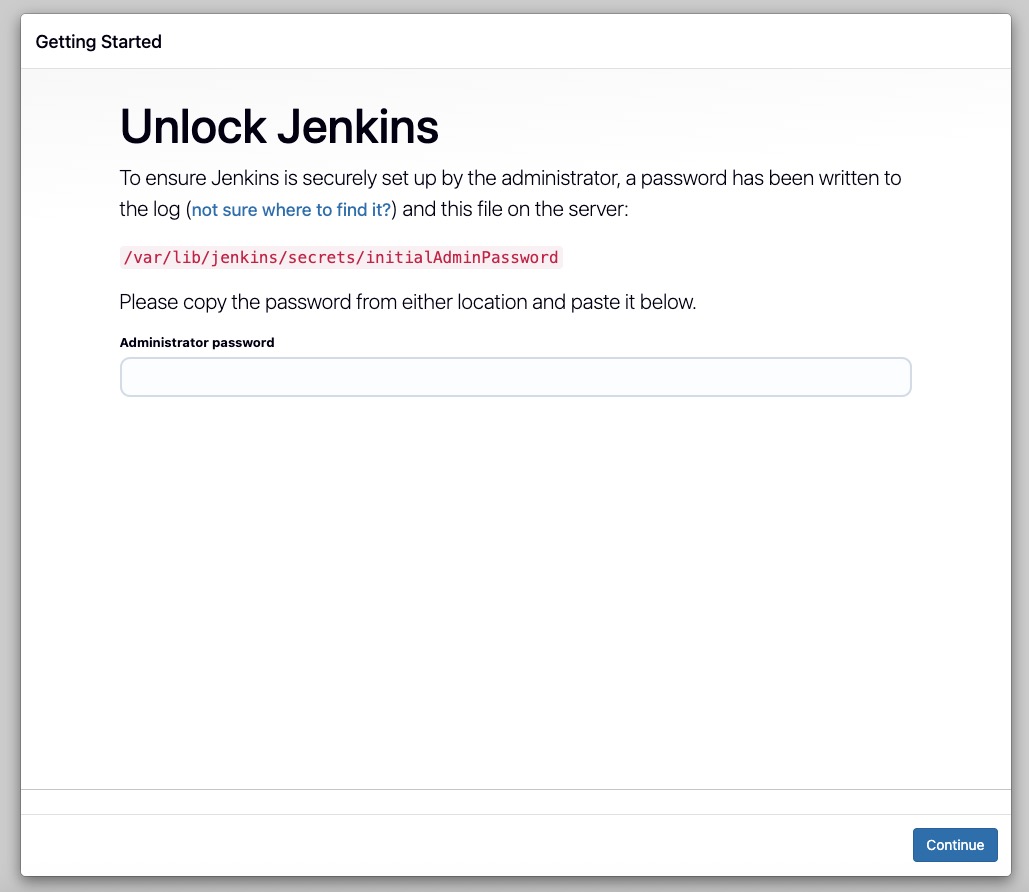
As seen in the picture, you need to get the passwod to continue. Let’s run this command to get the password and copy-paste it to continue.
# cat /var/lib/jenkins/secrets/initialAdminPassword
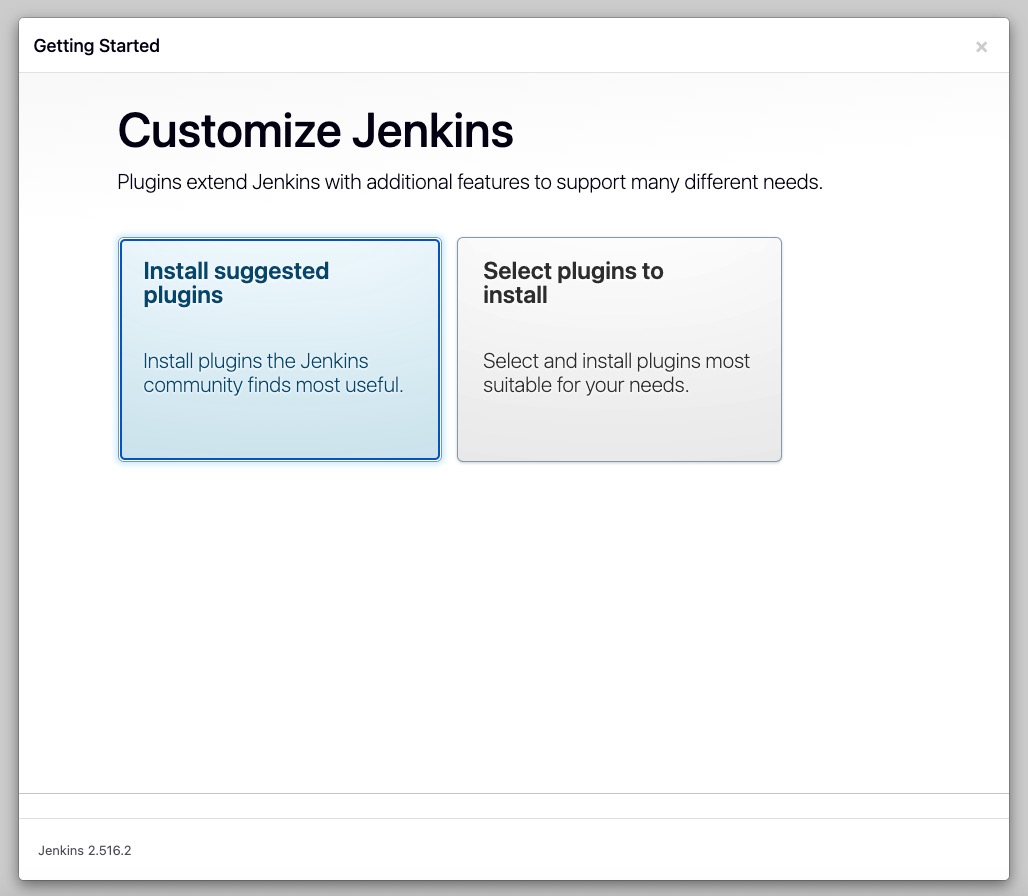
After logging in, you can start working by installing the suggested plugins.
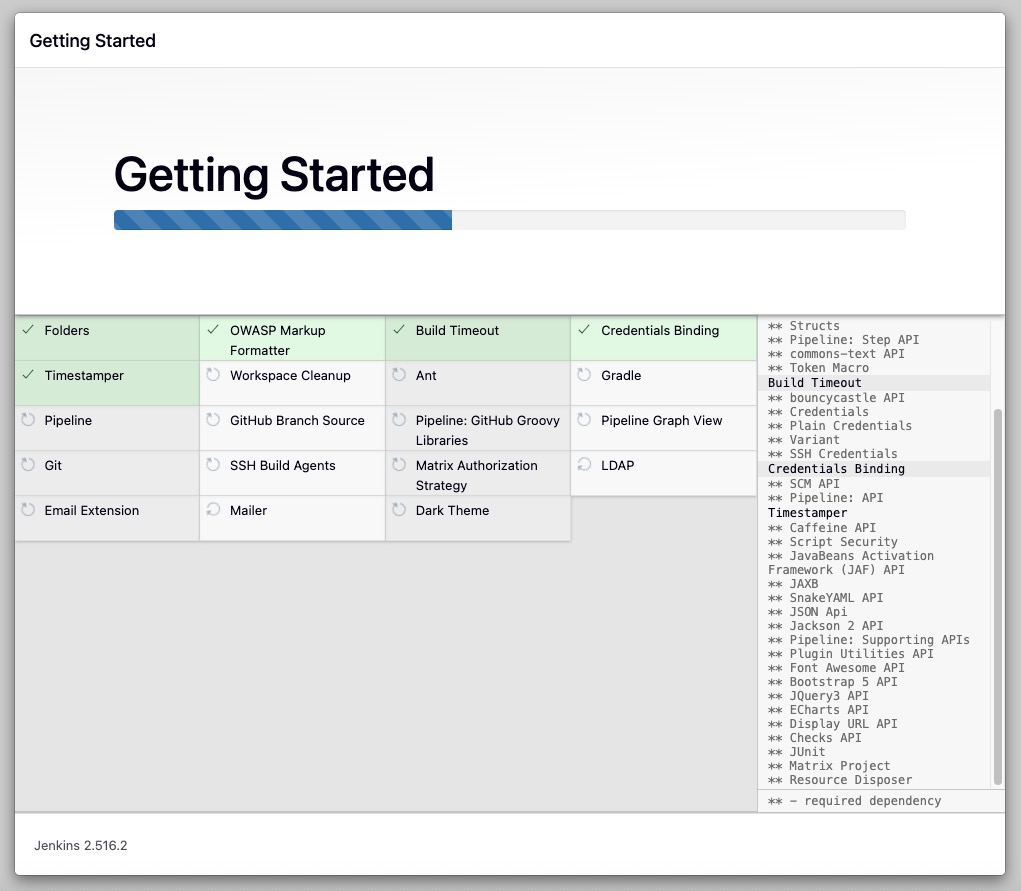
You will need to wait for a few minutes to get the plugins installed.
Once completed, you can create a new admin user.
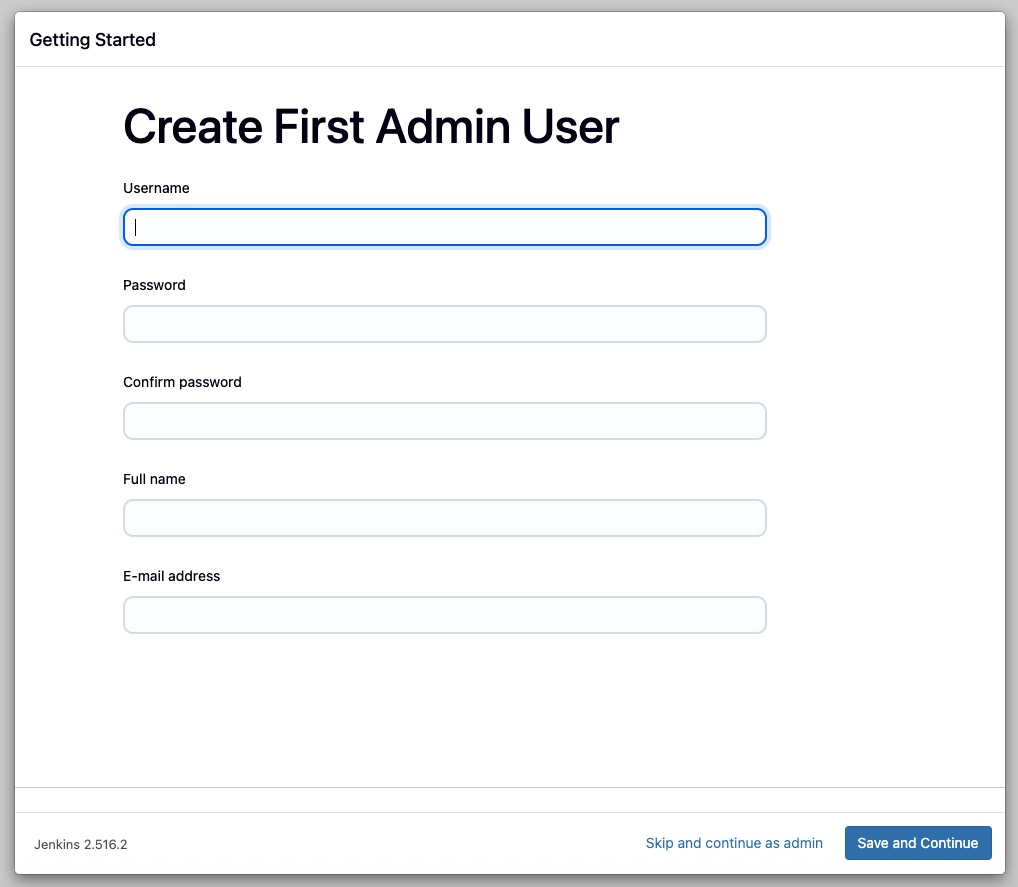
Fill them all and then save to continue. Make sure to create a strong password.
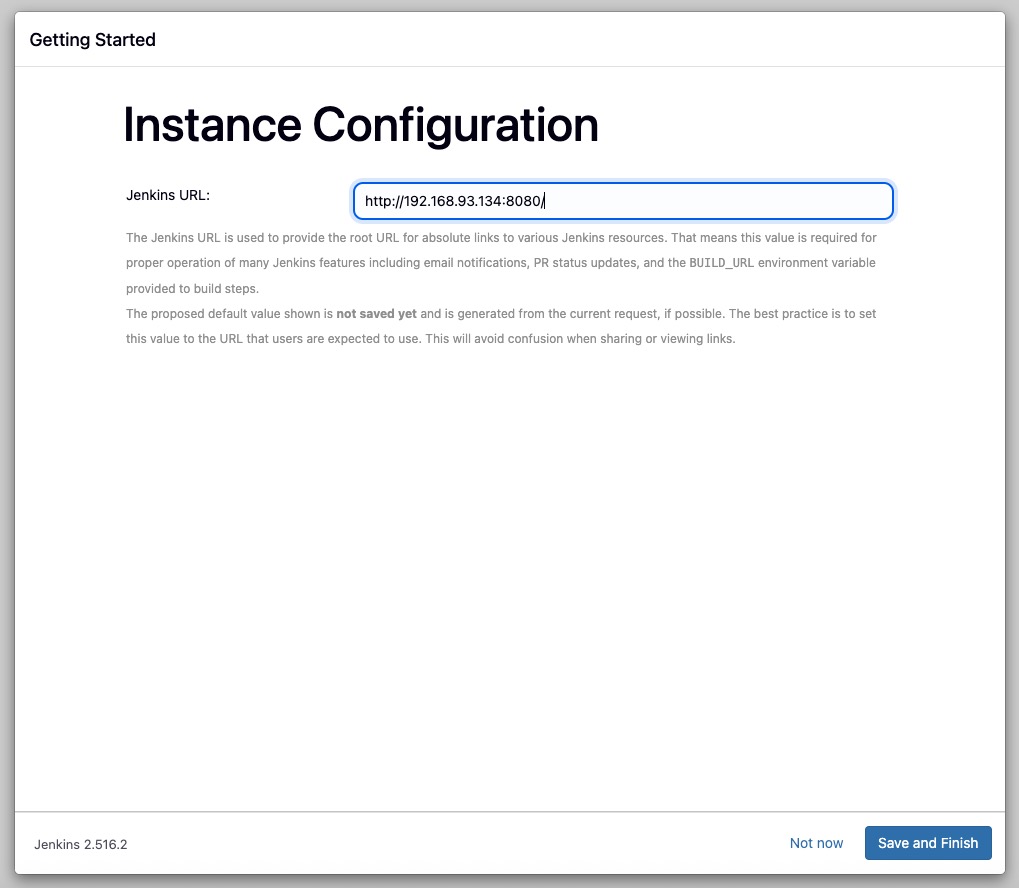
Click save and finish to finalize the insatllation. Well done! You can start using Jenkins now.
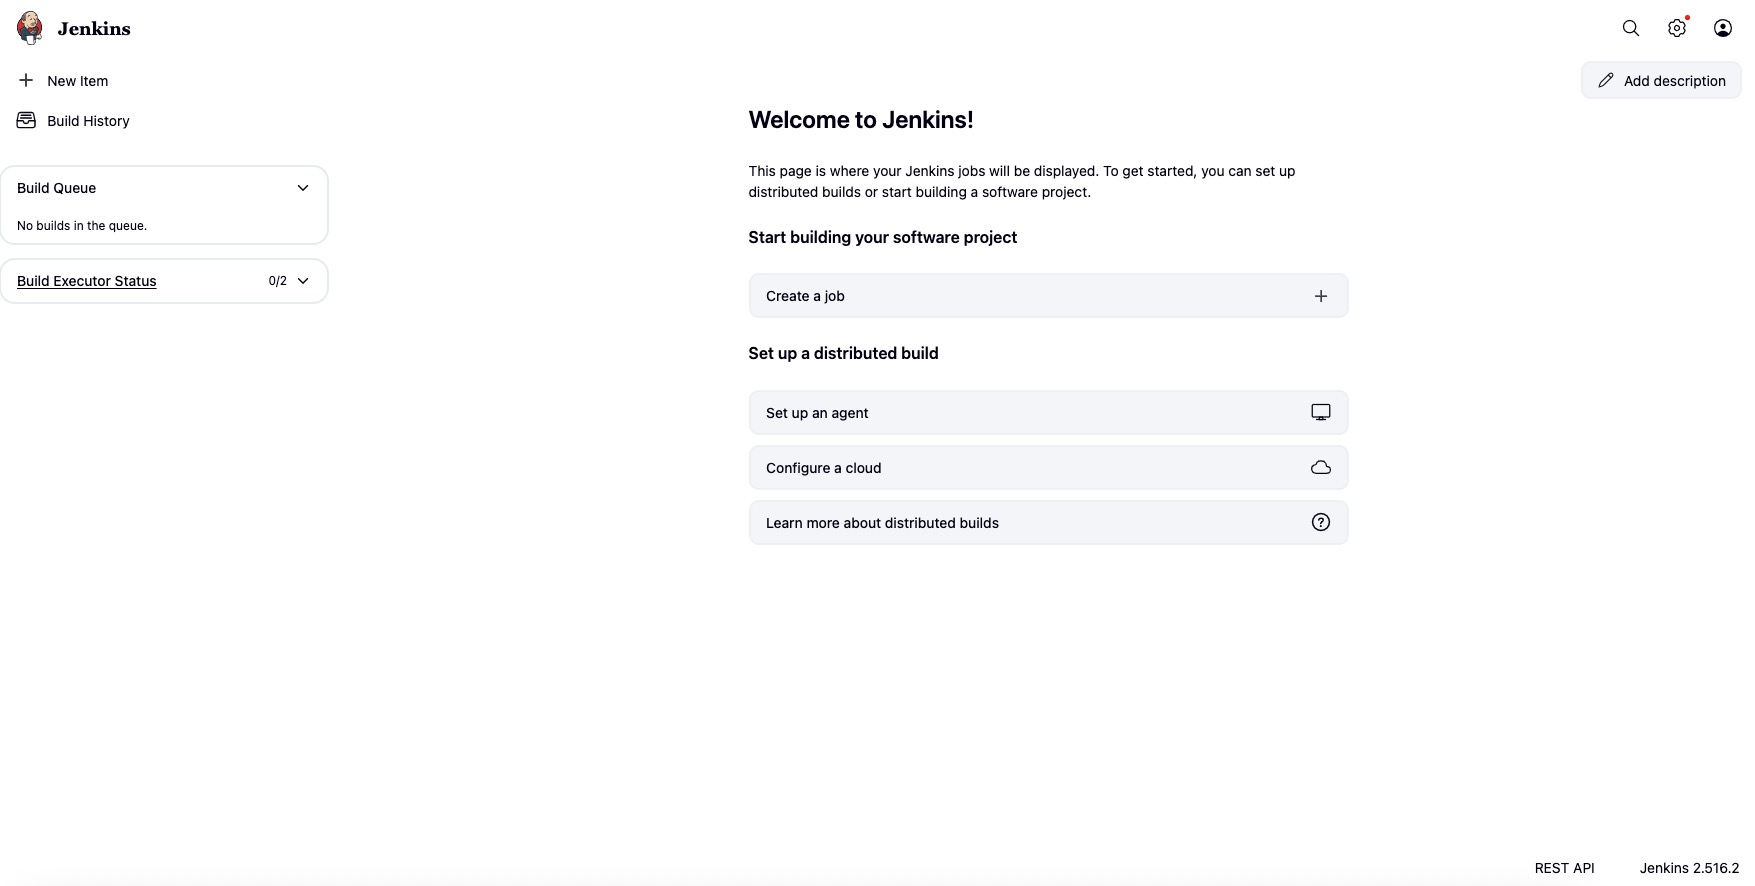
Congratulations! You have successfully installed and configured Jenkins on your AlmaLinux 10 server.
If you want to host a Jenkins server with high-end hardware at an affordable price, check out our AlmaLinux VPS hosting plans and start hosting any software you want with dedicated resources.And if you liked this post about how to install and configure Jenkins on AlmaLinux 10, please share it with your friends on the social networks using the share buttons below, or simply leave a comment in the comments section. Thanks.