In this guide, we will show you how to install Boonex Dolphin 7 on an Ubuntu Cloud VPS.
![]() Boonex Dolphin is a popular social networking platform and web application that allows you to create easy-to-use community and social media oriented websites. It’s open-source, and thanks to its design and customization-oriented nature, you can make your site unique to suit your ideas. Let’s get started with the installation.
Boonex Dolphin is a popular social networking platform and web application that allows you to create easy-to-use community and social media oriented websites. It’s open-source, and thanks to its design and customization-oriented nature, you can make your site unique to suit your ideas. Let’s get started with the installation.
Requirements
At the time of this writing, the latest version of Dolphin is 7.3.0 and it requires:
- root access via SSH to the VPS where we plan to install Dolphin
- PHP >= 5.3.0 (PHP 5.5 or later is recommended) with the following PHP extensions enabled: curl, fileinfo, ftp, GD Graphics Library version 2.0.x+ compiled with FreeType fonts (or ImageMagick), JSON, mbstring, mysql, openssl, xsl and zip. Also, short_open_tag option in PHP should be enabled and open_basedir should not have any value.
- Apache Web Server >= 2.0 compiled with mod_rewrite module
- A mail server for sending emails (Sendmail, Postfix etc.)
- MySQL >= 4.1.2 or MariaDB installed on your Linux virtual server (MySQL 5.5 or MariaDB 5.5 or later is recommended)
- JRE 1.6 or higher (some of Dolphin’s features require media streaming capabilities)
- Ability to create cron-jobs and execute files.
Step 1: Connect to your server
To connect to the server via SSH as user root, use the following command:
ssh root@IP_ADDRESS -p PORT_NUMBER
and replace “IP_ADDRESS” and “PORT_NUMBER” with the actual server IP address and SSH port number.
Step 2: Update OS packages
Before we can start with the Dolphin installation, we have to make sure that all Ubuntu OS packages installed on the server are up to date. We can do this by running the following commands:
sudo apt-get update
sudo apt-get upgrade
Step 3: Install Apache Web Server
Check whether Apache is already installed and running on your server:
ps aux | grep apache2
We can also check if there are Apache2 packages already installed on the server:
dpkg -l | grep apache2
If Apache is already installed on the server, we can skip the Apache installation steps and proceed with Java, ImageMagick and the PHP installation.
If Apache is not installed, we can install it using this:
apt-get install apache2
Once installed, start the Apache server and enable it to start on server boot:
systemctl start apache2
systemctl enable apache2
Step 4: Install JRE (Java Runtime Environment)
Install Java Runtime Environment:
apt-get install openjdk-8-jre
Check if it is installed:
java -version
The output should be similar to this one:
openjdk version "1.8.0_191"
OpenJDK Runtime Environment (build 1.8.0_191-8u191-b12-0ubuntu0.18.04.1-b12)
OpenJDK 64-Bit Server VM (build 25.191-b12, mixed mode)
Step 5: Install ImageMagick
This software is used to display and modify images, which is necessary for Dolphin. Install ImageMagick using the following command:
apt-get install imagemagick
Step 6: Install PHP
Install PHP 7.2 and all required PHP modules as well as other dependencies with the following command:
sudo apt-get install php7.2 php7.2-common libapache2-mod-php7.2 \
    php-imagick php7.2-curl php7.2-gd php7.2-mysql php7.2-dev \
    php7.2-imap php7.2-intl php7.2-json php7.2-mbstring \
    php7.2-xml php7.2-sqlite3 php7.2-zip php7.2-xmlrpc \
    php-pear php-apcu openssl
Step 7: Install PHP mcrypt
Install the PHP mcrypt module on the server using the pecl channel:
sudo apt install php-dev libmcrypt-dev
sudo pecl channel-update pecl.php.net
sudo pecl install mcrypt-1.0.1
Step 8: Install MariaDB and create a new database
We will use MariaDB as a database engine. We can install MariaDB server from the Ubuntu base repository using the following commands:
sudo apt-get update
sudo apt-get install mariadb-server-10.1 mariadb-server-core-10.1
Once the MariaDB installation is complete, run the following commands to start the MariaDB service and enable it to run on server boot:
sudo systemctl start mariadb
sudo systemctl enable mariadb
Log in to the MariaDB server as root user, create a new database and assign a MariaDB user with privileges for accessing and modifying the newly created Dolphin database:
mysql -u root -p mysql> CREATE DATABASE dolphindb; mysql> GRANT ALL PRIVILEGES ON dolphindb.* TO 'dolphinuser'@'localhost' IDENTIFIED BY '<span style="color: #ff0000;">sTr0ng-Pa55w0rd</span>' WITH GRANT OPTION; mysql> FLUSH PRIVILEGES; mysql> quit
Do not forget to replace ‘sTr0ng-Pa55w0rd’ with a strong password (a combination of letters and numbers and at least 10 characters long).
Step 9: Create an Apache Virtual Host
In order to access the Dolphin instance with a domain name, we need to create a virtual host. For example, create a new Apache configuration file named ‘dolphin.conf’ on the virtual server:
vi /etc/apache2/sites-available/dolphin.conf
Add the following lines:
<VirtualHost *:80> ServerAdmin [email protected]< DocumentRoot /var/www/dolphin/ ServerName yourdomain.com ServerAlias www.yourdomain.com <Directory /var/www/dolphin/> Options FollowSymLinks AllowOverride All Require all granted </Directory> ErrorLog /var/log/apache2/yourdomain.com-error_log CustomLog /var/log/apache2/yourdomain.com-access_log common </VirtualHost>
NOTE: Do not forget to replace ‘yourdomain.com‘ with your actual domain name.
Save the file and enable the Apache configuration about Dolphin:
sudo a2ensite dolphin.conf
We may also disable the default Apache virtual host file:
a2dissite 000-default.conf
Restart the Apache web server for the changes to take effect:
systemctl restart apache2
Step 10: Configure PHP
Locate the PHP configuration file:
php --ini | grep Loaded
The output should be something like this:
Loaded Configuration File: /etc/php/7.2/cli/php.ini
Edit the php.ini configuration file:
vi /etc/php/7.2/cli/php.ini
Add/modify the following options:
memory_limit = 128M
file_uploads = On
allow_url_fopen = On
allow_url_include = Off
upload_max_filesize = 256M
short_open_tag = On
max_execution_time = 360
default_charset = "UTF-8"
extension=mcrypt.so
Make sure that the ‘exec‘ PHP function is allowed (i.e. it is not listed in disable_functions) and ‘open_basedir‘ is not set:
#php -i | grep -i disable_functions
disable_functions => no value => no value
#php -i | grep -i open_basedir
open_basedir => no value => no value
Once again, restart the Apache web server for the changes to take effect:
service apache2 restart
Step 11: Install Dolphin
Download the latest version of Dolphin available at ‘https://github.com/boonex/dolphin.pro’ into the /opt directory on the server and extract it using the following commands:
cd /opt
wget https://github.com/boonex/dolphin.pro/archive/master.zip
unzip master.zip
Move the unpacked Dolphin files in the document root directory of your website:
mv dolphin.pro-master /var/www/dolphin
Set the proper file permissions so the web server user can write in certain files and directories of the Dolphin instance:
chown www-data:www-data -R /var/www/dolphin
Also, run the following command to make the ‘ffmpeg.exe’ file executable:
chmod 755 /var/www/dolphin/flash/modules/global/app/ffmpeg.exe
Open http://yourdomain.com/ in your favorite web browser and follow the easy instructions: check whether file and directory permissions are set properly on the server and check the paths to website’s document root and scripts. On the next page, enter 3306 as the database host port number, enter the database name, database user and password. On the next page, set a website title, site description, enter your email address, and create a new administrator user.
To keep your Dolphin instance secure, remove the write flag from the ‘inc‘ directory:
chmod -w /var/www/dolphin/inc/
Also, set a new cron job for Dolphin with the following command:
crontab -e
add the following lines:
[email protected]
* * * * * cd /var/www/dolphin/periodic; /usr/bin/php -q cron.php
Do not forget to change ‘admin@emailaddress.com‘ with your actual email address. Save the file and restart the cron service for the changes to take effect:
service cron restart
After finishing the installation, it is recommended to delete all files and sub-directories from the install directory located in the document root of the Dolphin instance as a security precaution, so run the following command:
rm -rf /var/www/dolphin/install/
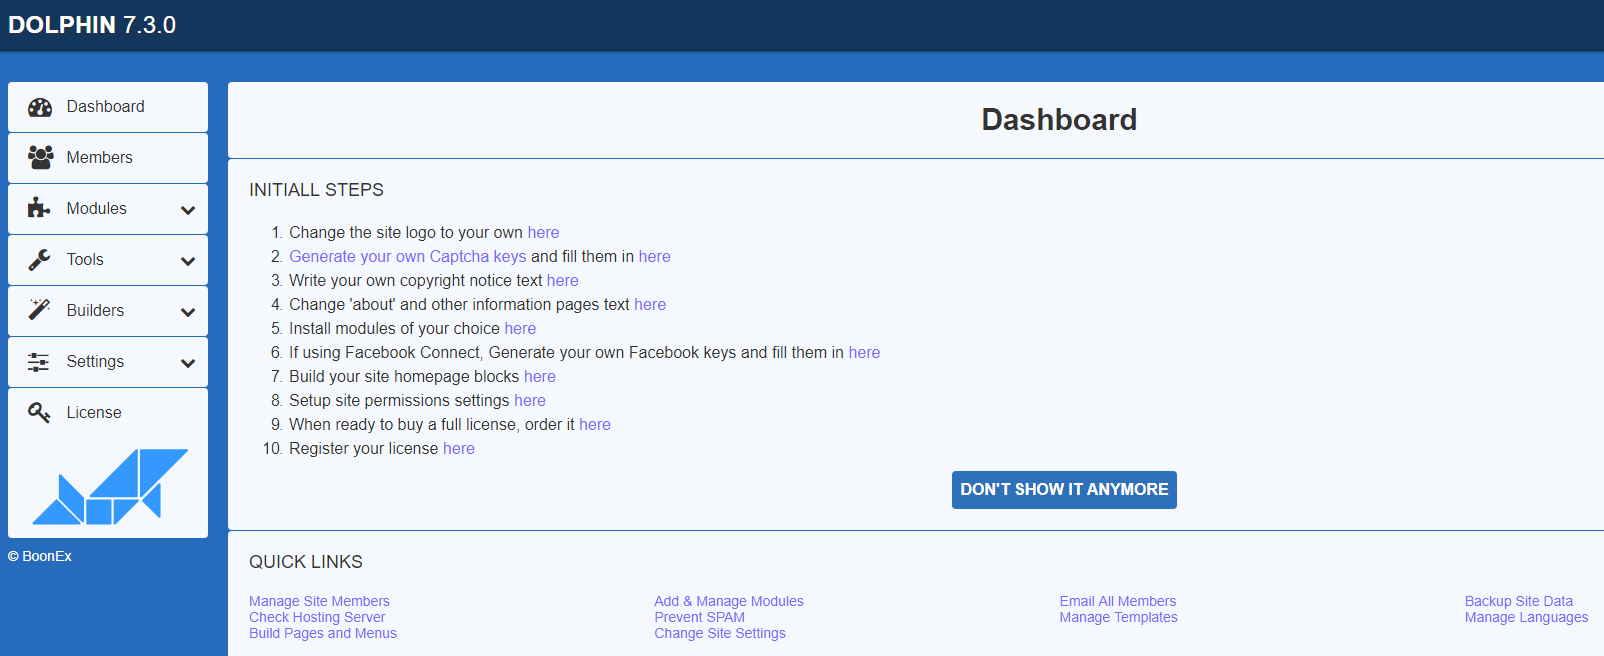
That is it. We successfully installed Dolphin on an Ubuntu 18.04 Cloud VPS. We can now proceed to the admin panel and configure Dolphin, install additional modules etc.
![]() Of course, you don’t have to install and configure Boonex Dolphin on Ubuntu 18.04, if you use one of our Managed Cloud VPS Hosting solutions, in which case you can simply ask our expert Linux admins to setup and configure Boonex Dolphin on Ubuntu 18.04 for you. They are available 24×7 and will take care of your request immediately.
Of course, you don’t have to install and configure Boonex Dolphin on Ubuntu 18.04, if you use one of our Managed Cloud VPS Hosting solutions, in which case you can simply ask our expert Linux admins to setup and configure Boonex Dolphin on Ubuntu 18.04 for you. They are available 24×7 and will take care of your request immediately.
PS. If you liked this post on how to install Boonex Dolphin on an Ubuntu 18.04 Cloud VPS, or if you found it helpful, please share it with your friends on the social networks using the buttons on the left or simply leave a reply below. Thanks.