
In this tutorial, we are going to explain in step-by-step detail how to install Gatsby on Ubuntu 22.04
Gatsby is an open-source static generator built on Node.js using React and GraphQL. With Gatsby, one can build fast and modern applications and websites with React.
It provides a bunch of plugins for static sites based on sources such as markdown documents, images, and content management systems such as WordPress, Drupal, and many more.
Installing Gatsby is a straightforward process that may take up to 15 minutes. Let’s get things done!
Prerequisites
- A server with Ubuntu 22.04 as OS
- User privileges: root or non-root user with sudo privileges
Step 1. Update the System
Fresh installation of Ubuntu 22.04 needs the packages to be updated to the latest versions available.
sudo apt-get update -y && sudo apt-get upgrade -y
Step 2.Install Nodejs and NPM
By default, the nodejs packets are added to the default repository of Ubuntu 22.04. This is the easiest and fastest way to install Node.js, but that is not the latest version, so that we will use another method.
We will install Nodejs with the NodeSource repository. First, we need to add the repository with the following command:
curl -fsSL https://deb.nodesource.com/setup_18.x | sudo -E bash -
Once added, you should receive the following output:
## Run `sudo apt-get install -y nodejs` to install Node.js 18.x and npm
## You may also need development tools to build native addons:
     sudo apt-get install gcc g++ make
## To install the Yarn package manager, run:
     curl -sL https://dl.yarnpkg.com/debian/pubkey.gpg | gpg --dearmor | sudo tee /usr/share/keyrings/yarnkey.gpg >/dev/null
     echo "deb [signed-by=/usr/share/keyrings/yarnkey.gpg] https://dl.yarnpkg.com/debian stable main" | sudo tee /etc/apt/sources.list.d/yarn.list
     sudo apt-get update && sudo apt-get install yarn
Update the system and execute the install command:
sudo apt-get update -y

sudo apt-get install nodejs -y
Once installed, check the installed Nodejs version with the node -v command.
root@host:~# node -v
v18.17.0
Automatically with the installation of the NodeJS, NPM is installed as well. To check the installed NPM version, execute the command: npm -v
root@host:~# npm -v
9.6.7
Step 3. Install Gatsby Client
Gatsby-CLI is a command starter for Gatsby applications. It is used for creating Gatsby projects, starting a development server, building the application for the production server etc.
To install Gatsby-CLI execute the following command:
npm -g install gatsby-cli
Once the installation is completed, check the Gatsby version with gatsby –version command
root@host:~# gatsby --version
╔════════════════════════════════════════════════════════════════════════╗
║                                                                        ║
║   Gatsby collects anonymous usage analytics                            ║
║   to help improve Gatsby for all users.                                ║
║                                                                        ║
║   If you'd like to opt-out, you can use `gatsby telemetry --disable`   ║
║   To learn more, checkout https://gatsby.dev/telemetry                 ║
║                                                                        ║
╚════════════════════════════════════════════════════════════════════════╝
Gatsby CLI version: 5.11.0
Step 4. Create Gatsby Project
Now, when Gatsby-ClI is installed, we can easily create an empty project:
gatsby new
What would you like to call your site?
✔ · <strong>My Gatsby Website</strong>
What would you like to name the folder where your site will be created?
✔ root/ <strong>my-gatsby-website</strong>
✔ Will you be using JavaScript or TypeScript?
· <strong>JavaScript</strong>
✔ Will you be using a CMS?
· <strong>No (or I'll add it later)</strong>
✔ Would you like to install a styling system?
· <strong>Tailwind CSS</strong>


Thanks! Here's what we'll now do:

    Create a new Gatsby site in the folder my-gatsby-website
    Get you set up to use Tailwind CSS for styling your site


? Shall we do this? (Y/n) ‣ <strong>Yes</strong>
 Created site from template
▸ Installing Gatsby...
Once done, you will receive the following output:
✔ Created site from template
✔ Installed Gatsby
✔ Installed plugins
✔ Created site in my-gatsby-website
 Setting-up plugins...

info Adding gatsby-plugin-postcss
info Installed gatsby-plugin-postcss in gatsby-config
success Adding gatsby-plugin-postcss to gatsby-config - 0.283s
 Adding necessary styling files...
 Your new Gatsby site My Gatsby Website has been successfully created
at /root/my-gatsby-website.
Start by going to the directory with

  cd my-gatsby-website

Start the local development server with

  npm run develop

See all commands at

  https://www.gatsbyjs.com/docs/reference/gatsby-cli/
Now, we can go into the website directory as explained above and start the development server:
cd my-gatsby-website

gatsby develop -H <strong>YourIPAddressHere</strong>
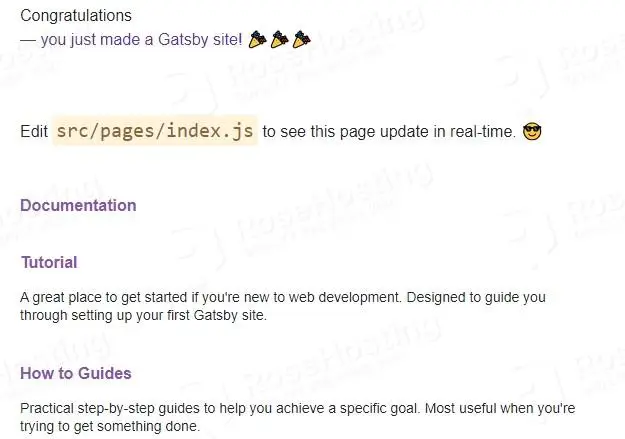
Once done, you can access your Gatsby application on port 8000 at http://YourServerIPaddress:8000
We hope that today’s guide has made it easier for you to install Gatsby on Ubuntu 22.04. Now, we’d like to hear your feedback.
Do you feel like we’ve missed something, or is there a part of the process that you’d like us to elaborate on? Are there other subjects or tutorials you’re interested in that we should feature?
Don’t hesitate to let us know your thoughts in the comments section below.