In this tutorial, we will show you how to Install Wagtail on Ubuntu 18.04.
 Wagtail is a free, fast, elegant, open source CMS written in Python and built using the Django web framework for developing dynamic apps and websites. Wagtail is excellent for creating blogs and other websites that let you present your ideas to the world through a fast and good-looking webpage. The install process won’t take long, so let’s get started with the installation.
Requirements:
- For the purposes of this tutorial, we will be using an Ubuntu 18.04 VPS.
- Full SSH root access or a user with sudo privileges is also required.
Step 1: Log in via SSH and Update the System
Log in to your Ubuntu 18.04 VPS using SSH as the root user (or as a user account with sudo privileges)
$ ssh root@<span style="color: #ff0000;">IP_Address</span> -p <span style="color: #ff0000;">Port_number</span>
Don’t forget to replace “IP_Address” and “Port_number” with their respective values.
You can check whether you have the proper Ubuntu version installed on your server with the following command:
$ lsb_release -a
You should get this output:
Distributor ID: Ubuntu
Description:    Ubuntu 18.04.1 LTS
Release:        18.04
Codename:       bionic
Once you are logged in, run the following command to update all installed packages to the latest available version:
apt-get update && apt upgrade
This maximizes compatibility and ensures that everything will work properly once installed.
Step 2: Install Python 3 and Pip 3
Installing Wagtail really only has one main prerequisite in terms of installed software: Python. We need to install Python 3 and pip 3 onto our server before Wagtail can be used. To do this, run the following command:
$ apt-get install python3 python3-pip
That should install the requirements you need to get Wagtail installed on Ubuntu 18.04
To verify if Python 3 has been successfully installed, you can run the following command:
$ python3 -V
Output:
Python 3.6.7
And to verify if pip3 is installed, you can execute this:
$ pip3 -V
Output:
pip 9.0.1 from /usr/lib/python3/dist-packages (python 3.6)
Step 3: Install Wagtail
Run the following command to download and install Wagtail using Pip3 into your home directory:
cd ~/
pip3 install wagtail
That should get Wagtail installed and ready to use.
Step 4: Create a Wagtail App
Now we can create a new Wagtail project. For this tutorial, we are going to create the app in the home directory. You can do this elsewhere if it’s more convenient for you.
Run the following commands to create a new project called “myproject“:
cd ~/
wagtail start <span style="color: #ff0000;">myproject</span>
cd <span style="color: #ff0000;">myproject</span>
pip3 install -r requirements.txt
python3 manage.py migrate
NOTE: This will add a new directory for our project called myproject. You can name this according to your needs.
Before we proceed, run the following command to create a Wagtail superuser account. This account will be used to access the Wagtail back-end portal.
python3 manage.py createsuperuser
That should prompt you to create a superuser account:
Username (leave blank to use 'root'): admin
Email address: admin@<span style="color: #ff0000;">your_domain.com</span>
Password: <span style="color: #ff0000;">admin_password</span>
Password (again): <span style="color: #ff0000;">admin_password</span>
Superuser created successfully.
Make sure to use a suitably strong password that will keep your backend secure.
Step 5: Start the Wagtail server
To start up and run the Wagtail server, run the following command:
python3 manage.py runserver 0.0.0.0:8000
You will now be able to access the application in your preferred web browser at http://server_domain_or_IP:8000
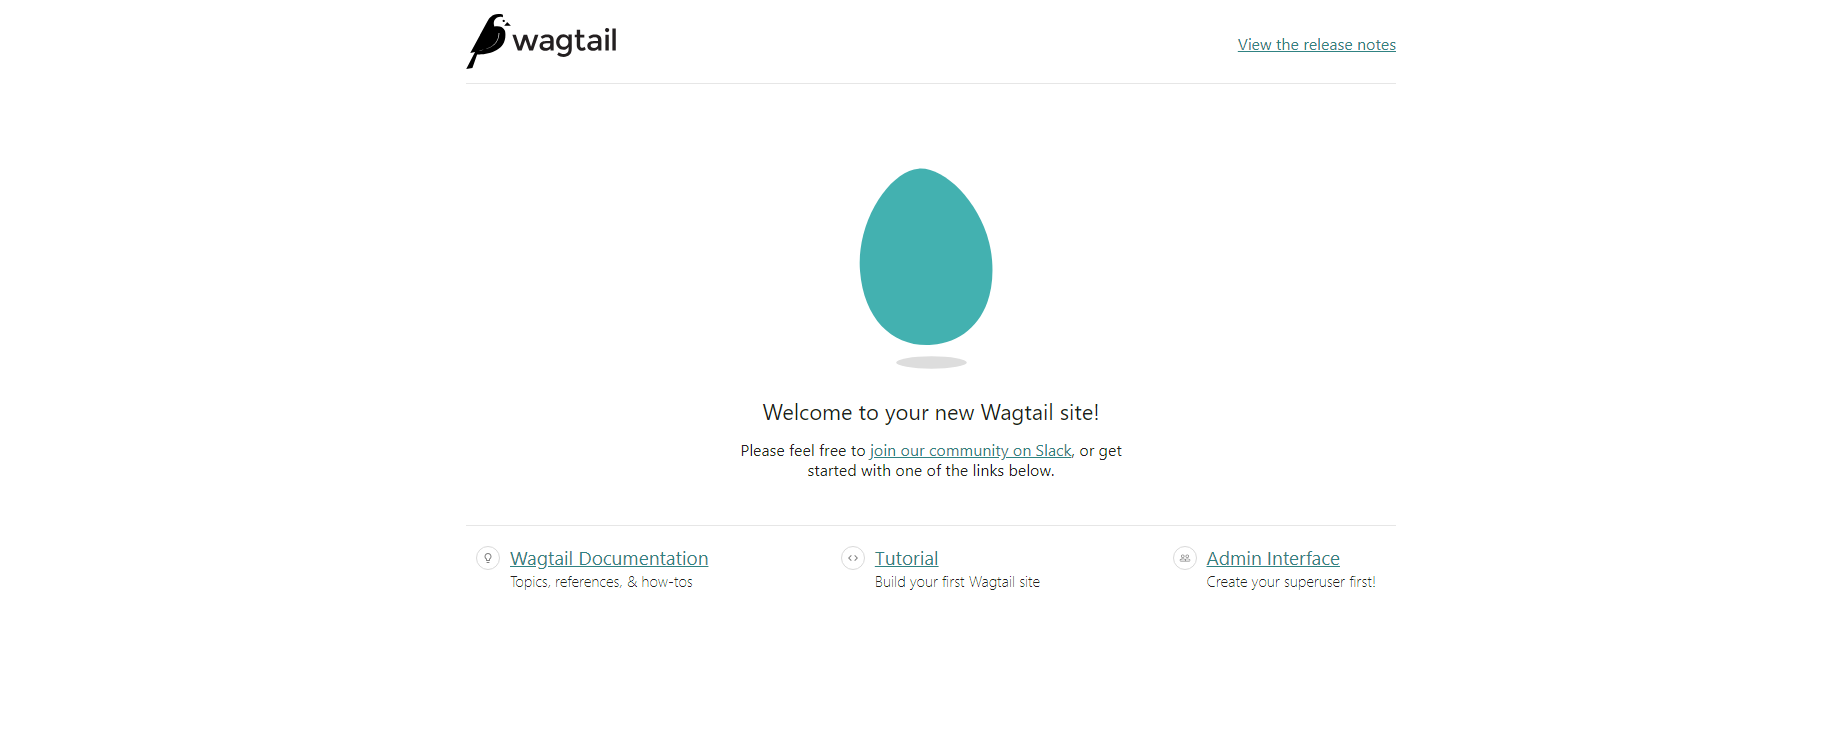
You should see the Wagtail welcome page. It should look similar to the one below:
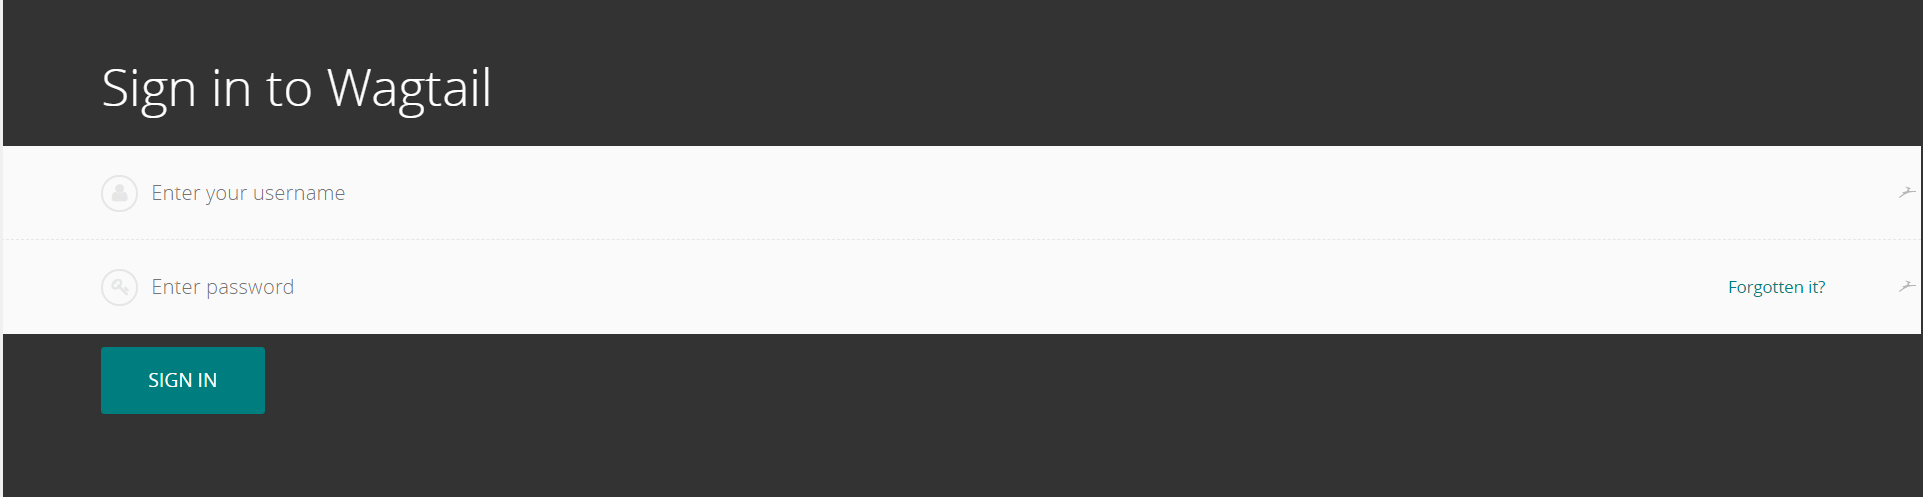
You can then access the Wagtail admin page and log in with your admin user at the following URL: http://server_domain_or_IP:8000/admin
That should prompt you for the superuser account and password:
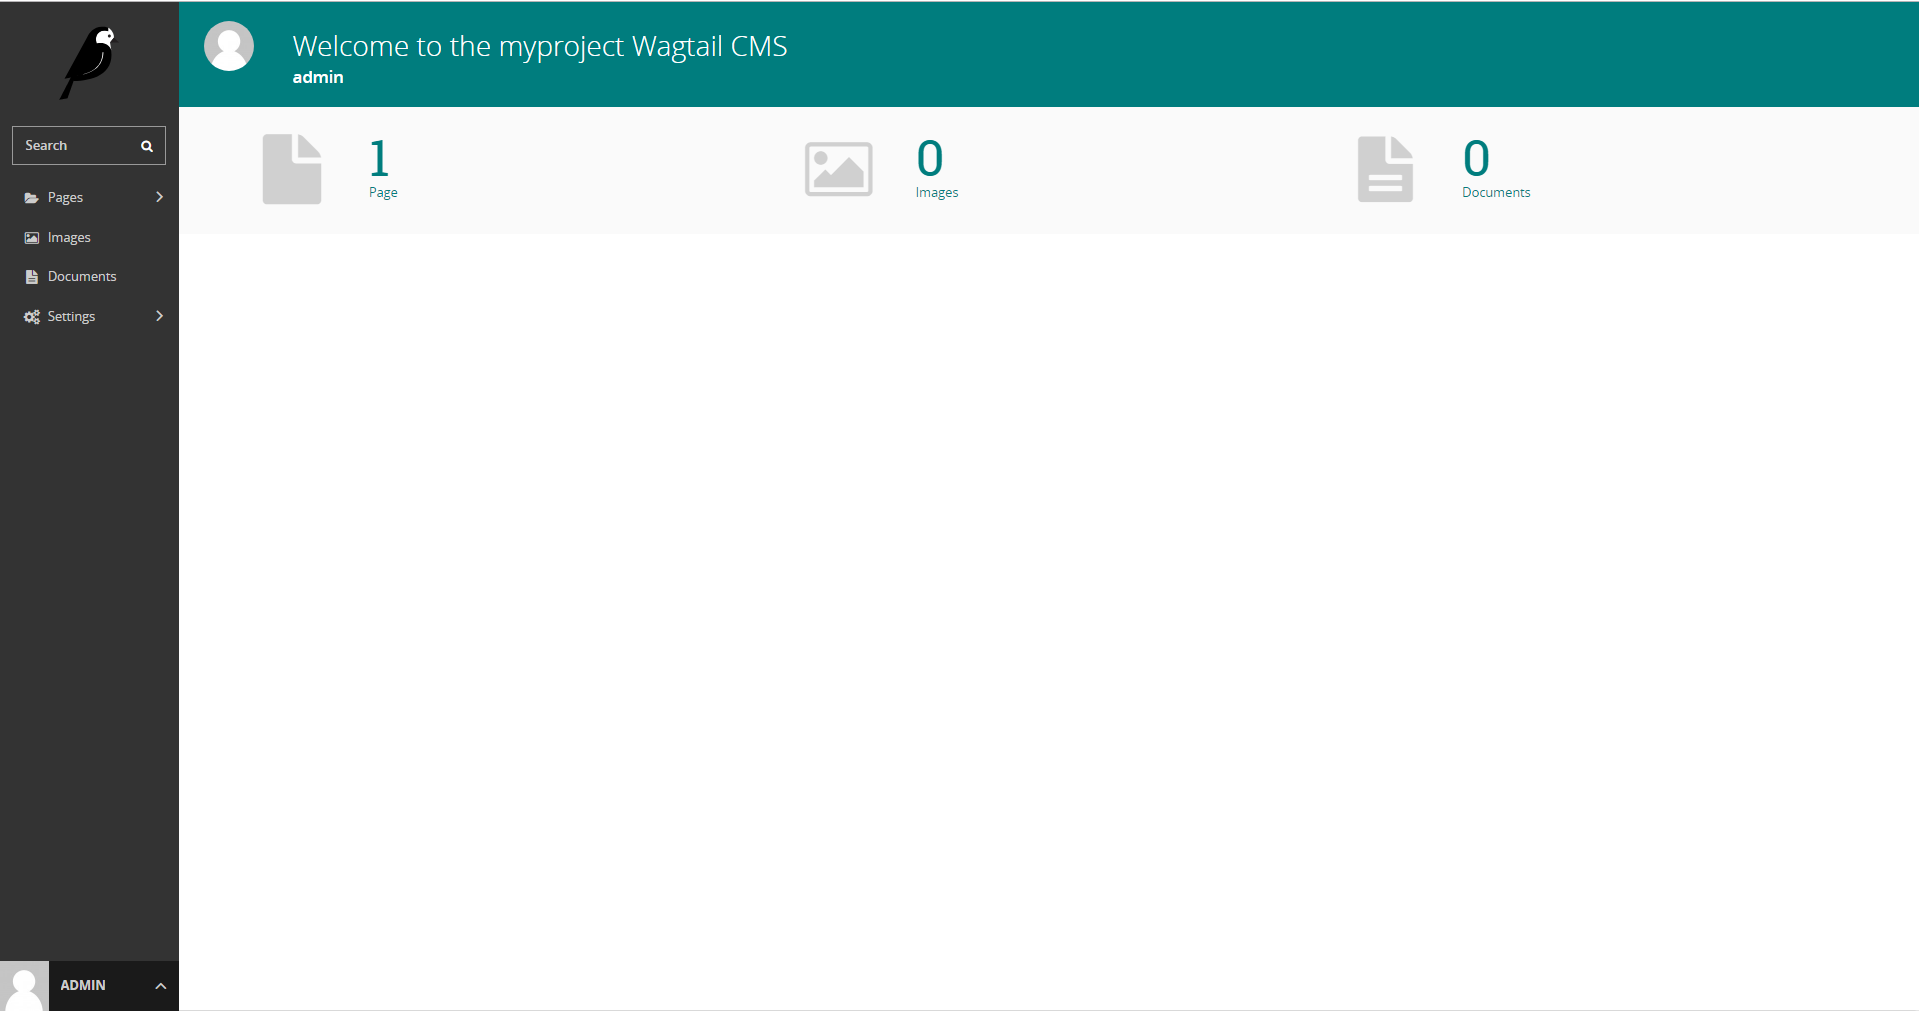
When you log in successfully, you will see a beautiful dashboard where you can add your content.
Step 6: Setting up a Reverse Proxy
In order to access your Wagtail application through the use your domain name, and without the port number in the URL, we need to set up Apache as a reverse proxy.
First, we will need to enable some additional proxy modules for Apache. You can do this with the following commands:
a2enmod proxy
a2enmod proxy_http
Once this is done, open a new configuration file using nano (or your favorite text editor):
nano /etc/apache2/sites-available/<span style="color: #ff0000;">your_domain.conf</span>
Add the following lines:
<VirtualHost *:80>
ServerName <span style="color: #ff0000;"><code>your_domain.com</code> </span> ServerAlias <span style="color: #ff0000;"><code>www.your_domain.com</code></span> ProxyRequests Off <Proxy *> Order deny,allow Allow from all </Proxy> ProxyPass / <code>http://<span style="color: #ff0000;">your_domain.com</span>:8000/</code> ProxyPassReverse / <code>http://<span style="color: #ff0000;">your_domain.com</span>:8000/</code> <Location /> Order allow,deny Allow from all </Location> </VirtualHost>
Run the following command to enable the new virtual host:
ln -s /etc/apache2/sites-available/<span style="color: #ff0000;">your_domain.conf</span> /etc/apache2/sites-enabled/<span style="color: #ff0000;">your_domain.conf</span>
Remember to replace your ‘your_domain.com’ with your actual registered domain name that’s set up to point to your server’s IP address. Save the changes and restart the Apache web server for the changes to take effect:
service apache2 restart
That’s it. If you followed all of the instructions properly you can now access your Wagtail CMS using your domain name and no specified port number.
Step7: Install an SSL Certificate
This is an optional step – please follow this step if you want to install a free SSL certificate from Let’s Encrypt on your domain. This will ensure that all users are securely connected to your server.
apt install python3-certbot-apache
Once installed, run the following command to install an SSL certificate. You will be asked a few questions to help configure it properly. You don’t have to create a new Apache virtual host – certbot will configure it for you.
certbot
You have successfully installed Wagtail on your Ubuntu 18.04 VPS and you should be able to access it at https://your_domain.com.
 Of course, if you are one of our Cloud VPS Hosting customers, you don’t have to install Wagtail CMS on your Ubuntu VPS – simply ask our admins, sit back, and relax. Our admins will install Wagtail CMS on Ubuntu 18.04 for you immediately.
PS. If you liked this post about how to install Wagtail CMS on your Ubuntu 18.04 VPS, please share it with your friends on the social networks using the share shortcuts, or simply leave a comment in the comments section. Thanks.