In this tutorial, we will show you how to install Pico CMS on an Ubuntu 16.04 VPS. Pico is a lightweight open source CMS written in PHP. Pico is a flat file CMS, so there is no need to use a database and there is no administration back-end. It uses the Twig templating engine for template rendering. It is a cross-platform application and supports all popular operating systems, but this tutorial was written for Ubuntu 16.04 OS. At the time of writing this tutorial, the latest stable version is Pico 1.0.6, and it requires:
- PHP 5.3 or higher
- Apache web server 2.2 or higher with enabled mod_rewrite module
This install guide assumes that Apache is already installed and configured on your virtual server.
Let’s start with the installation procedure.
1. Update the System Packages
Make sure your server Ubuntu 16.04 OS packages are fully up-to-date:
apt-get update
apt-get upgrade
2. Enable Required Apache Modules
Enable the Apache modules required for Pico CMS to function properly:
a2enmod rewrite
3. Restart Apache
Restart the Apache service for the changes to take effect:
service apache2 restart
4. Download Pico CMS
Download the latest stable version of Pico CMS at https://github.com/picocms/Pico/releases/latest in a directory of your server (e.g. /opt):
cd /opt
https://github.com/picocms/Pico/releases/download/v1.0.6/pico-release-v1.0.6.tar.gz
mkdir -p /var/www/html/pico/
tar -xvzf pico-*.tar.gz -C /var/www/html/pico/
5. Create a Pico user:
sudo useradd -d /var/www/html/pico -c 'Pico user' pico
sudo usermod -G www-data pico
6. Install Pico CMS
Download composer in the /var/www/html/pico/ directory and run it with the install option:
su pico
$ cd /var/www/html/pico/
$ curl -sS https://getcomposer.org/installer | php
$ php composer.phar install
Configure URL rewriting by setting $config[‘rewrite_url’] = true; in the /var/www/html/pico/config/config.php Pico configuration file:
cp  /var/www/html/pico/config/config.php.template /var/www/html/pico/config/config.php
cd /var/www/html/pico/config/
vi config.php
Replace
// $config['rewrite_url'] = null;
with
$config['rewrite_url'] = true;
Also, replace the timezone with your actula timezone e.g.:
Replace:
// $config['timezone'] = 'UTC';
with
$config['timezone'] = 'CDT';
7. Create a new Apache Virtual Host
If you want to access your Pico CMS installation using your own domain name, you will also need to create an Apache virtual host file:
vi /etc/apache2/sites-available/pico.conf
and enter the following content inside this file:
<VirtualHost *:80>
ServerAdmin [email protected]
DocumentRoot /var/www/html/pico
ServerName yourdomain.com
ServerAlias www.yourdomain.com

<Directory /var/www/html/pico>
Options FollowSymLinks
AllowOverride All
Order allow,deny
allow from all
</Directory>

ErrorLog /var/log/apache2/pico-error_log
CustomLog /var/log/apache2/pico-access_log common
</VirtualHost>
Save the file, and run the following command to enable the virtual host directive
a2ensite pico
8. Restart Apache
Restart the web server for the changes to take effect
service apache2 restart
If you closely followed all the instructions in this tutorial, you should be able to access the Pico CMS installation at http://yourdomain.com
You can download some theme at https://github.com/picocms/Pico/wiki/Pico-Themes . For more information on how create content, install plugins etc., please refer to the official Pico website.
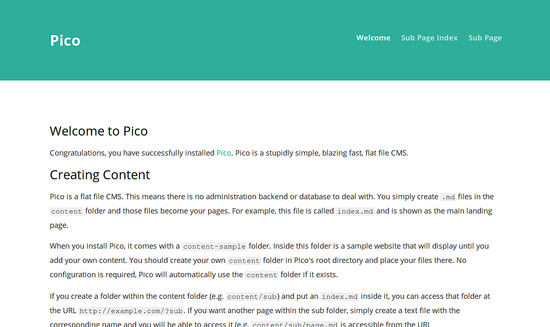
That is it. Pico CMS has been successfully installed.
Of course you don’t have to do any of this, if you use one of our Managed Ubuntu VPS hosting plans in which case you can simply ask our expert Linux admins to install Pico CMS for you. They are available 24×7 and will take care of your request immediately.
PS. If you liked this post, on how to Install and Configure Pico CMS on Ubuntu 16.04, please share it with your friends on the social networks using the buttons on the left or simply leave a reply below. Thanks.