
Pydio (formerly AjaXplorer) is an open source web-based application which allows you to instantly turn your server into a powerful file sharing platform.
In this tutorial we will show you how to install Pydio with Nginx on an Ubuntu VPS in less than 5 minutes.
Run the following commands in order to add the Pydio repos to the ‘/etc/apt/sources.list’ file :
sudo sh -c "echo deb http://dl.ajaxplorer.info/repos/apt/ stable main \ >> /etc/apt/sources.list"
sudo sh -c "echo deb-src http://dl.ajaxplorer.info/repos/apt/ stable main \ >> /etc/apt/sources.list"
Then, install the gpg key using the following command :
wget -O - http://dl.ajaxplorer.info/repos/[email protected] | sudo apt-key add -
The latest stables version of Nginx is not available via default Ubuntu repositories, so we will add the ‘nginx/stable’ PPA repository, update the server’s OS packages and install Nginx.
sudo apt-get install software-properties-common python-software-properties
sudo add-apt-repository ppa:ajaxplorer/stable
Make sure that all packages are up to date:
sudo apt-get update
sudo apt-get upgrade
Remove Apache2 and install Nginx on your cloud vps:
sudo apt-get remove apache2
sudo apt-get install nginx
Install PHP and PHP modules required by Pydio:
sudo apt-get install php5 php5-cli php5-fpm php5-mysql php5-gd php5-mcrypt
Install Pydio on your server using the following command:
sudo apt-get install pydio
Create a new database for Pydio:
mysql -u root -p
mysql> create database pydiodb;
mysql> GRANT ALL PRIVILEGES ON pydiodb . * TO pydio@'localhost' IDENTIFIED BY 'your-password' WITH GRANT OPTION;
mysql> flush privileges;
mysql> quit
Set permissions of your ‘/usr/share/pydio’ directory:
chown www-data:www-data -R /usr/share/pydio/
Locate the PHP configuration file using the following command:
php -i | grep php.ini
Configuration File (php.ini) Path => /etc/php5/cli
Loaded Configuration File => /etc/php5/cli/php.ini
Edit the ‘php.ini’ PHP configuration file:
vi /etc/php5/cli/php.ini
and add/modify the following lines:
; set the default timezone used by the date functions
date.timezone = US/Central

; allow HTTP file uploads
file_uploads = On

; support larger file uploads
post_max_size = 10G
upload_max_filesize = 10G

; maximum number of files that can be uploaded via a single request
max_file_uploads = 1000

; disable php output_buffering parameter for better performance
; output_buffering = 4096
Edit the /etc/php5/fpm/php.ini configuration file:
vi /etc/php5/fpm/php.ini
and add/modify the following lines:
memory_limit = 128M
cgi.fix_pathinfo = 0
safe_mode = Off
max_execution_time = 120
max_input_time = 120
Create a new Nginx configuration file:
vi /etc/nginx/sites-available/your-domain.com
and add the following lines:
server {
listen 80;
server_name your-domain.com;

root /usr/share/pydio;
client_max_body_size 20G;
index index.php index.html;
access_log /var/log/nginx/your-domain.com-access.log;
error_log /var/log/nginx/your-domain.com-error.log;
charset en_us.UTF-8;

location / {
}

location ~* \.(?:ico|css|js|gif|jpe?g|png)$ {
expires max;
add_header Pragma public;
add_header Cache-Control "public, must-revalidate, proxy-revalidate";
}

location ^~ /conf/       { deny all; }
location ^~ /data/       { deny all; }
location ^~ /robots.txt  { access_log off; log_not_found off; }
location ^~ /favicon.ico { access_log off; log_not_found off; }
location ~ /\.          { access_log off; log_not_found off; deny all; }
location ~ ~$           { access_log off; log_not_found off; deny all; }
location /api { try_files $uri $uri/ /rest.php?$args; }

location ~ \.php {
try_files $uri =404;
fastcgi_param  QUERY_STRING       $query_string;
fastcgi_param  REQUEST_METHOD     $request_method;
fastcgi_param  CONTENT_TYPE       $content_type;
fastcgi_param  CONTENT_LENGTH     $content_length;
fastcgi_param  SCRIPT_NAME        $fastcgi_script_name;
fastcgi_param  SCRIPT_FILENAME    $request_filename;
fastcgi_param  REQUEST_URI        $request_uri;
fastcgi_param  DOCUMENT_URI       $document_uri;
fastcgi_param  DOCUMENT_ROOT      $document_root;
fastcgi_param  SERVER_PROTOCOL    $server_protocol;
fastcgi_param  GATEWAY_INTERFACE  CGI/1.1;
fastcgi_param  SERVER_SOFTWARE    nginx;
fastcgi_param  REMOTE_ADDR        $remote_addr;
fastcgi_param  REMOTE_PORT        $remote_port;
fastcgi_param  SERVER_ADDR        $server_addr;
fastcgi_param  SERVER_PORT        $server_port;
fastcgi_param  SERVER_NAME        $server_name;
fastcgi_pass unix:/var/run/php5-fpm.sock;
}
}
Delete the default configuration file:
rm /etc/nginx/sites-enabled/default
Create a symbolic link using the following command:
ln -s /etc/nginx/sites-available/your-domain.com /etc/nginx/sites-enabled/your-domain.com
and restart php5-fpm and Nginx services for the changes to take effect:
/etc/init.d/php5-fpm restart
/etc/init.d/nginx restart
Open http://your-domain.com using a web browser and follow the easy instructions.
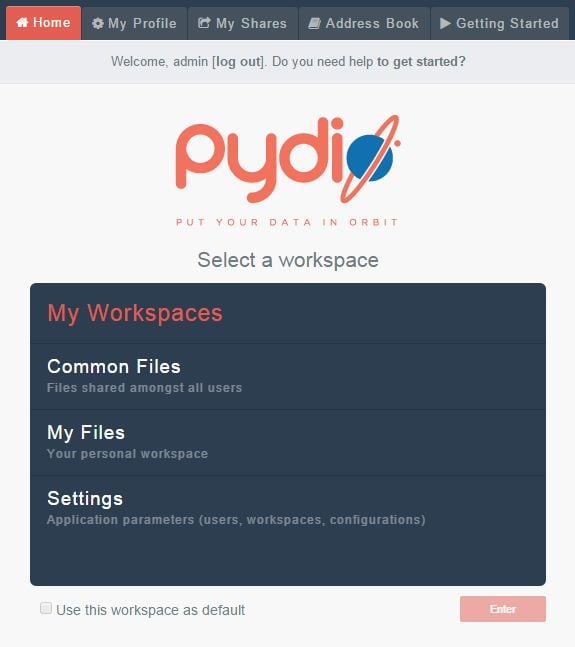
Pydio has been installed now.
Of course you don’t have to do any of this if you use one of our Linux Cloud VPS Hosting services, in which case you can simply ask our expert Linux admins to install Pydio for you. They are available 24×7 and will take care of your request immediately.
PS. If you liked this post please share it with your friends on the social networks using the buttons on the left or simply leave a reply below. Thanks.