In this article, you will find all the steps that you need to take in order to set up the Subversion (svn) server on your Debian 9 Cloud VPS.
 Subversion is an open source version control system which helps you keep track of files and folders collection. Whenever you do some change, such as adding or deleting a file or a folder that is managed with Subversion, these changes are committed to your Subversion repository and as a result, a new revision in your repository is created and it reflects these changes. You can, at any time you wish, go back and check the contents of the revisions made previously, and even revert back to a previous snapshot. This makes developing projects much easier to follow in a team, as well as making it safer in case a mistake is made.
Step 1. Log in via SSH and Update all Packages
Log in to your Debian 9 Cloud VPS with SSH as a root user, or as a user with sudo privileges:
ssh root@IP_Address -p Port_number
Once you are logged in, run the following command to update all installed packages to the latest available version:
apt update && apt upgrade
Step 2. Install Apache
The first thing you need to do is to install Apache web server which you need so you can access the SVN server.
Check whether Apache is already installed and running on your server. The following command will help you in that matter:
dpkg -l apache2
If you already have an Apache web server on your system, then you can skip these steps and move onto installing the SVN server itself.
apt install apache2
After the installation is complete, you should enable Apache to start automatically upon server boot with:
systemctl enable apache2
You can also check the status of your Apache service with the following command:
systemctl status apache2
● apache2.service - The Apache HTTP Server
Loaded: loaded (/lib/systemd/system/apache2.service; enabled; vendor preset: enabled)
Active: active (running)
Process: 13848 ExecReload=/usr/sbin/apachectl graceful (code=exited, status=0/SUCCESS)
Main PID: 491 (apache2)
CGroup: /system.slice/apache2.service
├─ 491 /usr/sbin/apache2 -k start
├─13865 /usr/sbin/apache2 -k start
├─14270 /usr/sbin/apache2 -k start
├─15401 /usr/sbin/apache2 -k start
└─15423 /usr/sbin/apache2 -k start
Step 3. Install SVN Server
Next, you need to install the Subversion packages and their dependencies – you can do that by entering this following command. Another thing you need to do is to install the SVN module for Apache, called libapache2-mod-svn, on your system.
sudo apt install -y subversion subversion-tools libapache2-mod-svn
Don`t forget to enable the required Apache modules once the installation is finished:
a2enmod dav
a2enmod dav_svn
and last but not least, the Apache service should be restarted:
service apache2 restart
Step 4. Configure Apache with Subversion
A configuration file /etc/apache2/mods-enabled/dav_svn.conf is created by the Subversion Apache module package. The subversion’s configuration file needs to be modified in the following manner:
<Location /svn>
 DAV svn
 SVNParentPath /var/lib/svn
 AuthType Basic
 AuthName "Subversion Repository"
 AuthUserFile /etc/apache2/dav_svn.passwd
 Require valid-user
</Location>
and now in order for the changes to take effect, don’t forget to restart the Apache web server.
service apache2 restart
Step 5. Create the First SVN Repository
At this point you need to create your first svn repository named testrepo (you can enter any name you like). That can be done using these commands:
mkdir -p /var/lib/svn/
svnadmin create /var/lib/svn/testrepo
You also need to set the required permissions on newly created directories.
chown -R www-data:www-data /var/lib/svn
chmod -R 775 /var/lib/svn
Step 6. Create Users for Subversion
Next you should create first svn user in /etc/apache2/dav_svn.passwd file. These users will be used for SVN authentication for checkout and commit processes.
htpasswd -cm /etc/apache2/dav_svn.passwd admin
The following commands can be used if you want to create additional users.
htpasswd -m /etc/apache2/dav_svn.passwd user1
htpasswd -m /etc/apache2/dav_svn.passwd user2
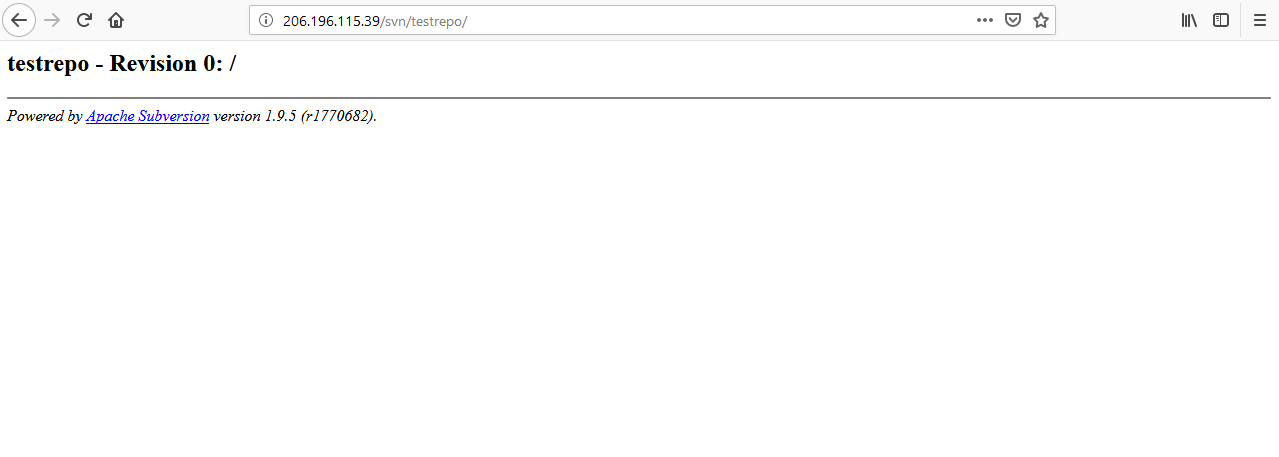
Step 7. Access Repository in Browser
Now, in order to access your repository in the browser, you need to use the HTTP URL which will lead to an authentication prompt. Here you need to use the login credentials which you have created in Step 6. your_domain.com can be changed with your system hostname, domain name or IP address.
http://your_domain.com/svn/testrepo/
Adding a Directory to a Repository
Create a directory called “checkout”
mkdir checkout
Check out the files contained within the repository to the testing directory. Replace user1 with your username.
svn checkout http://<span style="color: #ff0000;">your_domain.com</span>/svn/testrepo --username <span style="color: #ff0000;"><strong>user1</strong></span> checkout/
The output will be like below.
Authentication realm: <http://<span style="color: #ff0000;">your_domain.com</span>:80> Subversion Repository Password for 'user1': **** <strong><-- Enter Password</strong> ----------------------------------------------------------------------- ATTENTION! Your password for authentication realm: <http://<span style="color: #ff0000;">your_domain.com</span>:80> Subversion Repository can only be stored to disk unencrypted! You are advised to configure your system so that Subversion can store passwords encrypted, if possible. See the documentation for details. You can avoid future appearances of this warning by setting the value of the 'store-plaintext-passwords' option to either 'yes' or 'no' in '/root/.subversion/servers'. ----------------------------------------------------------------------- Store password unencrypted (yes/no)? yes <strong><-- Store Password</strong> Checked out revision 0.
Committing Files to Your Repository
Create test files for committing on the testrepo repository.
cd checkout/
touch checkout1.txt
touch checkout2.txt
Add those created files for committing.
svn add checkout1.txt checkout2.txt
Output:
A checkout1.txt
A checkout2.txt
Commit the added files. You can mention the commit message with the flag -m.
svn commit -m 'First Revision'
Output:
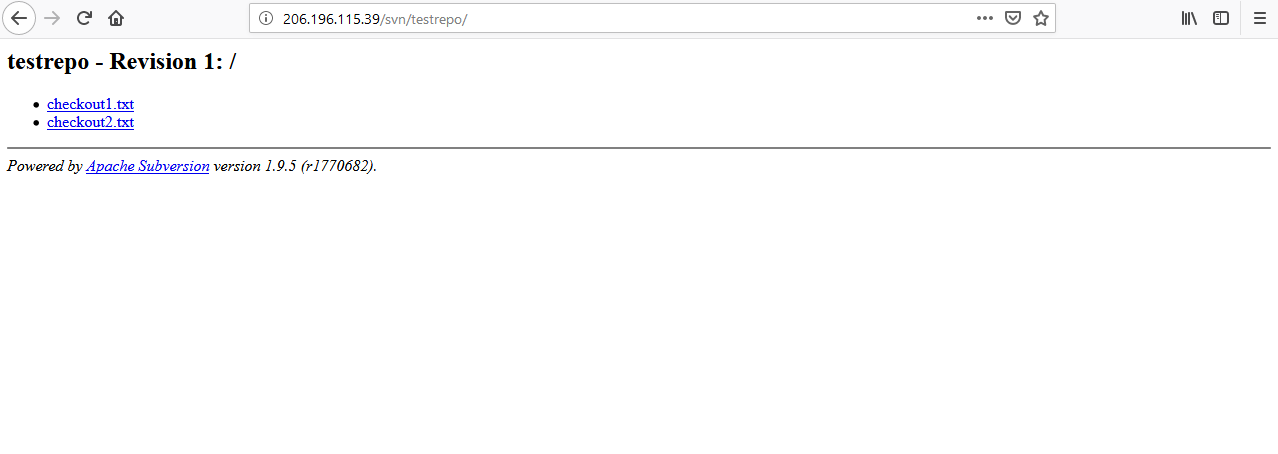
Adding         checkout1.txt
Adding         checkout2.txt
Transmitting file data ..done
Committing transaction...
Committed revision 1.
That’s All. You can view the committed files in a browser.
Congratulations! You have successfully installed SVN on your server, as well as gone over a few of the basic commands needed to get you up and running with SVN.
 Of course, you don’t have to do any of this if you use one of our Linux Cloud VPS hosting services, in which case you can simply ask our expert Linux admins to do this for you. They are available 24×7 and will take care of your request immediately.
PS. If you liked this post, or if you found it helpful, please share it with your friends on the social networks using the share shortcuts, or simply leave a reply below. Thanks.