
‘Monitor Anything’ is what Zabbix guarantees with their enterprise-class open-source monitoring solution. Zabbix is a type of network management system that can provide different monitoring metrics like CPU, network, disk, services status, and many others that can be monitored on different types of servers. It also provides an up-to-date dashboard for a straightforward setup.
Here are some of the monitoring solutions that are supported by Zabbix:
- Network Monitoring
- Server Monitoring
- Cloud Monitoring
- Application Monitoring
- Services Monitoring
- Web Monitoring
Zabbix is developed using C for the back-end, PHP for the front-end, and Java for its gateway. It is licensed under GNU General Public License version 2 and currently maintained by Zabbix LLC. Its current stable release is Zabbix 4.0.
In this article, we will show you how to install Zabbix on Ubuntu 18.04.
Prerequisites:
For this tutorial, we will be using one of our managed Ubuntu VPS services. Before continuing, make sure that your server meets the following minimum hardware and software requirements:
Hardware Requirements:
Zabbix hardware requirements are dependent on the number of hosts to be monitored.
- For hosts less than or equal 100: 1 CPU Core + 1GB RAM
- For hosts greater than 100 and less than or equal 500: 2 CPU Cores + 2GB RAM
- For hosts greater than 1,000 and less than 10,000: 4 CPU Cores + 8GB RAM
- For hosts greater than 10,000: 8 CPU Cores + 16GB RAM
Software Requirements:
- Apache v1.3.12 or later
- PHP v5.4.0 or later
- MySQL or MariaDB using InnoDB Engine
- An account with full root access
- A dedicated public IP address
Checking for Updates and Installing Dependencies
Log in to your server via SSH:
ssh [username]@[server_ip_address]
Change [username] with the account name of a root-privileged user found on the server (or the root user itself), and replace [server_ip_address] with the dedicated public IP address assigned to your server.
Before starting with the installation, it is recommended to update Ubuntu packages to their latest versions:
apt-get update
apt-get upgrade
We suggest installing basic libraries and dependencies to ensure we will not encounter any missing library or dependency issues during and for future installations.
apt-get install software-properties-common build-essential -y
Installing the LAMP Stack
1. Installing Apache2
To begin with, we will need to install a web server. Zabbix recommends Apache running as web server since it is proven to be reliable and robust.
To proceed with the install, supply the following command in your terminal:
apt-get install apache2
Once the package has been installed, start and enable the automatic boot of the Apache service by:
systemctl enable apache2
systemctl start apache2
To check if our Apache service is working, use the following command:
systemctl status apache2
You should see almost the same output:
● apache2.service - The Apache HTTP Server
Loaded: loaded (/lib/systemd/system/apache2.service; enabled; vendor preset: enabled)
2. Installing PHP
Zabbix supports PHP version greater than 5.4. It is recommended to use the stable version of PHP which is PHP version 7.2.
To proceed, use the following commands:
add-apt-repository ppa:ondrej/php
apt-get update
After updating the repository, use the following command to install PHP 7.2 and all PHP extensions required by Zabbix:
apt install php7.2 libapache2-mod-php7.2 php7.2-cli php7.2-mysql php7.2-common php7.2-ldap php7.2-zip php7.2-bcmath php7.2-mbstring php7.2-curl php7.2-soap php7.2-gd php7.2-xml php7.2-cgi
To verify the PHP version installed, supply the following command:
php -v
You should almost the same following output:
PHP 7.2.18-1+ubuntu18.04.1+deb.sury.org+1 (cli) (built: May  3 2019 09:24:01) ( NTS )
Copyright (c) 1997-2018 The PHP Group
Zend Engine v3.2.0, Copyright (c) 1998-2018 Zend Technologies
    with Zend OPcache v7.2.18-1+ubuntu18.04.1+deb.sury.org+1, Copyright (c) 1999-2018, by Zend Technologies
3. Installing MariaDB Server
Our Zabbix application will require a database to work and for this, we recommend using MariaDB. To install the MariaDB server, type the following command.
apt-get install mariadb-server
After a successful installation, it is recommended to configure the basic security settings of our database server by using the built-in security script pre-installed with MariaDB.
mysql_secure_installation
Most of the prompts are answerable by ‘Yes’:
Remove anonymous users? (Press y|Y for Yes, any other key for No) : Y
Disallow root login remotely? (Press y|Y for Yes, any other key for No) : Y
Remove test database and access to it? (Press y|Y for Yes, any other key for No) : Y
Reload privilege tables now? (Press y|Y for Yes, any other key for No) : Y
To verify the installed version of MariaDB, supply the following command:
mysql -V
You should see the following output:
mysql Ver 15.1 Distrib 10.1.38-MariaDB, for debian-linux-gnu (x86_64) using readline 5.2
Zabbix will require an initial import of database schema which we will do later. For now, we will need to modify some configurations to avoid issues when importing.
Open the MariaDB server configuration file:
nano /etc/mysql/mariadb.conf.d/50-server.cnf
and add the following lines at the end of the file:
innodb_file_format = Barracuda
innodb_large_prefix = 1
innodb_default_row_format = dynamic
Save and exit. Finally, to apply the changes, restart our MariaDB database:
systemctl restart mysql
Creating the Zabbix Database
After installing and securing our database server, we can now continue by creating the database for our Zabbix installation.
First, log-in to database shell using:
mysql -u root -p
Second, use the following commands one by one to create the database zabbix_db and assign the database user zabbix_user with proper privileges. Always remember to use a very strong password especially with databases.
CREATE DATABASE zabbix_db;
CREATE USER 'zabbix_user'@'localhost' IDENTIFIED BY '[$tr0ng_p@$word]';
GRANT ALL PRIVILEGES ON zabbix_db.* TO 'zabbix_user'@'localhost' IDENTIFIED BY '[$tr0ng_p@$word]' WITH GRANT OPTION;
FLUSH PRIVILEGES;
EXIT;
Installing Zabbix Via Package
At the time of writing, the latest stable LTS version of Zabbix is 4.0. Fortunately, Zabbix has provided Ubuntu-based repository for easier installation and updates in the future.
Apply the commands one by one:
cd /opt
wget https://repo.zabbix.com/zabbix/4.0/ubuntu/pool/main/z/zabbix-release/zabbix-release_4.0-2+bionic_all.deb
dpkg -i zabbix-release_4.0-2+bionic_all.deb
apt-get update
apt-get upgrade
After successfully updating the repositories and packages, we can now install Zabbix package which involves MySQL, PHP, and the Zabbix Agent.
apt -y install zabbix-server-mysql zabbix-frontend-php zabbix-agent
Setting up Zabbix Database Schema
To finalize the setup of the Zabbix database, we will need to import the initial schema for our Zabbix database which we have mentioned earlier.
zcat /usr/share/doc/zabbix-server-mysql/create.sql.gz | mysql -u zabbix_user -p zabbix_db
Configuring Zabbix Database Connection
After importing the default schema, we will then need to update the Zabbix configuration with the correct database credentials. To proceed, open the following file:
nano /etc/zabbix/zabbix_server.conf
and modify the following parameters:
DBName=zabbix_db
DBUser=zabbix_user
DBPassword=[$tr0ng_p@$word]
For Zabbix web server installation, PHP Time Zone variable is required. To enable PHP date.timezone variable, uncomment the line php_value date.timezone and apply the correct timezone value in the following file:
nano /etc/apache2/conf-enabled/zabbix.conf
Finally, restart and enable at boot our Zabbix service:
systemctl restart zabbix-server
systemctl enable zabbix-server
systemctl restart apache2
Finalizing Zabbix Installation
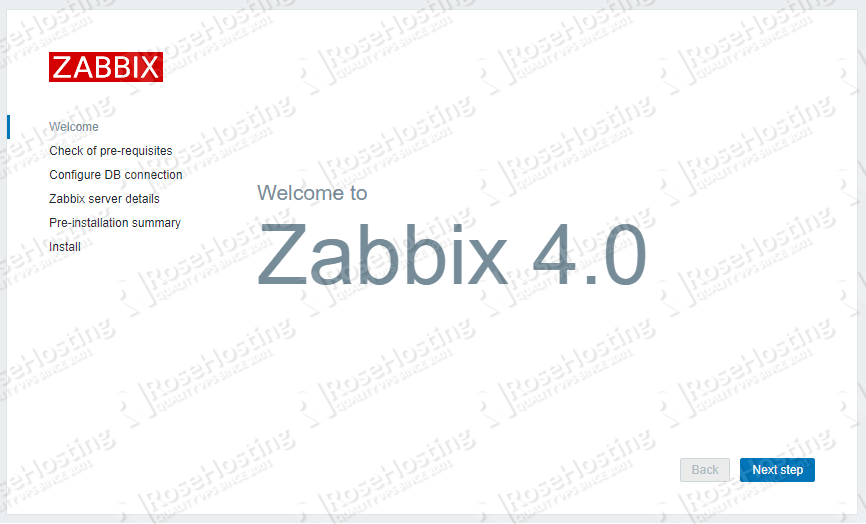
Once everything has been set up, visit http://[server_ip_address]/zabbix to proceed with the initial setup of Zabbix which should look like this:
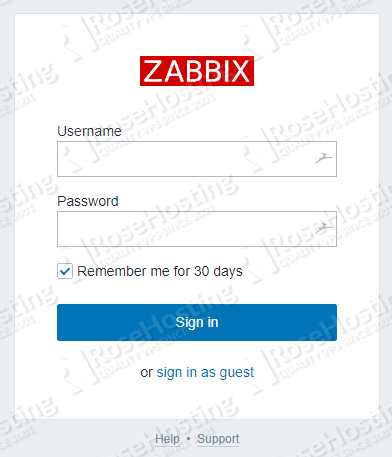
Once the initial setup is done, you should now see the Zabbix login page. The default credentials for Zabbix are the following:
Username: admin
Password: zabbix
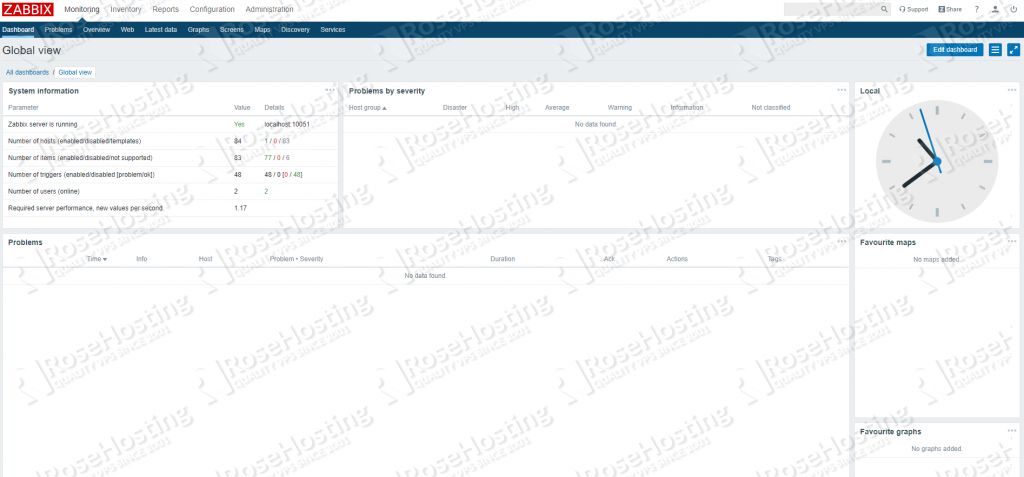
If the login is a success, you should see Zabbix’s modern dashboard.
That’s it – you now have a working Zabbix monitoring server powered by Ubuntu 18.04.
Of course, you don’t have to install Zabbix on Ubuntu 18.04 if you have an Cloud VPS Hosting with us. You can simply ask our support team to install Zabbix on Ubuntu 18.04 for you. They are available 24/7 and will be able to help you with the installation.

If you enjoyed reading this blog post on how to install Zabbix on Ubuntu 18.04, feel free to share it on social networks using the shortcuts below, or simply leave a comment in the comments section. Thanks.