
Roundcube Webmail is open-source browser-based webmail that is written in PHP and uses MySQL as database storage. It can provide almost the same features as application-based mail clients such as Outlook and Thunderbird but is using a more approachable solution since it can be accessed publicly by just using a web browser combined with its fast and user-friendly web interface.
In this guide, we will show you how to install Roundcube Webmail on a CentOS 8 VPS. Installing Roundcube Webmail on CentOS 8 should take less than 15 minutes to complete. We will be using our SSD 1 VPS plan with CentOS 8 for this tutorial. Let’s start.
Prerequisites
- A CentOS 8 VPS installation with full root access.
- A working Postfix and Dovecot set up on your server with an email account already created.
- A subdomain pointing to your server IP address as the main domain for our RoundCube Webmail installation.
Step 1: Log in via SSH and Update Packages
First, log in to your CentOS 8 VPS via SSH as the root user using your favorite terminal:
ssh root@ip_address -p port_number
Once logged in, it is best to update all the CentOS 8 packages installed to make sure they are running on their latest versions. Simply run the following command:
yum update -y
Step 2: Installing LEMP Stack
As mentioned earlier, Roundcube is written with PHP and works with MySQL as its data storage. To make it work on our CentOS 8 VPS, we need to set up a LEMP (Linux, Nginx, MySQL, PHP) stack first.
To install and set up the Nginx web server, use the following command:
yum install nginx -y
Then we need to enable at boot, start, and verify that the Nginx service is running without issues:
systemctl enable nginx
systemctl start nginx
systemctl status nginx
Next to install in the stack is PHP. Roundcube requires php-imap extension which is not included with CentOS 8’s repository by default. With that said, we need to install the Remi Repository for CentOS 8 to provide us additional PHP modules. In this setup, we will be installing the latest PHP version, PHP 7.4.
yum install https://rpms.remirepo.net/enterprise/remi-release-8.rpm
yum module reset php
yum module enable php:remi-7.4 -y
Once the repository is set up, we can now proceed to install PHP and the PHP packages required by Roundcube Webmail:
yum -y install php-fpm php-ldap php-imagick php-common php-gd php-imap php-json php-curl php-zip php-xml php-mbstring php-bz2 php-intl php-gmp
Since we will be using PHP-FPM, it will be a service that we need to enable at boot, start, and check if running.
systemctl enable php-fpm
systemctl start php-fpm
systemctl status php-fpm
Finally, to complete the stack, we need to install the MySQL database. We will be using MariaDB (a fork of MySQL) as our database service.
yum install mariadb-server -y
Once installed, we need to secure the database installation which can be done by simply using the built-in command:
mysql_secure_installation
At the first prompt, just press Enter since by default there is no password for root. Then answer Y for the rest of the questions.
Then same with Nginx, we need to make sure the MariaDB service is working as expected and will automatically start at boot:
systemctl enable mariadb
systemctl start mariadb
systemctl status mariadb
Step 3: Creating the database
Setting up a database for our Roundcube Webmail installation is fairly easy. We will need to create the database, create and assign a database user, then apply full privileges on that database user to the database. We can do all of this directly via MySQL CLI. To proceed, login as root first:
mysql -u root -p
Once logged in, we can now create the database using the following syntax:
CREATE DATABASE roundcube_db;
NOTE: All text with red font means that it can be modified as you like.
Next, create the database user by using the one-line command. Do not forget to set a strong password. Generally, a password utilizing at least 12 characters including alphanumeric and grammatical symbols is sufficient. Never use passwords based upon dictionary words or significant dates.
CREATE USER 'roundcube_user'@'localhost' IDENTIFIED BY 'StR0n6_P@$sW0rD';
We then need to assign the newly created database user to the newly created database with full privileges:
GRANT ALL ON roundcube_db.* TO 'roundcube_user'@'localhost' IDENTIFIED BY 'StR0n6_P@$sW0rD';
Finally, we need to flush the privileges then exit MySQL CLI since we are done:
FLUSH PRIVILEGES;
exit;
Step 4: Installing and Setting Up Roundcube Files
Now that we have LEMP stack running and the database for our Roundcube Webmail is ready, we can now download Roundcube’s latest stable release. As of writing, the latest stable version available is v1.4.4. To download the Roundcube file on a directory, use the commands:
cd /opt
wget https://github.com/roundcube/roundcubemail/releases/download/1.4.4/roundcubemail-1.4.4-complete.tar.gz
Once downloaded, extract the archive then move the extracted directory to our preferred RoundCube Webmail installation directory:
tar -xvf /opt/roundcubemail-1.4.4-complete.tar.gz
mv /opt/roundcubemail-1.4.4 /var/www/roundcube
Once the Roundcube Webmail files are in place, we need to apply for the correct file and directory permissions:
chown -R apache:apache /var/www/roundcube
Finally, we can now import Roundcube’s initial database set up which can be done using a MySQL command:
mysql -u roundcube_user -p roundcube_db < /var/www/roundcube/SQL/mysql.initial.sql
Step 5: Create Nginx VirtualHost
To access our Roundcube webmail installation on a subdomain, we need to set up a VirtualHost for the subdomain. To proceed, create an Nginx configuration file then copy the following content:
nano /etc/nginx/conf.d/webmail.mydomain.com.conf
server {
  listen 80;
  server_name webmail.mydomain.com;
  root /var/www/roundcube/;
  index index.php;

  access_log /var/log/nginx/webmail.mydomain.com.access.log;
  error_log /var/log/nginx/webmail.mydomain.com.error.log;

  location / {
    try_files $uri $uri/ /index.php?q=$uri&$args;
  }

  location ~ \.php$ {
    include /etc/nginx/fastcgi_params;
    fastcgi_pass unix:/run/php-fpm/www.sock;
    fastcgi_index index.php;
    fastcgi_param SCRIPT_FILENAME $document_root$fastcgi_script_name;
  }
}
Save the file, exit the text editor, then restart Nginx web server for the changes to take effect.
systemctl restart nginx
Step 6: Roundcube Initial Set-Up
Once Nginx is set up for our subdomain, we can now access the initial setup interface using our favorite browser. Simply browse the /installer page e.g. http://webmail.mydomain.com/installer and you should see the following initial set up page:
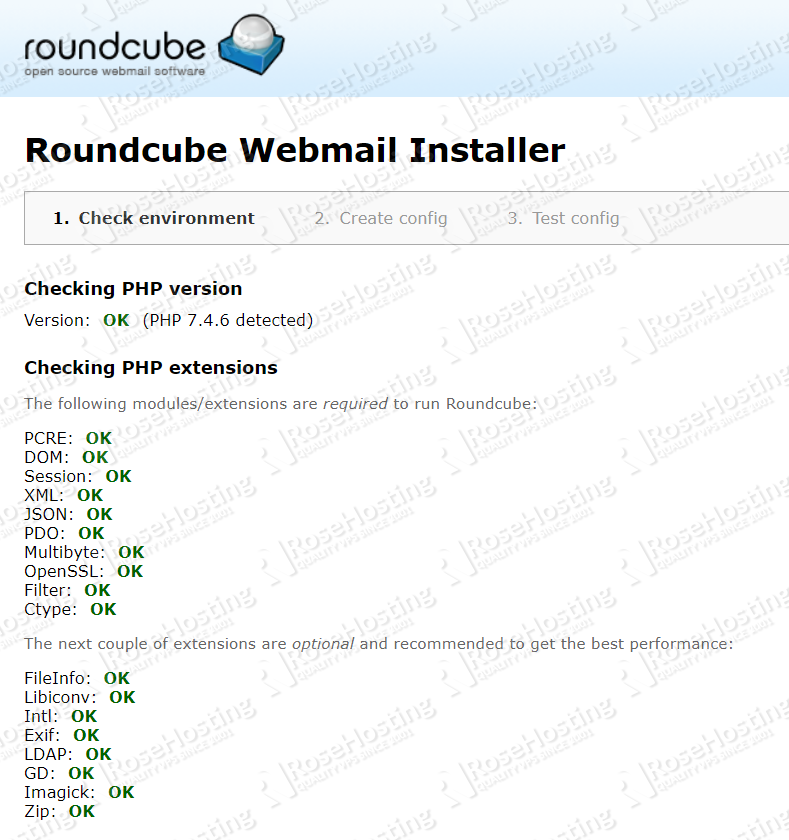
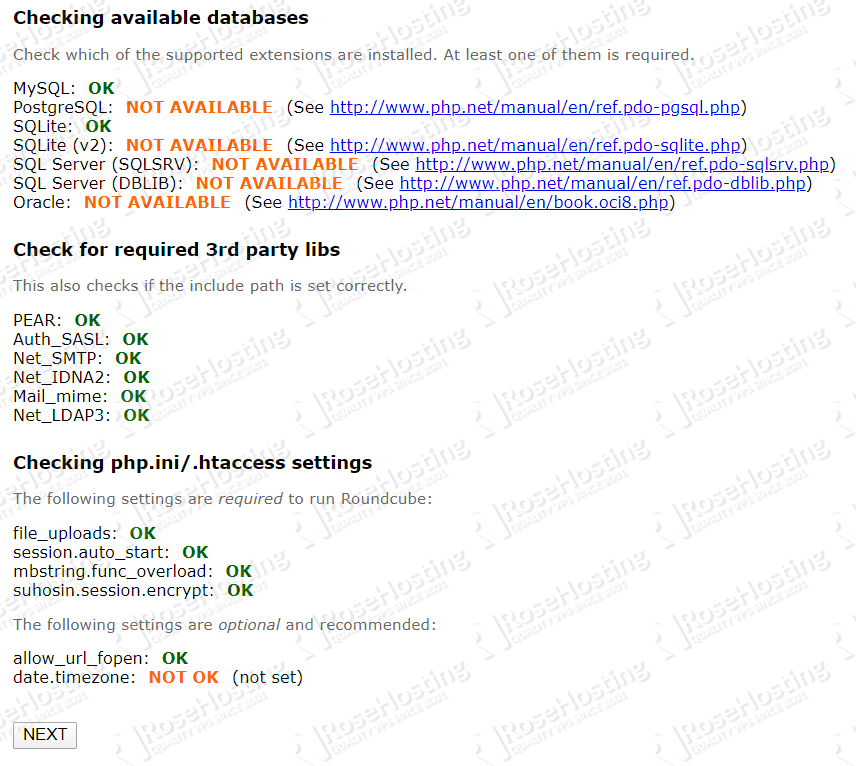
If you can see that most parameters are OK, click NEXT to continue. In the next step, the most important part is the Database setup box.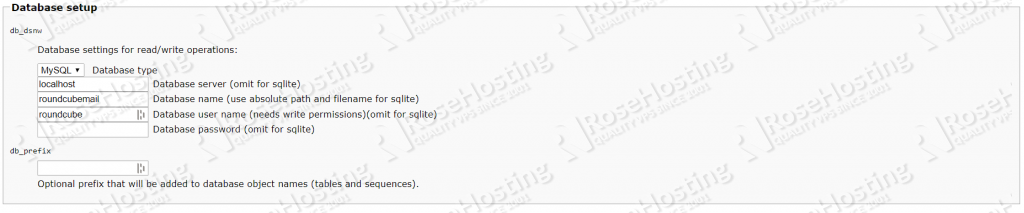
Input the values that you used to create the database earlier for the database name, username, and password then click CREATE CONFIG. You should see the OK status for all of Roundcube’s parameters checked.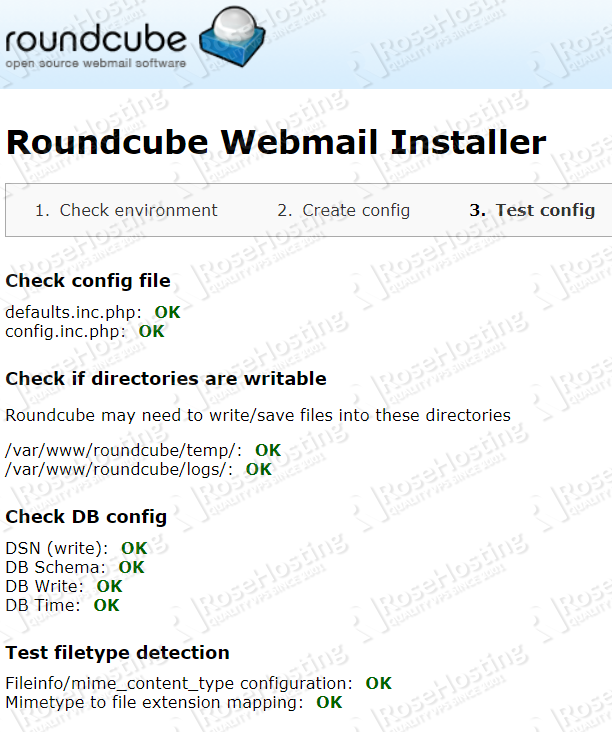
Step 7: Finalizing and Testing Roundcube Webmail Installation
Finally, to secure and finalize our installation, we need to delete the installer page using the command:
rm -vrf /var/www/roundcube/installer
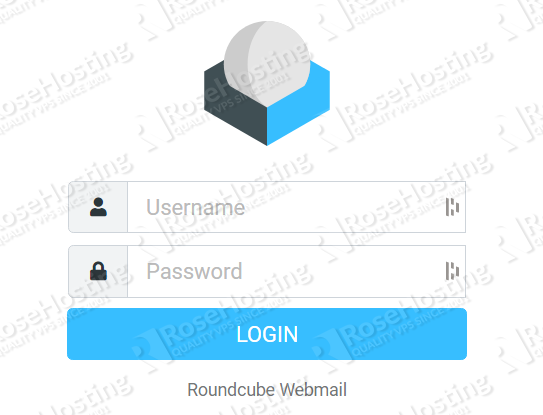
Once done, visit the subdomain’s homepage and you should see Roundcube’s login page:
That’s it. You have successfully installed Roundcube Webmail on your CentOS 8 VPS. At this point, you can now log in to your email account, see its inbox, and send emails directly from the interface.

Of course, you don’t have to know how to install Roundcube on CentOS 8 if you have a CentOS 8 VPS Hosting plan with us. You can simply ask our administrators to install Roundcube webmail on CentOS 8 for you. They’re available 24/7 and will be able to help you with the installation of Roundcube webmail on CentOS 8.
If you enjoyed reading this blog post on how to install RoundCube webmail on CentOS 8, or if you found the tutorial helpful, feel free to share it on social networks using the shortcuts below, or simply leave a comment. Thanks.
Thank you
good work