In this guide, we will walk you through how to install CyberPanel with OpenLiteSpeed on Ubuntu 24.04. CyberPanel is a popular web hosting control panel powered by the OpenLiteSpeed web server and widely used worldwide. It is available for free when used with OpenLiteSpeed, but a paid license is required for LiteSpeed Enterprise. Therefore, the overall cost depends on the web server edition you select. CyberPanel includes a rich set of features, including web server administration, SSL certificate management, FTP services, Docker application management, DNS configuration, firewall management, one-click WordPress installation, and more.
Prerequisites
- A server running Ubuntu 24.04 OS
- User privileges: root or non-root user with sudo privileges
- At least 1 GB of RAM and 10 GB of disk space
Update the system
Before beginning the CyberPanel installation, it is recommended to upgrade all system packages to the latest available versions. You can accomplish this by running the following command:
apt update -y && apt upgrade -y
Remove Unnecessary Installations
To ensure a smooth CyberPanel setup, the server should be in a clean state. In this guide, we assume you are using a fresh Ubuntu 24.04 installation. If not, you can run the commands below to disable and remove any existing services that might interfere with the installation process:
systemctl stop mysql.service || systemctl stop apache2.service || systemctl stop dovecot.service || systemctl stop postfix.service
Once the services are stopped, we can remove them completely with the following command:
apt purge mysql-server apache2 dovecot-core postfix -y
Once you run this command, you might see messages indicating that some services could not be located. This is normal and simply means those services were not previously installed, which helps ensure a smoother CyberPanel installation.
Install CyberPanel with OpenLiteSpeed
We have updated the system, stopped and removed unnecessary services, and are now ready to run the installation script.
To download the installation script, execute the following command:
wget -O installer.sh https://cyberpanel.net/install.sh
Set the right permissions to make the script executable:
chmod +x installer.sh
Execute the script:
sh installer.sh
The installation will start, and you should see the following screen:
Initializing...

[2026-04-06 16:41:39] [INFO] =============================================
[2026-04-06 16:41:39] [INFO] CyberPanel installation script started
[2026-04-06 16:41:39] [INFO] Script version: .
[2026-04-06 16:41:39] [INFO] Script arguments:
[2026-04-06 16:41:39] [INFO] =============================================
[2026-04-06 16:41:39] [FUNCTION] Starting: Set_Default_Variables
Fetching latest data from CyberPanel server...

This may take few seconds...
[2026-04-06 16:41:39] [INFO] Fetching latest data from CyberPanel server

Branch name fetched...v2.4.5
[2026-04-06 16:41:39] [INFO] Branch name fetched: v2.4.5
[2026-04-06 16:41:41] [FUNCTION] Starting: Check_Root
Follow the script questions and choose the options. First, you need to choose 1 to install CyberPanel.
Initialized...

CyberPanel Installer v2.4.1

1. Install CyberPanel.

2. Exit.

  Please enter the number[1-2]: 1
To begin the installation, type 1 and press Enter to proceed with installing CyberPanel using OpenLiteSpeed:
        CyberPanel Installer v2.4.1

RAM check : 906/3655MB (24.79%)

Disk check : 10/79GB (14%) (Minimal 10GB free space)

1. Install CyberPanel with OpenLiteSpeed.

2. Install Cyberpanel with LiteSpeed Enterprise.

3. Exit.

 Please enter the number[1-2]: 1
Next, select the full installation option, which includes additional services such as PowerDNS, Postfix, and Pure-FTPd:
Install Full service for CyberPanel? This will include PowerDNS, Postfix and Pure-FTPd.

Full installation [Y/n]: Y
After that, choose to install the MySQL server locally. This means the database server will run on the same machine rather than on a remote system:
Do you want to setup Remote MySQL? (This will skip installation of local MySQL)

(Default = No) Remote MySQL [y/N]: N
When prompted for the version, simply press Enter to continue with the latest available release:
Press Enter key to continue with latest version or Enter specific version such as: 1.9.4 , 2.0.1 , 2.0.2 ...etc
You will then be asked to set an admin password. You can use the default, define your own, or generate a secure random password. In this example, we select r to create a strong random password:
Please choose to use default admin password 1234567, randomly generate one (recommended) or specify the admin password?
Choose [d]fault, [r]andom or [s]et password: [d/r/s] r
Next, enable Memcached along with its PHP extension by selecting Y:
Do you wish to install Memcached process and its PHP extension?
Please select [Y/n]: Y
Repeat the same step for Redis by choosing Y:
Do you wish to install Redis process and its PHP extension?
Please select [Y/n]: Y
Finally, enable the Watchdog service, which helps monitor and automatically restart web and database services if needed:
Would you like to set up a WatchDog (beta) for Web service and Database service ?
The watchdog script will be automatically started up after installation and server reboot
If you want to kill the watchdog , run watchdog kill
Please type Yes or no (with capital Y, default Yes): Y
The installation will start; please allow up to 30 minutes. Once done, the output will be similar to this:
###################################################################
                CyberPanel Successfully Installed

                Current Disk usage : 12/79GB (16%)

                Current RAM  usage : 864/3915MB (22.07%)

                Installation time  : 0 hrs 26 min 0 sec

                Visit: http://YourServerIPAddress:8090
                Panel username: admin
                Panel password: 3yo21X2bMYLeuWSV

             Run cyberpanel help to get FAQ info
             Run cyberpanel upgrade to upgrade it to latest version.
             Run cyberpanel utility to access some handy tools .

              Website : https://www.cyberpanel.net
              Forums  : https://forums.cyberpanel.net
              Wikipage: https://cyberpanel.net/KnowledgeBase/
              Docs    : https://cyberpanel.net/docs/

            Enjoy your accelerated Internet by
                CyberPanel & OpenLiteSpeed
###################################################################
If your provider has a network-level firewall
Please make sure you have opened following port for both in/out:
TCP: 8090 for CyberPanel
TCP: 80, TCP: 443 and UDP: 443 for webserver
TCP: 21 and TCP: 40110-40210 for FTP
TCP: 25, TCP: 587, TCP: 465, TCP: 110, TCP: 143 and TCP: 993 for mail service
TCP: 53 and UDP: 53 for DNS service
Would you like to restart your server now? [y/N]: y
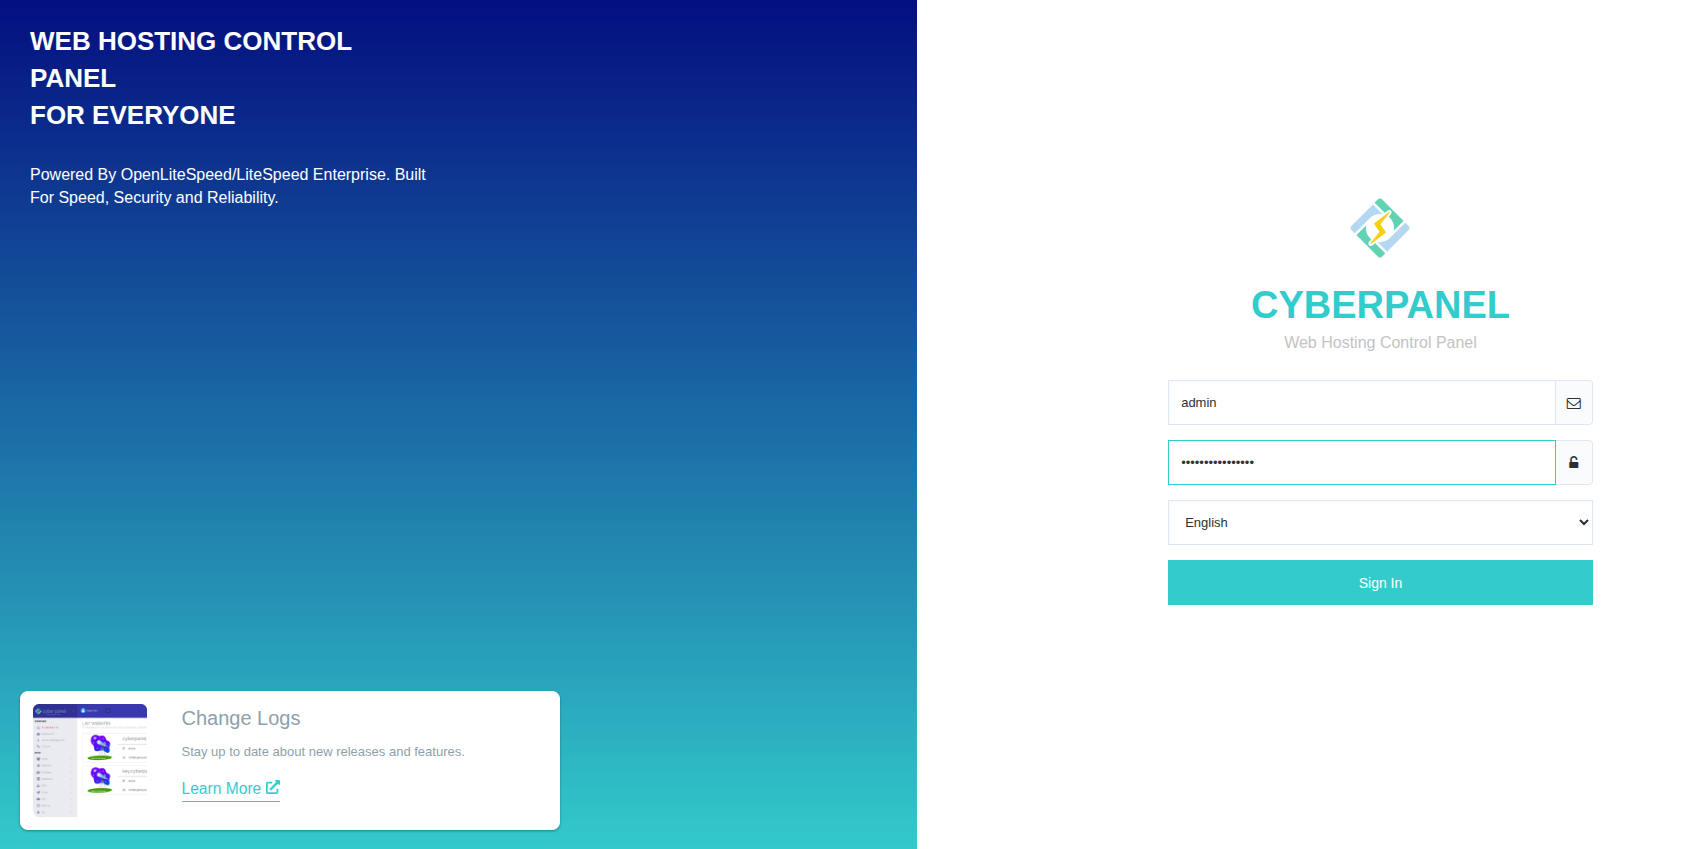
Type y to restart the server. Once the server is restarted, you can access CyberPanel at http://YourServerIPAddress:8090 using the credentials that were provided in the output of the script.
Once logged in, you should be redirected to the CyberPanel admin dashboard:
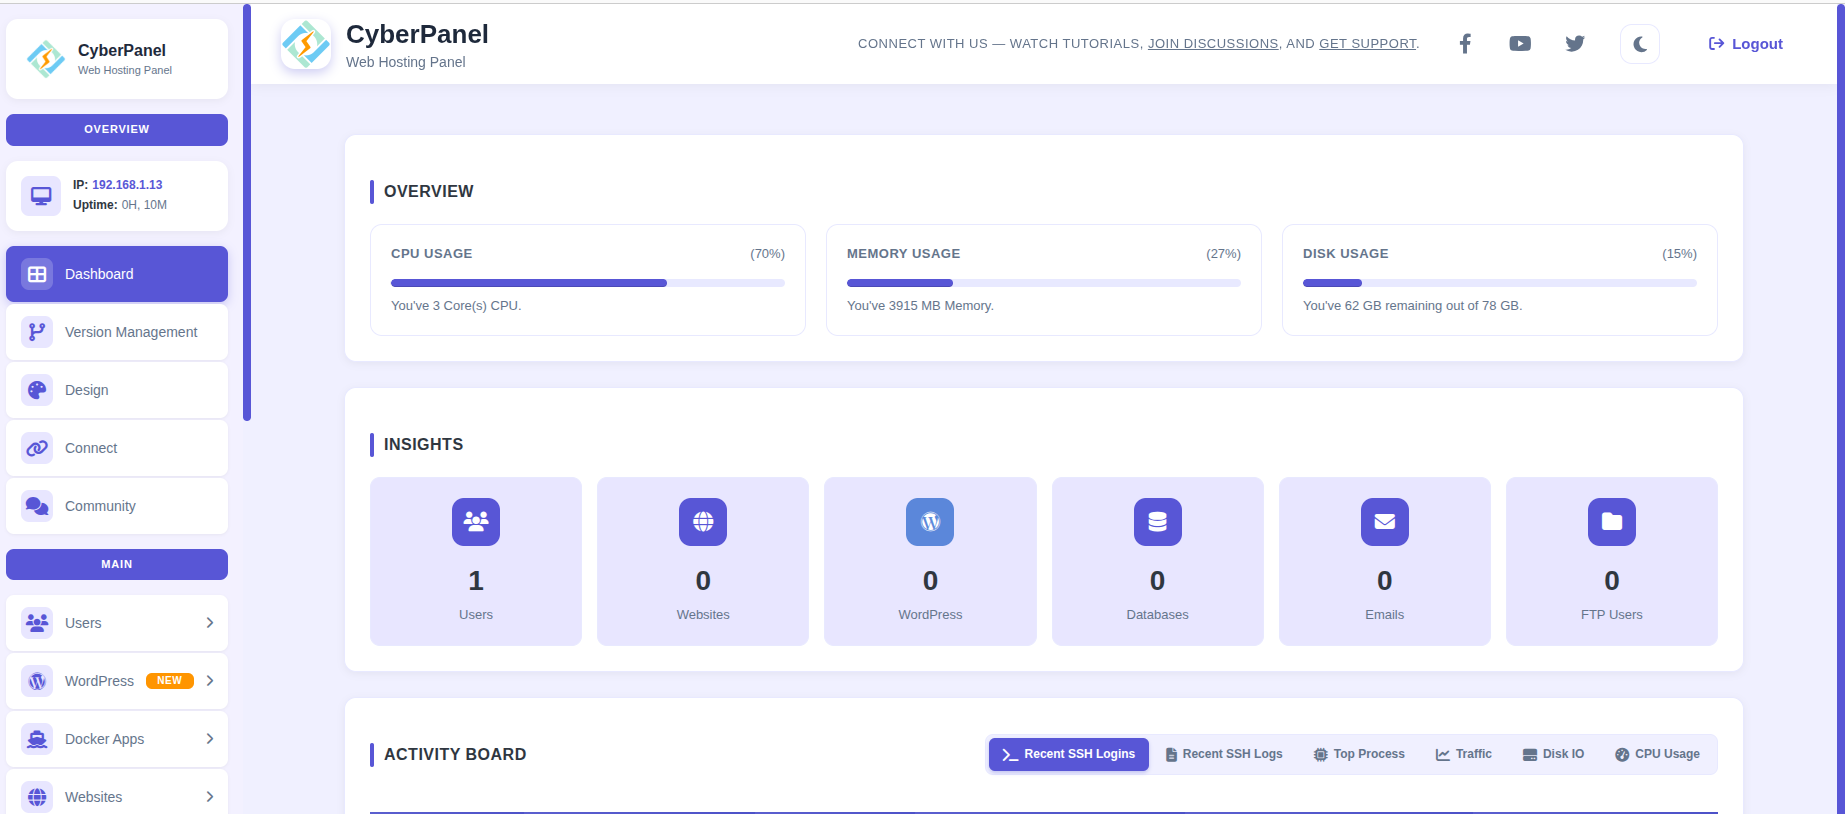
Congratulations – You managed to install CyberPanel with OpenLiteSpeed on Ubuntu 24.04
Congratulations! You successfully installed CyberPanel with OpenLiteSpeed on Ubuntu 24.04 OS
If you liked this post on how to install CyberPanel with OpenLiteSpeed on Ubuntu 24.04, please share it with your friends or leave a comment below.