
Drupal is an open-source content management system (CMS) that enables users to build and manage websites efficiently and effectively. Built with PHP, Drupal provides a flexible framework for developers to create complex, dynamic websites, from personal blogs to large corporate portals. With Drupal, you can easily create, edit, and organize website content using a user-friendly interface. Drupal also offers a variety of features and extensions that allow users to customize and extend the site’s functionality to suit their needs. In this article, we will show you how to install Drupal on AlmaLinux 10.
Prerequisite
- An AlmaLinux 10 VPS
- SSH access with sudo privileges, or root access
Conventions
# – given commands should be executed with root privileges either directly as a root user or by use of sudo command
$ – given commands should be executed as a regular user
Step 1: Log in to the Server
In this tutorial, we are going to use root to install everything and execute commands. So, you need to add ‘sudo’ if you are using your other system user with sudo privileges. First, let’s log in to our AlmaLinux 10 machine.
ssh master@IP_Address -p Port_numberYou will need to replace ‘IP_Address’ and ‘Port_number’ with your server’s respective IP address and SSH port number. Additionally, replace ‘master’ with the username of the system user with sudo privileges or root.
You can check whether you have the proper AlmaLinux version installed on your server with the following command:
$ cat /etc/redhat-release You will see this message:
AlmaLinux release 10.1 (Heliotrope Lion)Step 2: Update the system
Before starting, you have to make sure that all AlmaLinux OS package information about applications installed on the server is up to date. You can do this by running the following commands:
$ sudo dnf updateStep 3. Install PHP
At the time of this writing, the default PHP version on AlmaLinux 10 is PHP 8.3. According to the Drupal documentation page at https://www.drupal.org/docs/getting-started/system-requirements/php-requirements, the latest version of Drupal does not support PHP versions earlier than 8.5. So, we are going to install PHP 8.5 now.
$ sudo dnf -y install https://rpms.remirepo.net/enterprise/remi-release-10.1.rpm
$ sudo dnf update
That’s it. Remi repository has been installed. We can now check which PHP versions are available to install on our AlmaLinux server.
$ sudo dnf module list phpYou will see an output like this:
Last metadata expiration check: 0:00:35 ago on Sat May  9 20:10:16 2026.
Remi's Modular repository for Enterprise Linux 10 - x86_64
Name                           Stream                             Profiles                                             Summary
php                            remi-7.4                           common [d], devel, minimal                           PHP scripting language
php                            remi-8.0                           common [d], devel, minimal                           PHP scripting language
php                            remi-8.1                           common [d], devel, minimal                           PHP scripting language
php                            remi-8.2                           common [d], devel, minimal                           PHP scripting language
php                            remi-8.3                           common [d], devel, minimal                           PHP scripting language
php                            remi-8.4                           common [d], devel, minimal                           PHP scripting language
php                            remi-8.5                           common [d], devel, minimal                           PHP scripting language

Hint: [d]efault, [e]nabled, [x]disabled, [i]nstalled
As seen above, we can now install PHP 8.5.
To enable the default source to install these scripting packages on our AlmaLinux machine, we first need to reset it, then specify the desired version to enable.
$ sudo dnf module reset php
$ sudo dnf module enable php:remi-8.5
That’s it, we have switched to the PHP 8.5 installation source. Let’s execute the command below to install PHP and its extensions.
$ sudo dnf install php php-{bz2,ctype,curl,fpm,gd,imagick,intl,json,fileinfo,libxml,mbstring,mysqlnd,openssl,posix,session,simplexml,xmlreader,xmlwriter,zip,zlib}You can check and verify the installed PHP version with this command.
$ php -vIt will return an output like this:
PHP 8.5.6 (cli) (built: May  5 2026 21:19:36) (NTS gcc x86_64)
Copyright (c) The PHP Group
Built by Remi's RPM repository <https://rpms.remirepo.net/> #StandWithUkraine
Zend Engine v4.5.6, Copyright (c) Zend Technologies
    with Zend OPcache v8.5.6, Copyright (c), by Zend Technologies
Step 4. Install Composer
In this step, we will install Composer. The installation is fairly easy and straightforward.
$ sudo curl -sS https://getcomposer.org/installer -o composer-setup.php
$ sudo php composer-setup.php --install-dir=/usr/local/bin --filename=composer
That’s it. To check the version of the installed Composer, you can run this command:
$ composer -VYou will see:
Composer version 2.9.7 2026-04-14 13:31:52
PHP version 8.5.6 (/usr/bin/php)
Run the "diagnose" command to get more detailed diagnostics output.
Step 5. Install MariaDB and Create a Database
The latest version of Drupal, Drupal 12, requires at least MariaDB 10.11 or MySQL/Percona 8.0+ equivalent, PostgreSQL 18, and SQLite 3.45. In this step, we will install MariaDB from the default repository.
$ sudo dnf install mariadb-serverOnce installed, we can run the MariaDB server.
$ sudo systemctl enable --now mariadbNow, let’s create a MariaDB user, database, and its password.
$ sudo mariadbRun these commands in the MariaDB shell.
mysql> CREATE USER 'drupal'@'localhost' IDENTIFIED BY 'm0d1fyth15';
mysql> CREATE DATABASE drupal;
mysql> GRANT ALL PRIVILEGES ON drupal.* TO 'drupal'@'localhost';
mysql> FLUSH PRIVILEGES;
mysql> \q
Step 6. Install Drupal
In this step, we will install Drupal using Composer, not through the web server. Let’s get this done now.
$ cd /var/www/html
$ sudo /usr/local/bin/composer create-project drupal/recommended-project drupal2026
$ cd drupal2026
$ sudo /usr/local/bin/composer require drush/drush
Now, we can install Drupal
$ sudo ./vendor/bin/drush site:installThe command will ask you to choose the database driver.
 ┌ Select the database driver ─────────────────────────────────────┐
 │ › ● MySQL, MariaDB, Percona Server, or equivalent                             │
 │   ○ MySQL, MariaDB, Percona Server, or equivalent via mysqli (Experimental)   │
 │   ○ SQLite                                                                    │
 └──────────────────────────────────────────────────────┘
Hit ENTER to continue, then type the database name and its password when prompted. You created the database name and user in the previous step. It will look like this:
 ┌ Select the database driver ──────────────────────────────────┐
 │ MySQL, MariaDB, Percona Server, or equivalent                │
 └─────────────────────────────────────────────────────┘


 ┌ Database name ───────────────────────────────────────────────┐
 │ drupal                                                       │
 └──────────────────────────────────────────────────────┘


 ┌ Database username ───────────────────────────────────────────┐
 │ drupal                                                       │
 └──────────────────────────────────────────────────────┘


 ┌ Database password ───────────────────────────────────────────┐
 │ ••••••••••                                                   │
 └──────────────────────────────────────────────────────┘


 ┌ Host ────────────────────────────────────────────────────────┐
 │ localhost                                                    │
 └──────────────────────────────────────────────────────┘


 ┌ Port number ─────────────────────────────────────────────────┐
 │ 3306                                                         │
 └──────────────────────────────────────────────────────┘


 ┌ Table name prefix ───────────────────────────────────────────┐
 │                                                              │
 └──────────────────────────────────────────────────────┘

 You are about to:
 * Create a sites/default/settings.php file
 * DROP all tables in your 'drupal' database.


 ┌ Do you want to continue? ────────────────────────────────────┐
 │ ● Yes / ○ No                                                 │
 └────────────────────────────────────────────────────┘
And finally, you will see your Drupal username and password
 [notice] Starting Drupal installation. This takes a while.
 [notice] Performed install task: install_select_language
 [notice] Performed install task: install_select_profile
 [notice] Performed install task: install_load_profile
 [notice] Performed install task: install_verify_requirements
 [notice] Performed install task: install_settings_form
 [notice] Performed install task: install_verify_database_ready
 [notice] Performed install task: install_base_system
 [notice] Performed install task: install_bootstrap_full
 [notice] Performed install task: install_profile_modules
 [notice] Performed install task: install_profile_themes
 [notice] Performed install task: install_install_profile
 [notice] Performed install task: install_configure_form
 [notice] Performed install task: install_finished
 [success] Installation complete. (Admin)
 [success] User name: admin  User password: 27Xacbvj6L
It is time to give the directory the correct permission.
$ sudo chown -R apache: /var/www/html/drupal2026Step 7. Install and Configure Apache
Drupal has been successfully installed, but we need a web server to serve the website. In this step, we will install Apache and create a virtual host.
$ sudo dnf install httpdWe can enable Apache and start it now.
$ sudo systemctl enable --now httpdNext, let’s create an Apache virtual host.
$ sudo nano /etc/httpd/conf.d/drupal.confInsert the following into the file.
<VirtualHost *:80>
    ServerName drupal.yourdomain.com
    DocumentRoot /var/www/html/drupal2026/web

    <Directory /var/www/html/drupal2026/web>
        Options Indexes FollowSymLinks
        # CRITICAL: Allow .htaccess to override settings for Clean URLs
        AllowOverride All
        Require all granted
    </Directory>

    ErrorLog /var/log/httpd/drupal_error.log
    CustomLog /var/log/httpd/drupal_access.log combined
</VirtualHost>
Save the file, exit, then restart Apache
$ sudo systemctl restart httpdAt this point, you should be able to access your Drupal installation at http://drupal.yourdomain.com
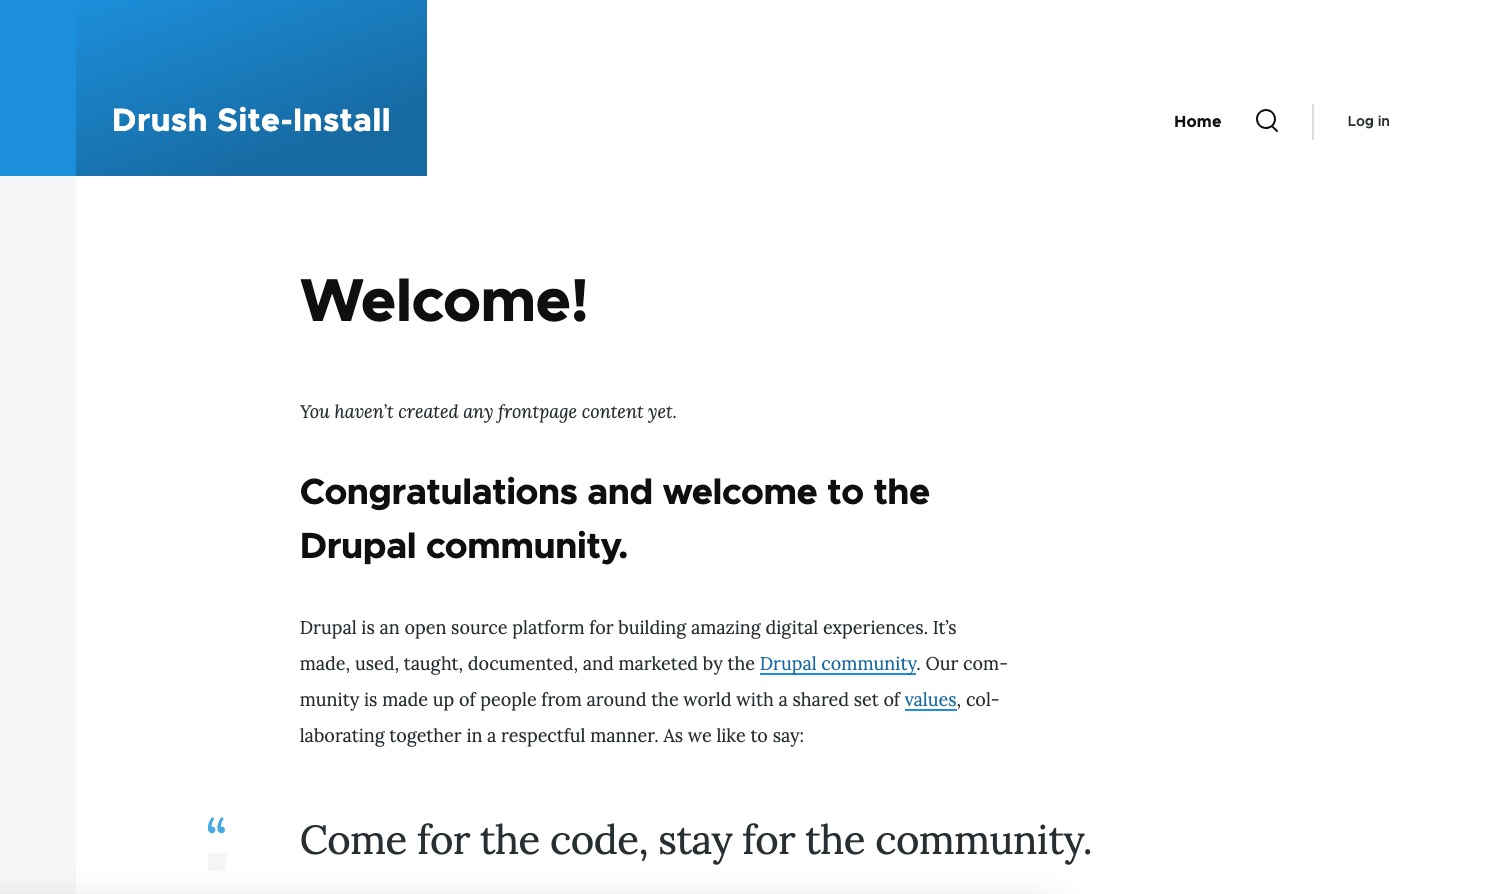
You can log in to the backend and access the dashboard using the credentials you got when installing Drupal through Composer.
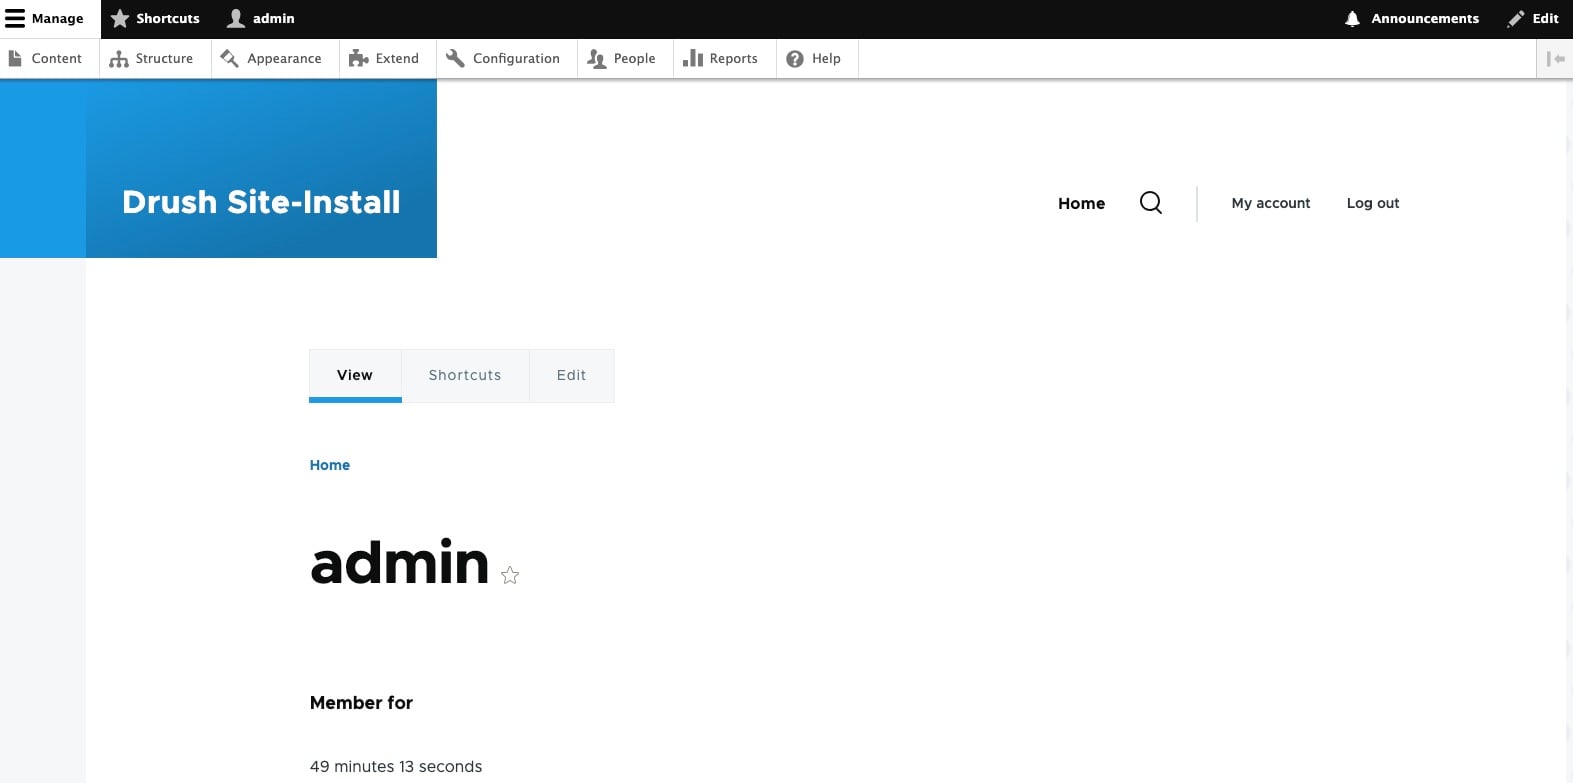
Conclusion
Congratulations! You have successfully installed Drupal on AlmaLinux 10.
If you want to host a Drupal website with high-end hardware at an affordable price, look no further – our VPS hosting plans will let you host any software you want with dedicated resources.
Thanks for reading this tutorial – please share it with your friends if you found this guide on how to install Drupal on AlmaLinux 10 helpful. You can also leave a comment if you liked the post or if you have any suggestions or questions.