
Jenkins is a simple, free and open-source Continuous Integration tool (CI), which is one of the most popular application development practices in recent times. Jenkins is widely used for building, deploying and automating any project, providing hundreds of different plugins. It supports version control tools, including AccuRev, Subversion, Git, CVS, Perforce, ClearCase, Mercurial, and RTC, and can execute Apache Ant, Apache Maven, and sbt based projects as well as arbitrary shell scripts.
Prerequisites:
- For the purposes of this tutorial, we will be using an Ubuntu 20.04 VPS.
- Full SSH root access (or a user with sudo privileges) is also required.
Step 1. Connect to Your Server & Update the Server OS Packages
Before we begin, you need to connect to your server via SSH as the root user. To do this, use the following command:
ssh root@IP_ADDRESS -p PORT_NUMBER
of course, you will need to replace IP_ADDRESS and PORT_NUMBER with your actual server IP address and SSH port number if necessary.
Once logged in, make sure that your server is up-to-date by running the following commands:
sudo apt update -y
sudo apt upgrade -y
Step 2. Install Java
Jenkins is a Java-based application and it requires either Java 8 or Java 11 runtime environment on the server. In this step, we will install Java 11 through the OpenJDK 11 package – the open-source version of Java Runtime Environment (JRE) and Java Development Kit (JDK). We can do this by running the following command:
sudo apt install openjdk-11-jdk
We can verify the installation and Java version with:
java -version
Output:
openjdk version "11.0.11" 2021-04-20
OpenJDK Runtime Environment (build 11.0.11+9-Ubuntu-0ubuntu2.20.04)
OpenJDK 64-Bit Server VM (build 11.0.11+9-Ubuntu-0ubuntu2.20.04, mixed mode, sharing)
Step 3. Install Jenkins
To install the latest version of Jenkins, we will need to add the Jenkins repository to our server.
We will first import the repository GPG key using the following command:
wget -q -O - https://pkg.jenkins.io/debian/jenkins.io.key | sudo apt-key add -
And then, add the Jenkins repository to our server with:
sudo sh -c 'echo deb http://pkg.jenkins.io/debian-stable binary/ > /etc/apt/sources.list.d/jenkins.list'
Once this is done, run the following commands to install Jenkins on your system:
sudo apt update
sudo apt install jenkins
After the installation is completed, we can start Jenkins using the following command:
sudo systemctl start jenkins
To verify that Jenkins is running on our system, we can run the status command:
sudo systemctl status jenkins
We should see a similar output to this:
● jenkins.service - LSB: Start Jenkins at boot time
Loaded: loaded (/etc/init.d/jenkins; generated)
Active: active (exited) since Fri 2021-06-25 15:42:41 UTC; 2min 58s ago
Docs: man:systemd-sysv-generator(8)
Tasks: 0 (limit: 4620)
Memory: 0B
CGroup: /system.slice/jenkins.service
Step 4. Setting Up Jenkins
We can now finish the installation and configure our Jenkins. To do this, we will access our installation in our browser, using the IP address of our server or domain name at http://ip-address-or-domain:8080The first page will ask us to unlock our Jenkins by entering the password from the provided location on our server.
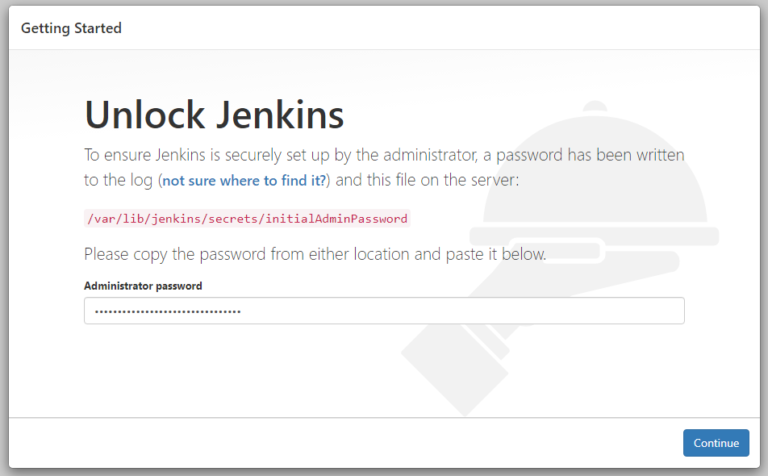
To retrieve the password, we will need to execute the following command in our terminal:
sudo cat /var/lib/jenkins/secrets/initialAdminPassword
You will see a 32-character alphanumeric password like the one shown below:
5892f8f3a14b447092c44b2da6057803
Copy and enter the password in the Administrator password field and then click Continue.
On the next screen, you can choose to customize your Jenkins by installing suggested plugins by the setup wizard, or select which plugins to install.
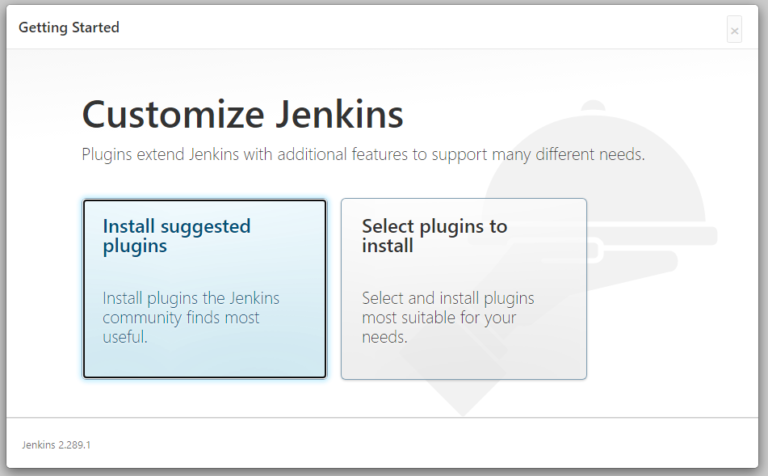
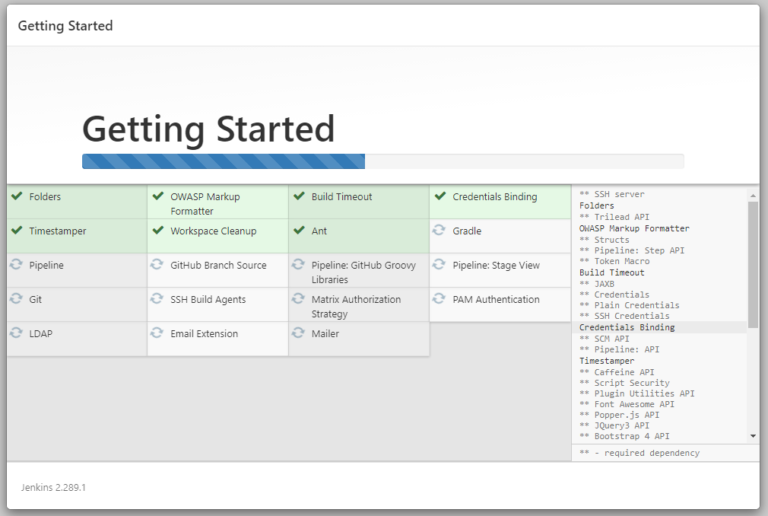
We will choose to Install the Suggested Plugins, and the installation process will continue.
Once the installation is completed, we are asked to create a new Admin user for our Jenkins installation.
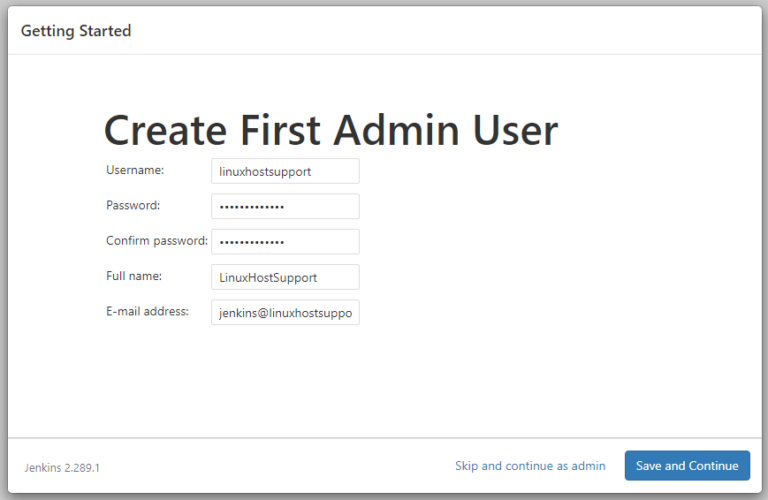
Fill in the required information and click Save and Continue.
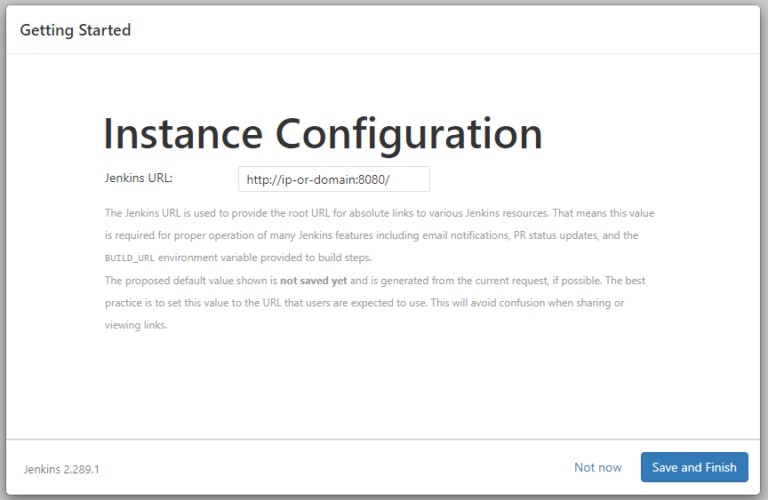
On the next page, we are asked to choose or confirm the preferred URL for our Jenkins.
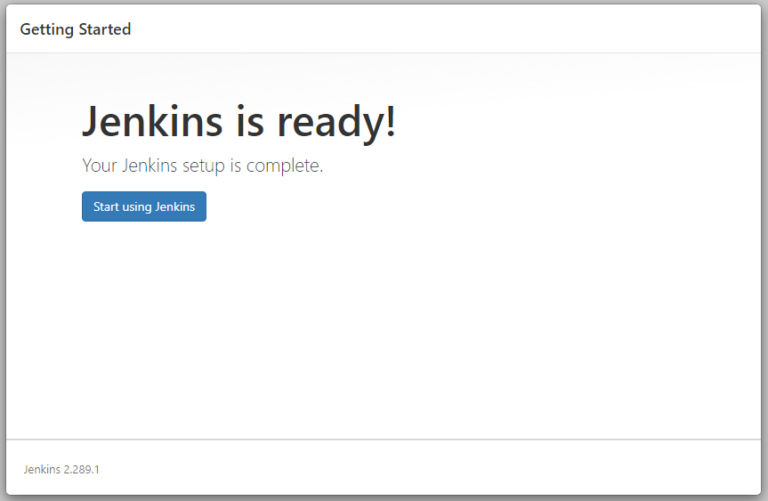
Your Jenkins instance is now ready and you can click on Start using Jenkins to continue.
You can choose either your domain name or the IP address of your server and click Save and Finish.
This will redirect you to the Jenkins dashboard and you will be logged in as the admin user you created previously.
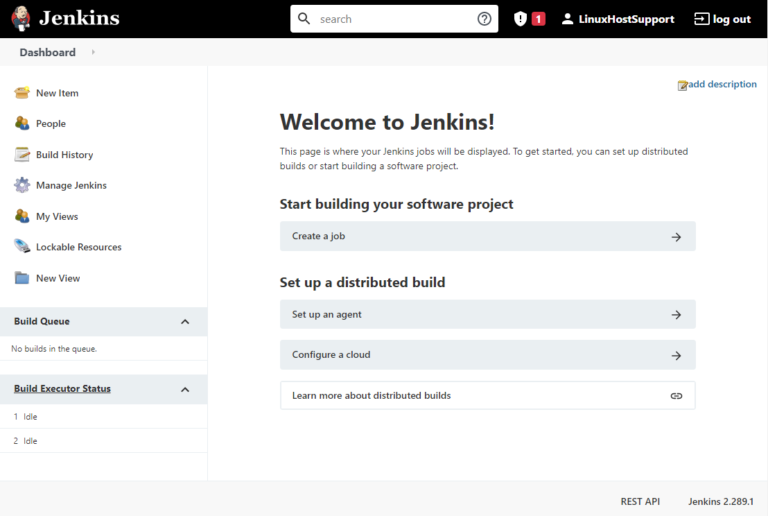
Congratulations! You have successfully installed Jenkins on your Ubuntu 20.04 virtual private server.
Of course, you don’t have to install Jenkins on Ubuntu 20.04, if you use one of our Managed Linux Cloud VPS Plans, in which case you can simply ask our expert Linux admins to set up Jenkins on Ubuntu 20.04 for you. They are available 24×7 and will take care of your request immediately.
PS. If you liked this post on how to install Jenkins on an Ubuntu 20.04 VPS, please share it with your friends on the social networks using the buttons on the left or simply leave a reply below. Thanks.
