

Zikula is Free Open Source Software (FOSS) that allows users to build anything from simple one-page websites to complex and powerful web applications. Zikula is pretty easy to install and use.
In this tutorial, we will show you how to install Zikula and all necessary dependencies on an Ubuntu 18.04 Cloud VPS.
Prerequisites
- a Cloud VPS with Ubuntu 18.04 and a user with root privileges (or the root user itself)
- PHP version 5.5.9 or higher with
mod_phpenabled. It is recommended to use the latest PHP release - The following PHP extensions have to be installed: Ctype, JSON, iconv, PCRE, Session, SimpleXML, Tokenizer
- Apache web server version 2.0 or higher, with
mod_rewritemodule enabled and the AllowOverride directive set to ‘All’ - MySQL or MariaDB database server version 5 or higher
Login and Update the System
As usual, log in to your Ubuntu 18.04 server via SSH as the root user, or as your admin account:
ssh root@IP_address -p Port_number
replace ‘IP_address‘ and ‘Port_number‘ with the actual IP address and SSH port number of your server.
Once you are logged in, run the following commands to update all installed packages on your server
apt update && apt upgrade
For security reasons, it is recommended to always keep your services and scripts up to date. You can also restart your server to ensure that all configurations used are the latest ones.
Install Apache Web Server
As listed in the prerequisites section of this tutorial, Zikula requires a web server. We will install and use the Apache web server, which serves more than 40% of all websites in the world. It can be easily installed using the default Ubuntu package manager:
apt -y install apache2
Once it is installed, you can start the web server and enable it to automatically start after a server reboot
systemctl start apache2
systemctl enable apache2
Enable the rewrite module in Apache
a2enmod rewrite
Output:
Enabling module rewrite.
To activate the new configuration, you need to run:
  systemctl restart apache2
As suggested, restart the web server to activate the module:
systemctl restart apache2
You can easily test if the web server is properly installed by visiting http://IP_Address with your favorite web browser. You should get the default Apache web page. That’s all we need to do with Apache for now.
Install PHP
Zikula is a PHP-based application, so we have to install PHP and several PHP extensions required by the application:
apt install php libapache2-mod-php php-gd php-mbstring php-mysql php-curl php-xmlrpc php-xml
Install Database Server
Zikula needs an empty SQL database, so for this purpose, we will install the MariaDB server, which is an open-source version of MySQL.
apt -y install mariadb-server
Start the MariaDB database server and enable it to be able to start itself after a reboot:
systemctl start mariadb
systemctl enable mariadb
You can execute the mysql_secure_installation script provided by MariaDB to set a password for the root user and additionally strengthen the security of the database server. You can use the following details:
Set root password? [Y/n] Y
Remove anonymous users? [Y/n] Y
Disallow root login remotely? [Y/n] Y
Remove test database and access to it? [Y/n] Y
Reload privilege tables now? [Y/n] Y
Once everything is set up, you can go ahead and create a new database that can be used by Zikula. Additionally, create a user with full privileges over that database.
mysql -u root -p

MariaDB [(none)]> CREATE DATABASE zikula;
MariaDB [(none)]> GRANT ALL PRIVILEGES ON zikula.* TO 'zikula_user'@'localhost' IDENTIFIED BY '<strong>PASSWORD</strong>';
MariaDB [(none)]> FLUSH PRIVILEGES;
MariaDB [(none)]> exit;
Don’t forget to replace ‘PASSWORD‘ with an actual strong password.
Download and Install Zikula
Now that everything is in place, go to Zikula’s official website and download the latest stable release of the application, which is currently version 2.0.12.
wget https://github.com/zikula/core/releases/download/2.0.12/2.0.zip
unpack the downloaded ZIP archive to the document root directory of your server, which usually is /var/www/html.
unzip 2.0.zip -d /var/www/html/
All Zikula files will be stored in a new ‘2.0’ directory. We will rename the directory to zikula:
mv 2.0 zikula
All files and directories have to be readable by the web server user, www-data:
chown -R www-data:www-data /var/www/html/zikula
Create an Apache Virtual host
In order to be able to access Zikula with your domain name instead of the IP address, you have to create an Apache virtual host directive for the domain. We will use domain.tld as our domain name. Don’t forget to replace it with your actual domain.
Create a virtual host directive with the following content
nano /etc/apache2/sites-available/zikula.conf


 ServerName <strong>domain.tld</strong>
 ServerAlias www.<strong>domain.tld</strong>
 ServerAdmin admin@<strong>domain.tld</strong>
 DocumentRoot /var/www/html/zikula/


 	Options FollowSymLinks
 	AllowOverride All
 	Order allow,deny
 	allow from all


 ErrorLog /var/log/apache2/<strong>domain.tld</strong>-error_log
 CustomLog /var/log/apache2/<strong>domain.tld</strong>-access_log common
Save the changes and enable the Apache virtual host using the following command
a2ensite zikula.conf
output:
Enabling site zikula.
To activate the new configuration, you need to run:
  systemctl reload apache2
Reload the web server for the changes to take effect
systemctl reload apache2
Complete the Installation
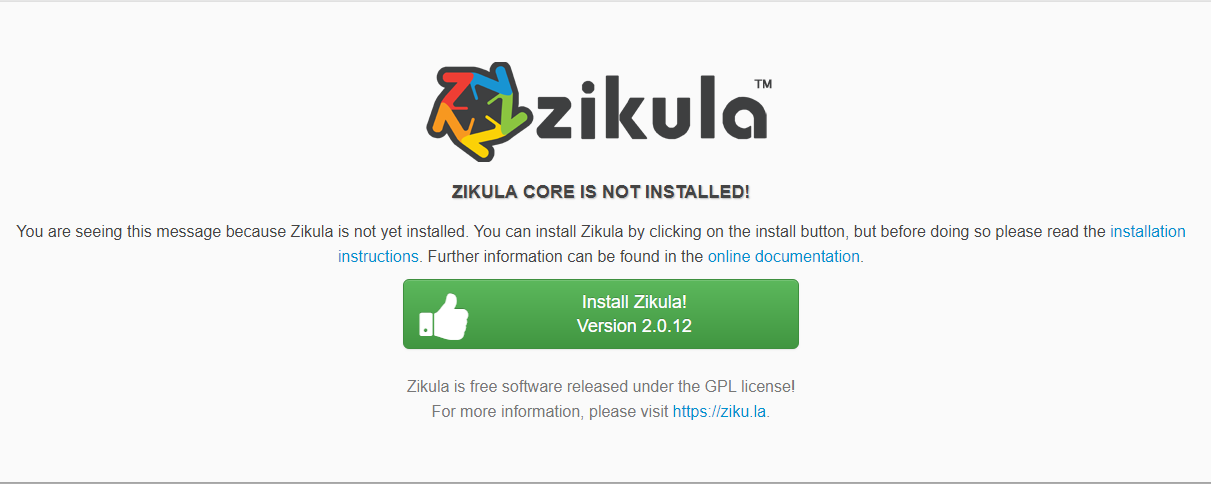
Finally, open your favorite web browser and navigate it to http://domain.tld to complete Zikula’s installation. You will get the following screen:
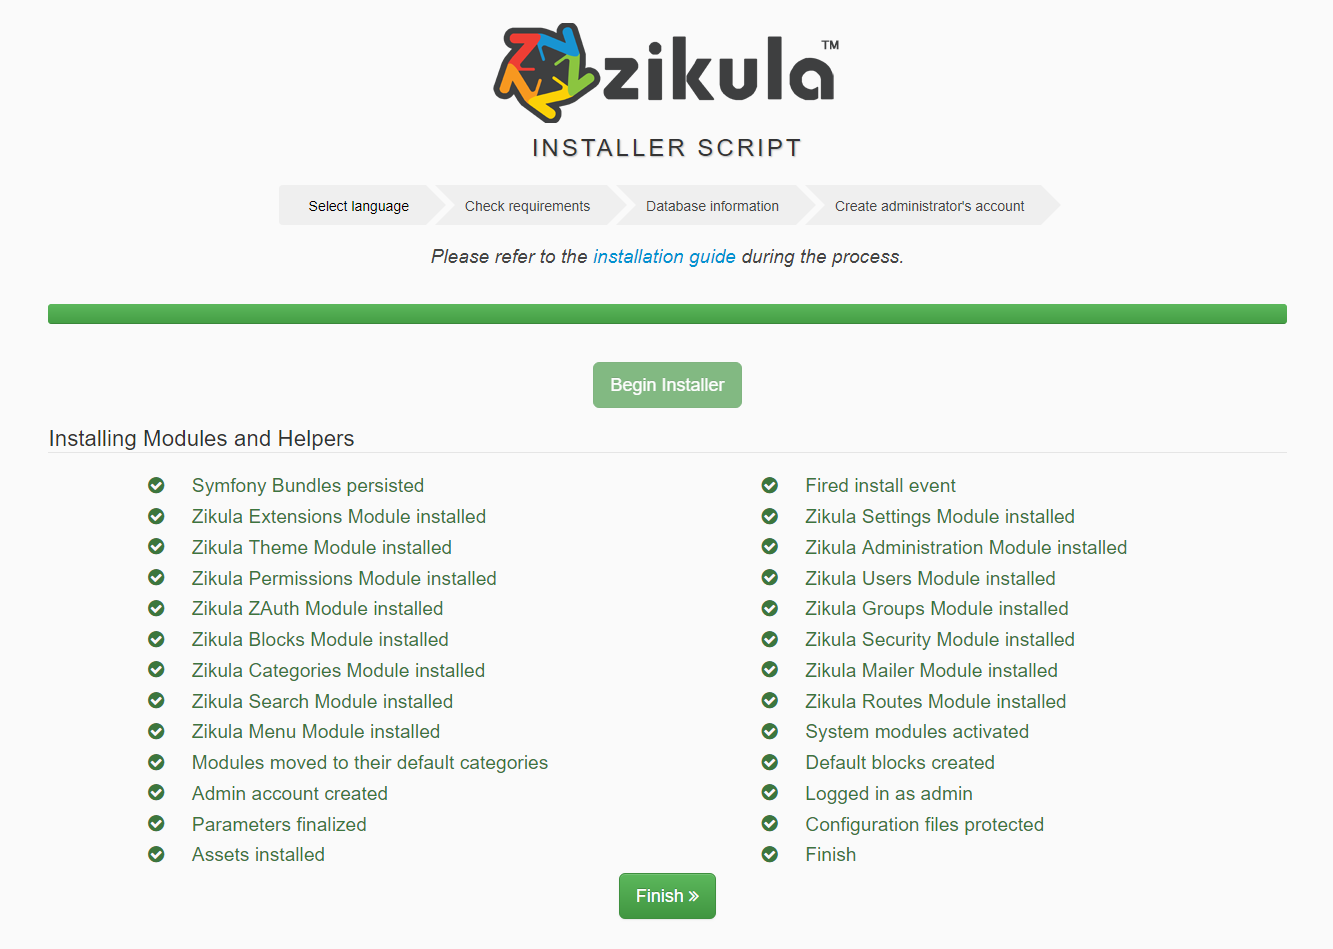
Proceed with the installation and enter the MariaDB database information we created earlier in this tutorial. After that, create your Zikula Administrative account. Before completing the installation, you will also be able to install some Zikula modules and helpers, as shown below:
That’s everything! You now have Zikula on your Ubuntu 18.04 Cloud VPS. For more details on how to configure and use Zikula, you can check their official documentation.

Of course, you don’t have to install Zikula on Ubuntu 18.04 if you use one of our Cloud VPS Hosting services – you can simply ask our expert Linux admins to install Zikula on Ubuntu 18.04 for you. They are available 24×7 and will take care of your request immediately.
If you enjoyed reading this post on how to install Zikula on Ubuntu 18.04, feel free to share it with your friends or leave a comment below. Thank you.