In this blog post we will install WordPress and will set up WordPress multisite on AlmaLinux 10 OS. WordPress is an open-source web content management system written in PHP created for publishing blog posts which stores the data into the MySQL database management system. WordPress multisite is a feature that allows the user to create a “network” of subsites within the same instance of WordPress. In this blog post, we will set up WordPress with the LAMP stack and will configure it to be accessible on a domain in the web server configuration files.
Installing WordPress and setting up the WordPress multisite is straightforward and should take up to 15 minutes. Let’s get started!
Prerequisites
- A server running AlmaLinux 10 or any Linux OS
- User privileges: root or non-root user with sudo privileges
- A valid domain pointed to the server IP address
Step 1. Update the system
Before we start with the installation process of the LAMP stack and WordPress later, we need to update the system packages to their latest available versions. To do that, execute the following command:
Step 2. Install Apache Web Server
First of the LAMP stack will be the installation of the Apache web server. To install Apache execute the command below:
sudo dnf install httpd -y
Once installed start and enable the service for automatic start on system boot:
sudo systemctl start httpd && sudo systemctl enable httpd
Check the status of the service:
sudo systemctl status httpd
You should get the following output:
root@host ~]# sudo systemctl status httpd
● httpd.service - The Apache HTTP Server
     Loaded: loaded (/usr/lib/systemd/system/httpd.service; enabled; preset: disabled)
    Drop-In: /etc/systemd/system/httpd.service.d
             └─php-fpm.conf
     Active: active (running) since Wed 2025-04-30 09:48:53 CDT; 13s ago
 Invocation: 42218ad9fa0e4e6dacd90e89631c2a7d
       Docs: man:httpd.service(8)
   Main PID: 1859 (httpd)
     Status: "Total requests: 0; Idle/Busy workers 100/0;Requests/sec: 0; Bytes served/sec:   0 B/sec"
      Tasks: 177 (limit: 23175)
     Memory: 13.9M (peak: 14.3M)
        CPU: 257ms
     CGroup: /system.slice/httpd.service
Step 3. Install PHP along with the Extensions
Next to the LAMP stack is PHP8.3 with its extensions. To install it execute the following command:
sudo dnf install php php-cli php-fpm php-curl php-mysqlnd php-gd php-readline php-mbstring php-apcu php-xml php-dom php-opcache php-zip php-intl php-common php-bcmath php-json -y
This will install PHP8.3 and to check the installed version you can execute the command below:
php -v
The output should look like this:
[root@host ~]# php -v
PHP 8.3.10 (cli) (built: Jul 30 2024 13:44:37) (NTS gcc x86_64)
Copyright (c) The PHP Group
Zend Engine v4.3.10, Copyright (c) Zend Technologies
    with Zend OPcache v8.3.10, Copyright (c), by Zend Technologies
Step 4. Install MariaDB database service
To install the MariaDB database server, execute the command bellow:
sudo dnf install mariadb-server -y
Once installed start and enable the MariaDB database service:
sudo systemctl start mariadb && sudo systemctl enable mariadb
To check the status of the service execute the command below:
sudo systemctl status mariadb
You should get the following output:
● mariadb.service - MariaDB 10.11 database server
     Loaded: loaded (/usr/lib/systemd/system/mariadb.service; enabled; preset: disabled)
     Active: active (running) since Wed 2025-04-30 10:08:01 CDT; 18s ago
 Invocation: 5004bac37d8644c78bde51c0b2981d63
       Docs: man:mariadbd(8)
             https://mariadb.com/kb/en/library/systemd/
   Main PID: 2507 (mariadbd)
     Status: "Taking your SQL requests now..."
      Tasks: 13 (limit: 23175)
     Memory: 208.3M (peak: 236.1M)
        CPU: 1.645s
     CGroup: /system.slice/mariadb.service
             └─2507 /usr/libexec/mariadbd --basedir=/usr
Step 5. Create WordPress Database and User
To create a WordPress database and user you should execute the following commands one by one in the MariaDB terminal:
CREATE DATABASE wpdb;
CREATE USER 'wpuser'@'localhost' IDENTIFIED BY 'YourStrongPasswordHere';
GRANT ALL ON wpdb.* TO 'wpuser'@'localhost' WITH GRANT OPTION;
FLUSH PRIVILEGES;
EXIT;
Step 6. Download and Install WordPress
Since the LAMP stack is installed and the database is created, we can download and install WordPress. To do that, execute the following command:
cd /var/www/html

wget https://wordpress.org/latest.zip

unzip latest.zip -d /var/www/html
Set the correct permissions to files and folders:
chown -R apache:apache /var/www/html/wordpress/

cd /var/www/html/wordpress/

find . -type d -exec chmod 755 {} \;

find . -type f -exec chmod 644 {} \;
Rename the wp-config-sample.php file:
mv wp-config-sample.php wp-config.php
Next is to configure the WordPress wp-config.php file according to the credentials we set in the previous step in the MariaDB terminal. Open the wp-config.php file with your favorite editor and make the changes to look like this:
// ** Database settings - You can get this info from your web host ** //
/** The name of the database for WordPress */
define( 'DB_NAME', 'wpdb' );

/** Database username */
define( 'DB_USER', 'wpuser' );

/** Database password */
define( 'DB_PASSWORD', 'YourStrongPasswordHere' );
Step 7. Create Apache configuration file
For WordPress to be accessible via the domain name we need to configure the Apache web server. To do that first create the Apache configuration file:
touch /etc/httpd/conf.d/wordpress.conf
Once, created open the file with your favorite text editor and paste the following lines of code:
<VirtualHost *:80>
     ServerName yourdomainnamehere.com
     DocumentRoot /var/www/html/wordpress
     <Directory /var/www/html/wordpress>
          Options FollowSymlinks
          AllowOverride All
          Require all granted
     </Directory>

     ErrorLog /var/log/httpd/yourdomain.com_error.log
     CustomLog /var/log/httpd/yourdomain.com.log combined
</VirtualHost>
Save the file, close it check the syntax of the Apache configuration file.
httpd -t
You should get the following output
[root@host conf.d]# httpd -t
Syntax OK
Restart the httpd.service.
sudo systemctl restart httpd
Now, you can access your website via your domain securely via the HTTPS at http://yourdomainhere.com
Step 8. Finish the WordPress Installation
Before we set up WordPress multisite, we need to finish the WordPress installation. Access the WordPress URL at http://yourdomainhere.com
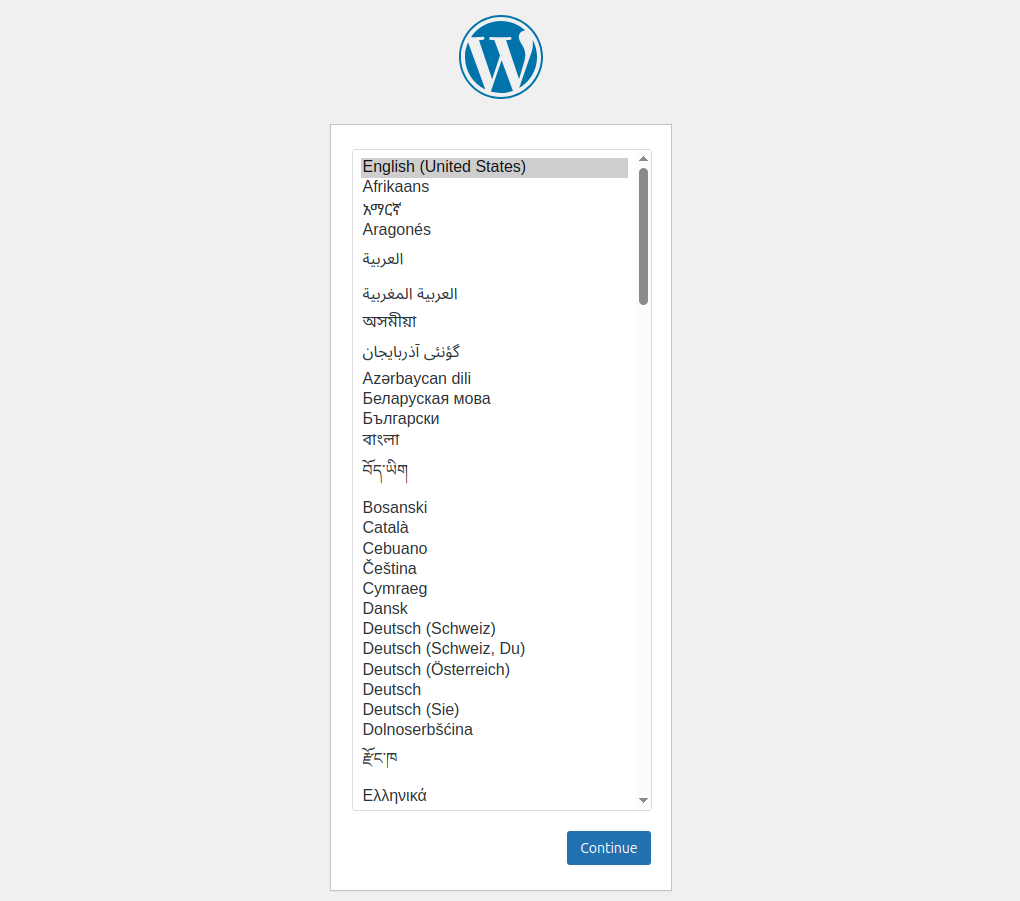
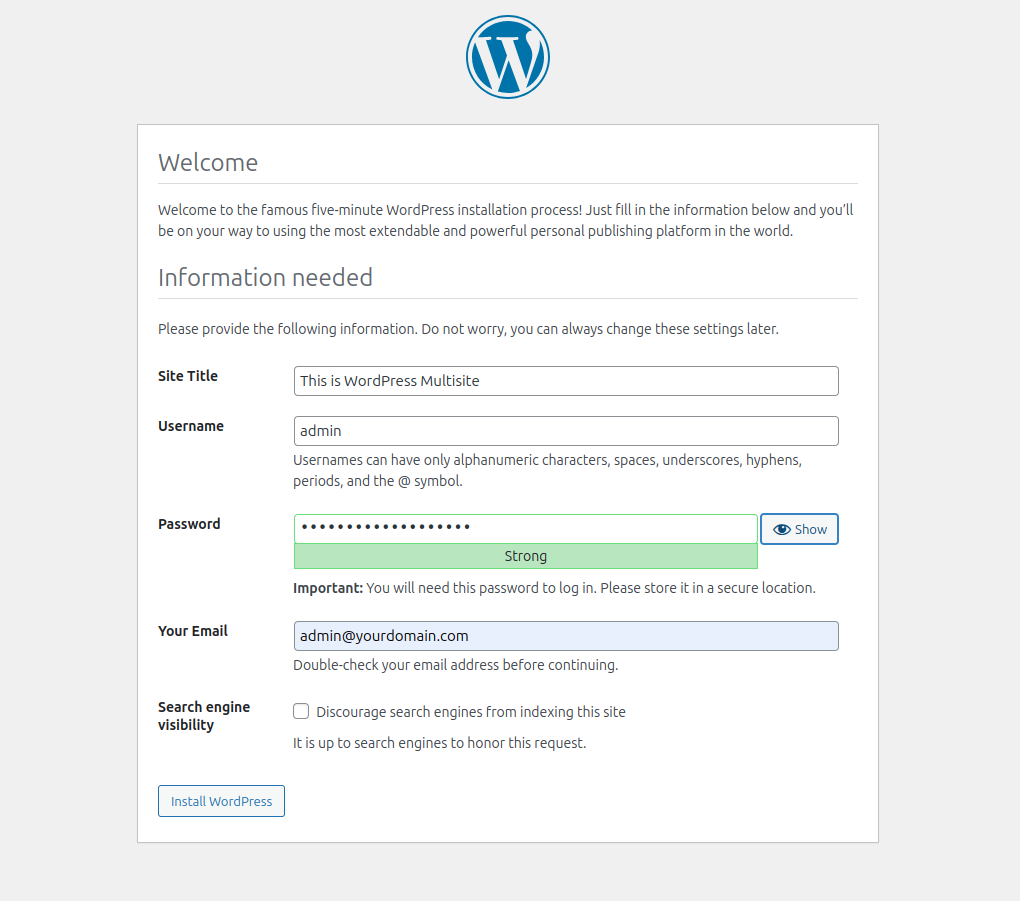
Choose the Languge, click on the Continue button, fill in the credentials you want to use for your WordPress installation, and then click on Install WordPress.
After successful installation, you will receive the following screen:
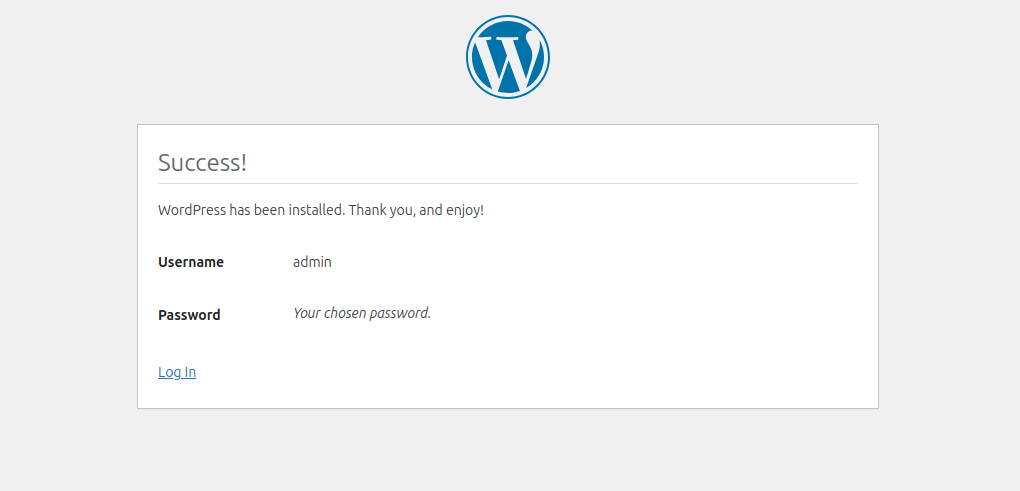
Click on Log in fill in the credentials you set before, and you will be redirected to the following screen:
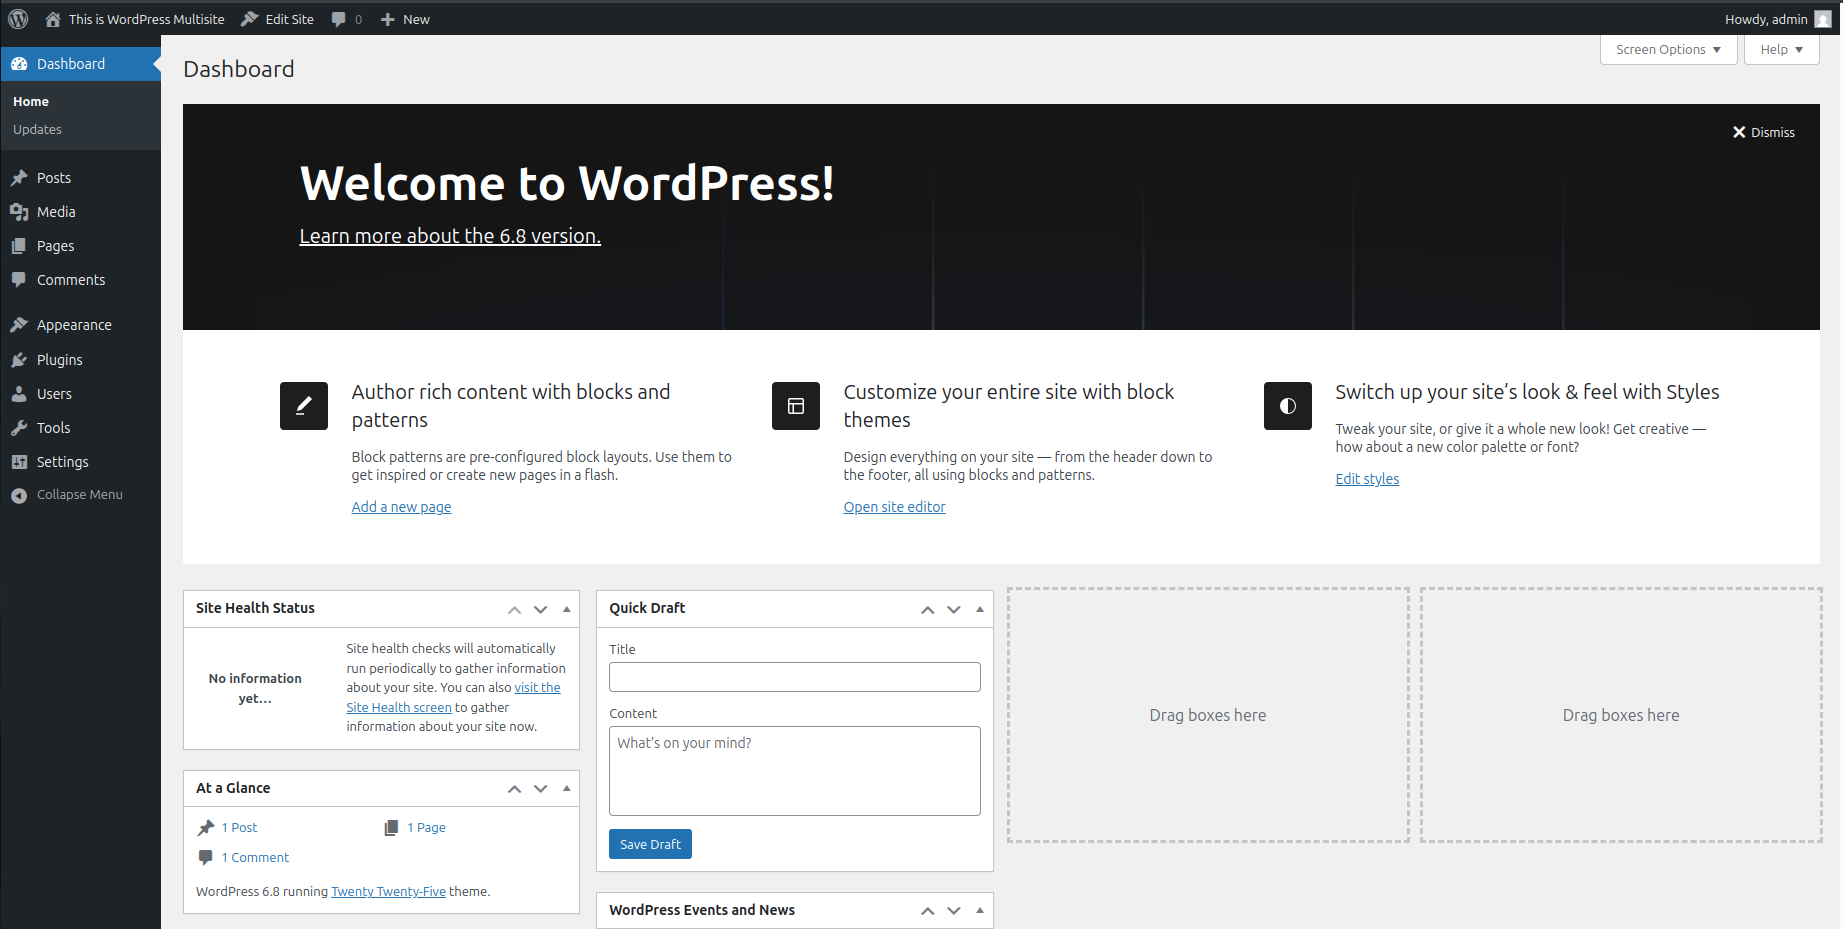
Step 9. Set up WordPress Multisite
First we need to open the wp-config.php file and paste the following line of code above the “/* That’s all, stop editing! Happy publishing. */ “
define('WP_ALLOW_MULTISITE', true);
Then to enable the multisite in WordPress on the left menu click on Tools —> Network Setup —> Install.
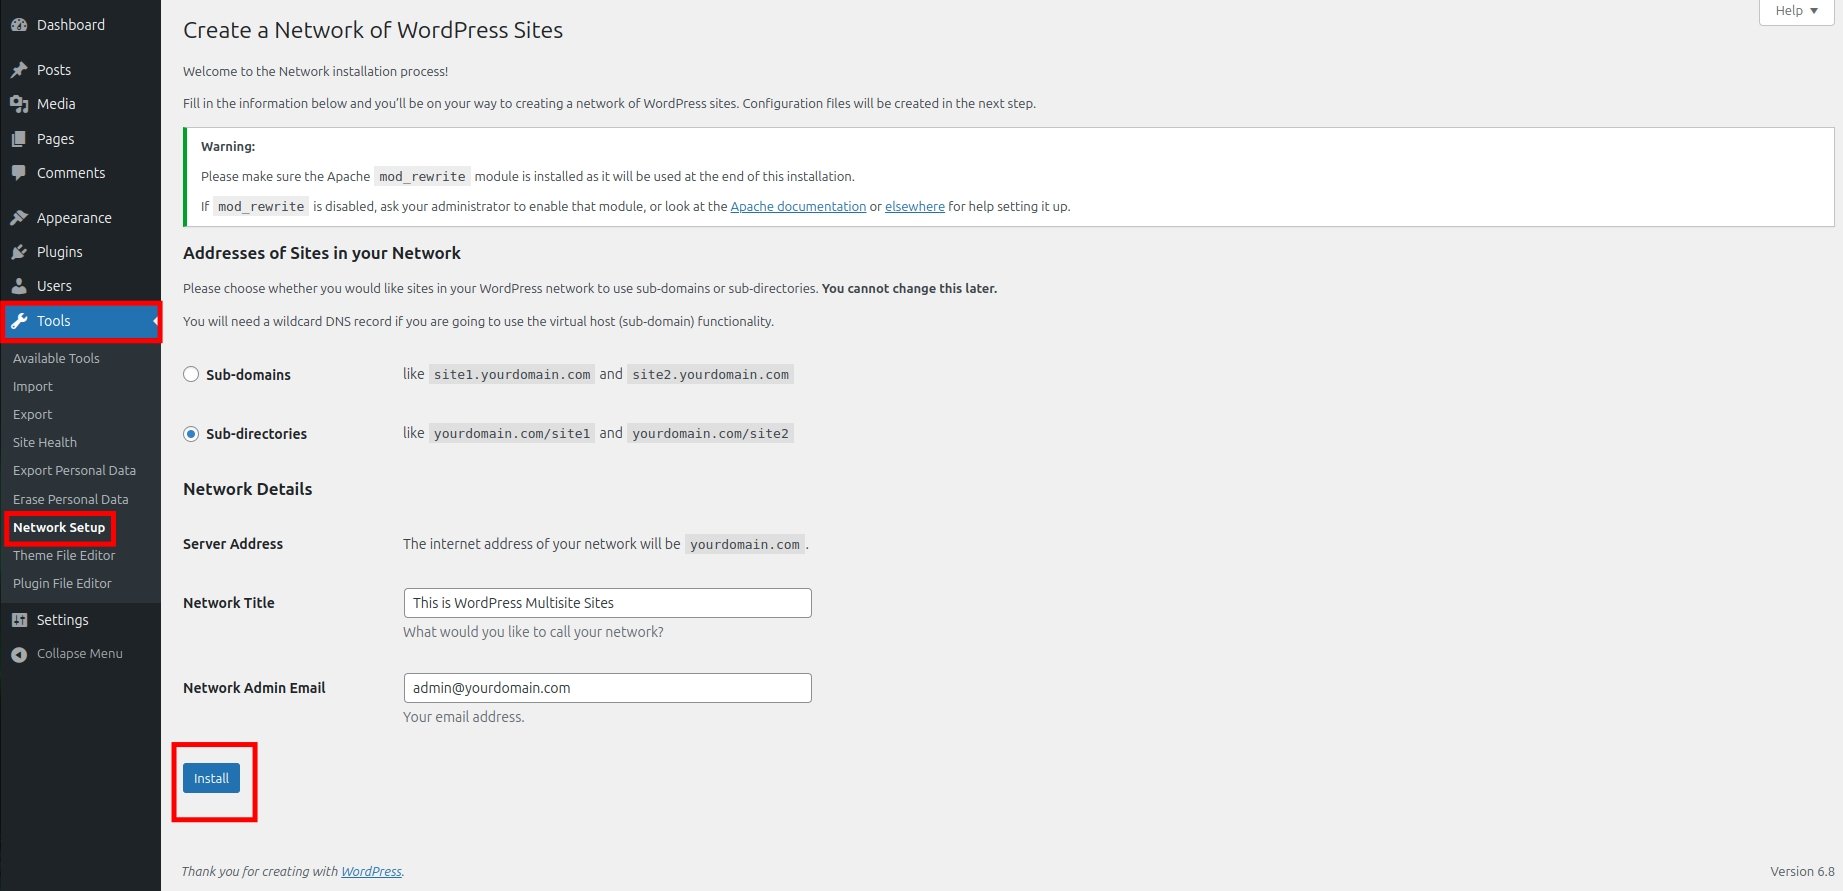
Once done, you will receive the following screen:
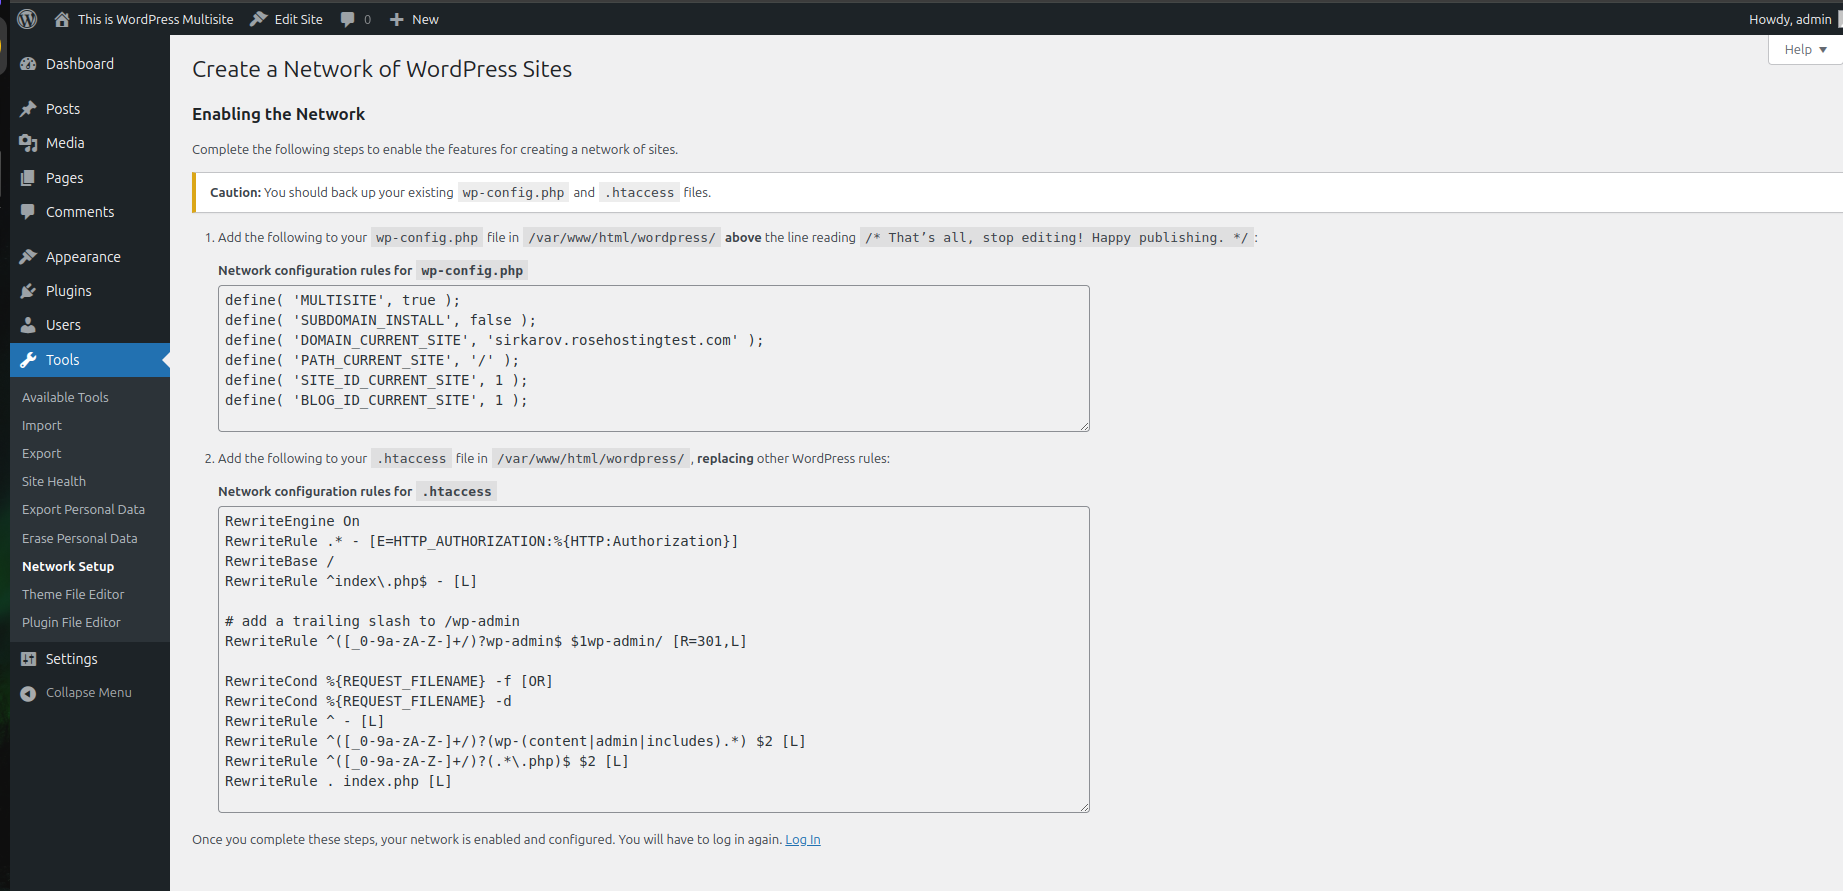
Open the wp-config.php file and paste these lines:
define( 'MULTISITE', true );
define( 'SUBDOMAIN_INSTALL', false );
define( 'DOMAIN_CURRENT_SITE', 'YourServerIPAddress' );
define( 'PATH_CURRENT_SITE', '/' );
define( 'SITE_ID_CURRENT_SITE', 1 );
define( 'BLOG_ID_CURRENT_SITE', 1 );
Next is to replace all lines in the .htaccess with the following lines of code:
RewriteEngine On
RewriteRule .* - [E=HTTP_AUTHORIZATION:%{HTTP:Authorization}]
RewriteBase /
RewriteRule ^index\.php$ - [L]

# add a trailing slash to /wp-admin
RewriteRule ^([_0-9a-zA-Z-]+/)?wp-admin$ $1wp-admin/ [R=301,L]

RewriteCond %{REQUEST_FILENAME} -f [OR]
RewriteCond %{REQUEST_FILENAME} -d
RewriteRule ^ - [L]
RewriteRule ^([_0-9a-zA-Z-]+/)?(wp-(content|admin|includes).*) $2 [L]
RewriteRule ^([_0-9a-zA-Z-]+/)?(.*\.php)$ $2 [L]
RewriteRule . index.php [L]
Save the file, close it, refresh the website, and log in again.
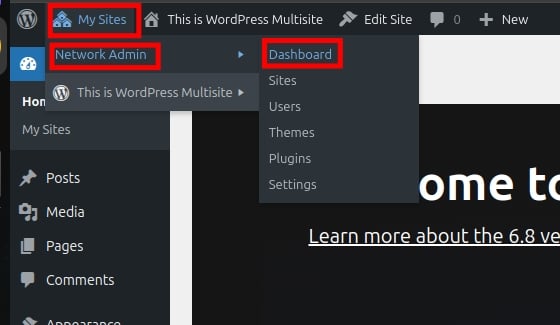
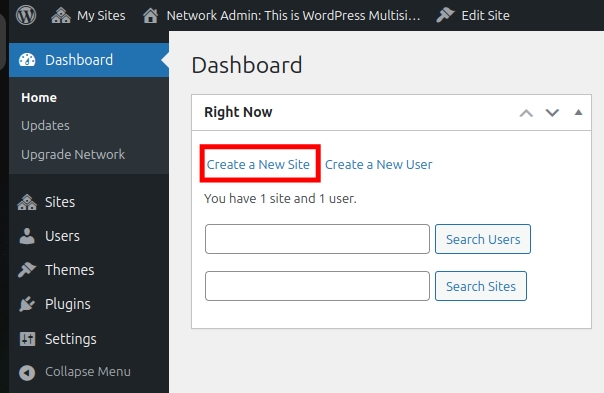
Now, navigate to My Sites —> Network Admin —> Click on Dashboard as on the screenshot below:
Next, click on the Create a new Site button:
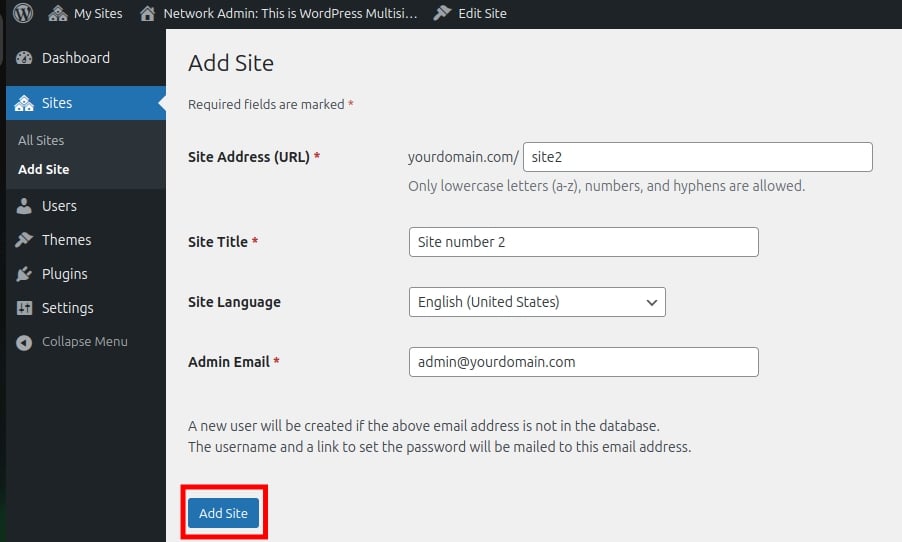
Fill in the info about your second website and click on the Add Site button.
That’s it. You successfully set up WordPress Multisite on AlmaLinux 10 OS.
If you liked this post about installing WordPress and setting up the WordPress Multisite, please share it with your friends or leave a comment down below.