In this article we will show you how to install Invoice Ninja on an Ubuntu 16.04 server. InvoiceNinja is a free and open source software application written in PHP used for invoicing, billing customers and time tracking management system.
Requirements
In order to run Invoice Ninja on your Ubuntu 16.04 VPS, we need the following requirements met:
- Apache Web Server >= 2.0 compiled with mod_rewrite module, or Nginx
- MySQL 5.5 or later is recommended, or MariaDB installed on your Linux virtual server.
- PHP 7.0 or higher with the mcrypt, mbstring, xml, curl, gd, json and mysql PHP extensions enabled.
- Full SSH root access or a user with sudo privileges is also required
Step 1: Log in via SSH on the Ubuntu server:
Log in to the VPS via SSH as user root
ssh roo@IP_Address -p Port_number
Step 2: Update all packages
Once you are logged, run the following command to make sure that all installed OS packages are up to date:
apt-get update
apt-get upgrade
Step 3: Install Apache, MySQL (MariaDB) and PHP 7
Install Apache, MySQL (or MariaDB) and PHP 7 on your server using the following command:
apt-get install apache2 libapache2-mod-php mysql-server php7.0-cli php7.0-common php7.0-curl php7.0-gd php7.0-mysql php7.0-xml php7.0-mcrypt php7.0-mbstring php7.0-json
Enable the Apache mod_rewrite module:
sudo a2enmod rewrite
Restart the Apache web server for the changes to take effect:
sudo systemctl restart apache2
Step 4: Create a MySQL database for Invoice Ninja
Log into MySQL console with the root account:
mysql -u root -p
Now we will create a MySQL database for Invoice Ninja using the following query:
mysql> CREATE DATABASE invoiceninja;
Then, execute the following query to add a separate user for Invoice Ninja that will interact with the database:
mysql> GRANT ALL PRIVILEGES ON invoiceninja.* to 'invoiceninja'@'localhost' IDENTIFIED BY '5tr0ng_Pa55w0rd';
Do not forget to replace ‘5tr0ng_Pa55w0rd’ with an actual strong password.
Execute the following command to apply the privileges we set:
mysql> FLUSH PRIVILEGES;
Now we can exit the MySQL session:
mysql> quit
Step 5: Install Invoice Ninja
Download the latest stable version of Invoice Ninja in the /opt directory on your server and extract it in the /var/www/html/ directory:
cd /opt
wget https://download.invoiceninja.com/ -O invoice-ninja.zip
unzip invoice-ninja.zip -d /var/www/html/
Set the appropriate file permissions and ownership (www-data is the user of the Apache web server):
chown -R www-data:www-data /var/www/html/ninja/
Step 6: Configure Apache to serve Invoice Ninja
Now we will have to setup the Apache configuration so it can serve the Invoice Ninja directory, add the following contents below to the /etc/apache2/sites-available/invoice-ninja.conf file with nano or your favorite editor:
sudo nano /etc/apache2/sites-available/invoice-ninja.conf
Add the following lines:
<VirtualHost *:80>
ServerAdmin [email protected]
ServerName your-domain.com
ServerAlias www.your-domain.com
DocumentRoot /var/www/html/ninja/public/

<Directory /var/www/html/ninja/public>
Options +FollowSymlinks
AllowOverride All
Require all granted
</Directory>

ErrorLog /var/log/apache2/ninja-error_log
CustomLog /var/log/apache2/ninja-access_log common
</VirtualHost>
Enable the Apache Invoice Ninja configuration:
sudo a2ensite invoice-ninja.conf
Remove the default Apache configuration file:
rm /etc/apache2/sites-enabled/000-default.conf
Now restart the Apache web server:
sudo systemctl restart apache2
Open your favorite web browser and type in the following URL to access the Invoice Ninja web interface and start the setup:
http://your-domain.com/
From here you can finish the setup by entering the following information:
Database Connection
Driver: MySQL
Database: invoiceninja
Username: invoiceninja
Password: enter the MySQL password for the invoiceninja MySQL user.
Email Settings
From Name: Enter your name
From Address: use an email address on your server
Username: enter the username of your email account
Host: enter your domain name
Port: 587
Encryption: TLS
Password: enter your email account password
Then, create a new administrator account: enter your first name, last name, email address and password in the User details section.
Once you created a new administrator account, log in at http://your-domain.com/login.
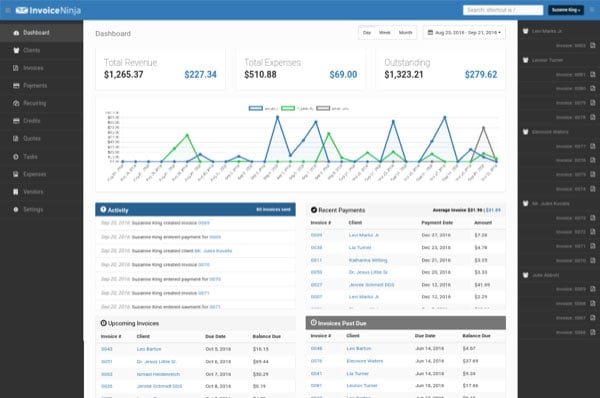
Congratulations! Invoice Ninja has been successfully installed on your server. You can now start using Invoice Ninja and customize it according to your needs.

If you are one of our Ubuntu Cloud Hosting clients, you can let our system administrators to install Invoice Ninja on your Ubuntu 16.04 server. They are super responsive and available 24/7.