In this tutorial, we are going to explain to you in step-by-step detail how to install OpenNMS on Debian 11 OS.
OpenNMS is a free and open-source network monitoring platform written in Java language. It is developed by a group of developers, users, and the OpenNMS community, which makes the software compatible with multiple operating systems such as Linux, Windows, macOS and etc. There are many features offered by this software, such as service assurance, service monitors, grafana support, easy integration, etc.
Installing OpenNMS on Debian 11 is straightforward, which may take up to 20 minutes. Let’s get started!
- A server with Debian 11 as OS
- User privileges: root or non-root user with sudo privileges
Step 1. Update the System
Before we start with the installation, we need to update the system packages to their latest version available:
sudo apt-get update -y && sudo apt-get upgrade -y
Step 2. Install Java
Since Tomcat is written in Java, we need to install it with the following command:
sudo apt-get install default-jdk -y
To verify the installed version, execute the following command:
java --version
You should get output similar to this:
root@host:~#  java --version
openjdk 11.0.18 2023-01-17
OpenJDK Runtime Environment (build 11.0.18+10-post-Debian-1deb11u1)
OpenJDK 64-Bit Server VM (build 11.0.18+10-post-Debian-1deb11u1, mixed mode, sharing)
Step 3. Install OpenNMS
First of all, we need to install some dependencies:
apt-get install curl gnupg2 wget -y
First, we need to add the OpenNMS repository and GPG key because they are not added in the Debian 11 repository by default. To do that, create the following file:
touch /etc/apt/sources.list.d/opennms.list
Once the file is created, open it with your favorite browser and enter the following lines:
deb https://debian.opennms.org stable main
deb-src https://debian.opennms.org stable main
Save the file and close it. Next, to import the GPG key execute the following command:
wget -O - https://debian.opennms.org/OPENNMS-GPG-KEY | apt-key add -
Update the system and install OpenNMS:
sudo apt update -y

sudo apt upgrade -y

sudo apt install opennms -y
During the installation of OpenNMS PostgreSQL is installed and starting as well. Once the OpenNMS is installed, you can check the status of the PostgreSQL with the following command:
systemctl status postgresql
If everything is OK, you should get the following output:
root@test:~# systemctl status postgresql
● postgresql.service - PostgreSQL RDBMS
     Loaded: loaded (/lib/systemd/system/postgresql.service; enabled; vendor preset: enabled)
     Active: active (exited) since Tue 2023-05-16 02:27:51 CDT; 5min ago
   Main PID: 51877 (code=exited, status=0/SUCCESS)
      Tasks: 0 (limit: 4661)
     Memory: 0B
        CPU: 0
     CGroup: /system.slice/postgresql.service

May 16 02:27:51 test.vps systemd[1]: Starting PostgreSQL RDBMS...
May 16 02:27:51 test.vps systemd[1]: Finished PostgreSQL RDBMS.
Step 4. Create OpenNMS Database and User
To create an OpenNMS user and database, login to the PostgreSQL command line and execute these lines of code:
su - postgres
createuser opennms
psql -c "ALTER USER opennms WITH PASSWORD 'opennms';"
createdb -O opennms opennms
psql -c "ALTER USER postgres WITH PASSWORD 'YourStrongPasswordHere';"
Once the database and database user are created, open the following file and set the credentials you set above:
sudo nano /usr/share/opennms/etc/opennms-datasources.xml
The file should look like this:
<datasource-configuration xmlns:this="http://xmlns.opennms.org/xsd/config/opennms-datasources"
xmlns:xsi="http://www.w3.org/2001/XMLSchema-instance"
xsi:schemaLocation="http://xmlns.opennms.org/xsd/config/opennms-datasources
http://www.opennms.org/xsd/config/opennms-datasources.xsd ">
<connection-pool factory="org.opennms.core.db.HikariCPConnectionFactory"
idleTimeout="600"
loginTimeout="3"
minPool="50"
maxPool="50"
maxSize="50" />
<jdbc-data-source name="opennms"
database-name="opennms"
class-name="org.postgresql.Driver"
url="jdbc:postgresql://localhost:5432/opennms"
<strong> user-name="opennms"
password="opennms"</strong> />
<jdbc-data-source name="opennms-admin"
database-name="template1"
class-name="org.postgresql.Driver"
url="jdbc:postgresql://localhost:5432/template1"
<strong>user-name="postgres"
password="YourStrongPasswordHere"</strong> />
</datasource-configuration>
Step 5. Finish OpenNMS Installation
Now, when the database configuration is set, we can finish the installation. First, execute the following command to detect of Java environment:
sudo -u opennms /usr/share/opennms/bin/runjava -s
Next, run the following command to complete the OpenNMS setup:
sudo -u opennms /usr/share/opennms/bin/install -dis
After executing this command, you should get the following output:
Finished in 0 seconds

Processing RemotePollerServiceConfigMigratorOffline: Remove deprecated RemotePoller service entry from service-configuration.xml, see NMS-12684
- Running pre-execution phase
  Creating backup of /usr/share/opennms/etc/service-configuration.xml
    Zipping /usr/share/opennms/etc/service-configuration.xml
- Running execution phase
  Current configuration: 32 services.
  A service entry named 'OpenNMS:Name=PerspectivePoller' already exists.
  Final configuration: 32 services.
- Saving the execution state
- Running post-execution phase
  Removing backup /usr/share/opennms/etc/service-configuration.xml.zip

Finished in 0 seconds

Processing SystemIDMigratorOffline: Updates OpenNMS system ID to a random UUID.
- Running pre-execution phase
- Running execution phase
- Saving the execution state
- Running post-execution phase

Finished in 0 seconds


Upgrade completed successfully!
After successfull setup, start and enable the opennms service.
sudo systemctl start opennms && sudo systemctl enable opennms
To check the status of the OpenNMS service
sudo systemctl status opennms
root@host:~# sudo systemctl status opennms
● opennms.service - OpenNMS server
     Loaded: loaded (/lib/systemd/system/opennms.service; enabled; vendor preset: enabled)
     Active: active (running) since Tue 2023-05-16 05:19:18 CDT; 29min ago
   Main PID: 10324 (java)
      Tasks: 480 (limit: 4661)
     Memory: 2.2G
        CPU: 8min 40.534s
     CGroup: /system.slice/opennms.service
             ├─10323 bash /usr/share/opennms/bin/opennms -s start
             └─10324 /usr/lib/jvm/java-11-openjdk-amd64/bin/java --add-modules=java.base,java.compiler,java.datatransfer,java.desktop,java.instrument,java.logging,java
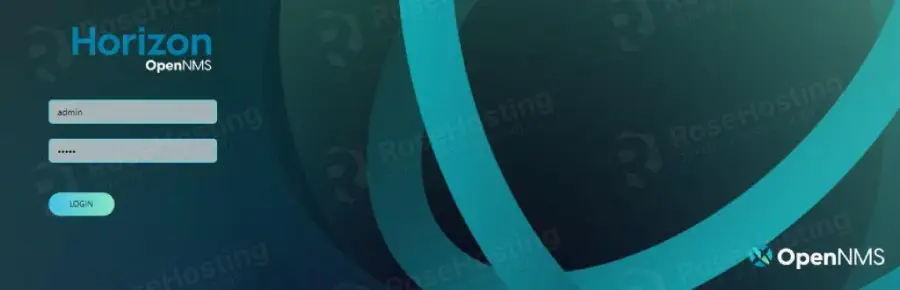
Now, you can access the OpenNMS installation at http://YourServerIPAddress:8980/opennms/ using the admin as username and password.
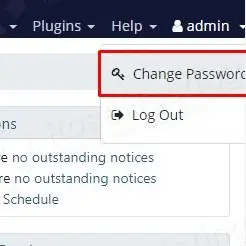
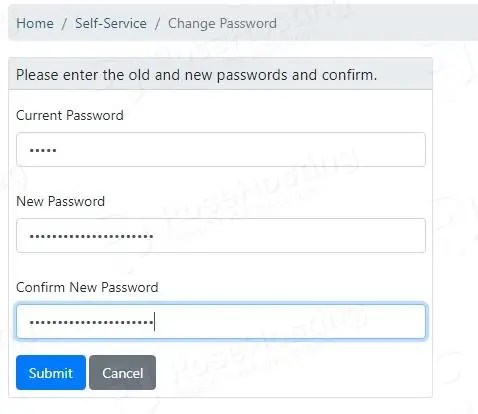
Once logged in, immediately change the admin password:
Our intention with this post was to make installing OpenNMS on Debian 11 a breeze for you. Now, we’re passing the baton to you:
Do you feel there’s something critical we missed, or is there a step that you’re still unclear about? What other detailed instructional tutorials would you appreciate seeing on our blog?
Your feedback is valuable to us, so please leave a comment below.