If you like to use the command line to manage your Linux Cloud VPS, you may find it time-consuming and complicated to switch between multiple terminal windows. Sometimes you may like to split the screen into multiple terminals and manage your server with ease. You can do this by using tmux. Tmux is a terminal multiplexer and today we will show you how to install it and use it on a CentOS Cloud Server.
It is recommended to start with a system update before installing anything on your CentOS. For that reason you can use the command:
yum update
Using this command, you can update all your system software to the latest version available. Now, let’s install tmux using the yum package manager.
yum install tmux
Once tmux is installed on your CentOS Cloud VPS you can start using it.
To start a new tmux session run this command:
tmux
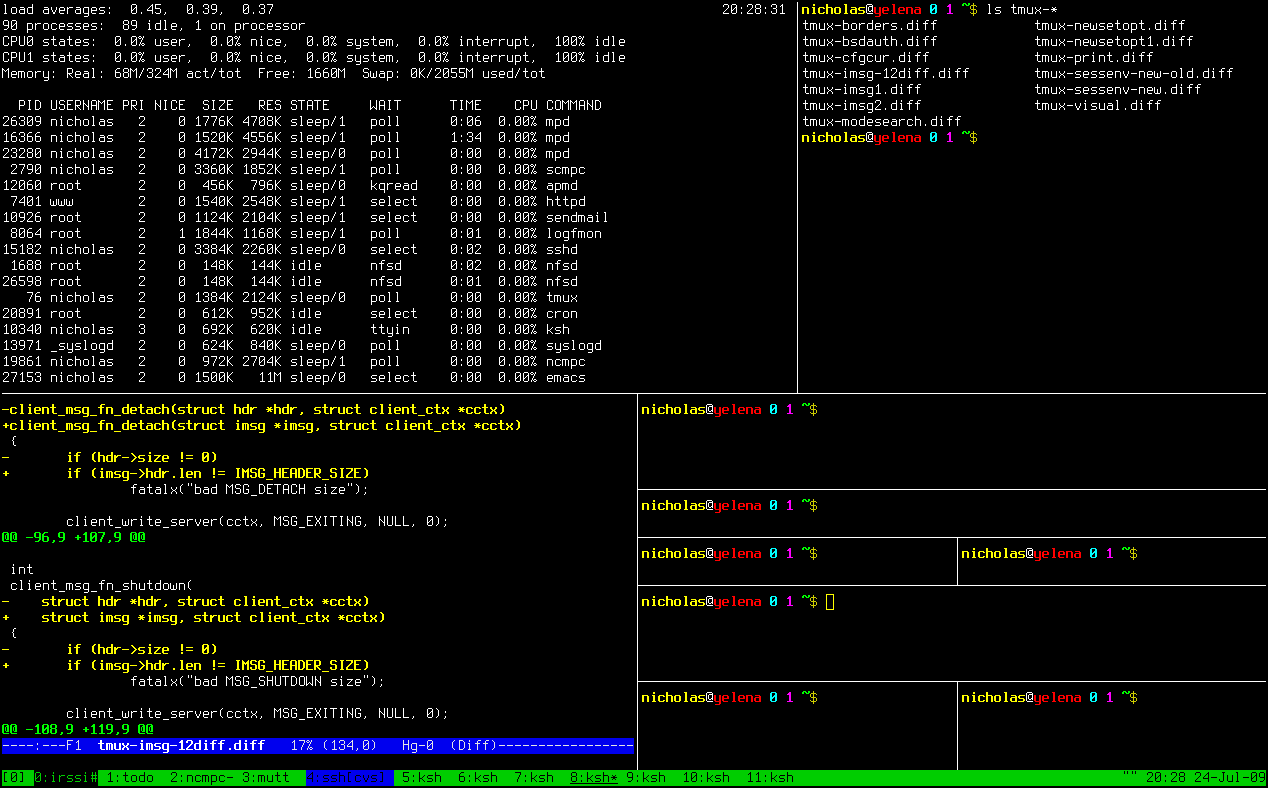
This will start a completely new terminal screen called window. You can run multiple windows in a single tmux session. One big advantage of using tmux is that you can easily detach from the session and attach again. Also, as we have mentioned before, you can split the screen into multiple terminals.
To split the screen vertically type the following command:
Ctrl+b %
Now, you can switch between the terminals by entering the command below:
Ctrl+b o
To split the screen horizontally use:
Ctrl+b "
To create a new window enter:
Ctrl+b c
To move to the next window you can use:
Ctrl+b n
To move to the previous window you can type:
Ctrl+b p
And that’s it. As you can see, tmux is really simple to use, but it can be very important if you manage your CentOS Cloud on a daily basis.
To detach, enter the command:
Ctrl+b d
To list the tmux sessions use this command:
tmux list-sessions
And to attach to a specific session:
tmux attach -t number-of-session
Please note, you need to change the number-of-session with the actual number of the session you want to attach.
Sometimes you may need some extra help. In such circumstances, you can use this command:
Ctrl+b ?
We hope today’s post showed you how to install and use tmux on CentOS easily and efficiently.
Now we want to turn it over to you:
Is there something you feel we missed or are you confused by any of the steps and would like us to clarify?
Are there any other topics and tutorials you would like us to cover?
Either way, let us know by leaving a comment below.
Helpful